The directions for making a barn quilt are easy to follow, even if you don’t quilt! In only a few hours you can have a finished project that can decorate your home either inside or out!!
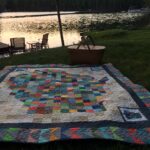
Barn quilts aren’t just for the barn either!! These wooden pieces are perfect for decorating a wall or the side of your house or shed. You can also hang them from a sign post or mailbox! Anywhere you want to add a little quilty fun!!
Post contains affiliate links and we earn commissions if you shop through the links on this page. For more information please read the disclaimer on the Privacy Policy page.
History of Barn Quilts
Barn quilts are thought to date back a few hundred years! It’s believed that European immigrants who settled in Pennsylvania began the artful tradition of painting designs on barns.
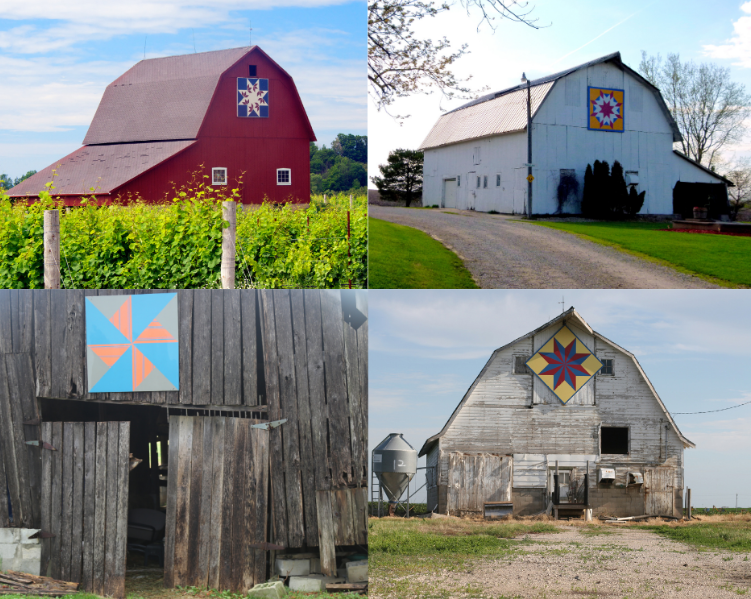
Back 300 years ago paint was expensive and barns were left unpainted. People began painting folk designs and geometric quilt patterns on their barns as a way to decorate them.
These designs celebrated the family’s European heritage and identified their farm from their neighbors. The folk designs painted on barns were also thought to protect the farm and bring good luck.
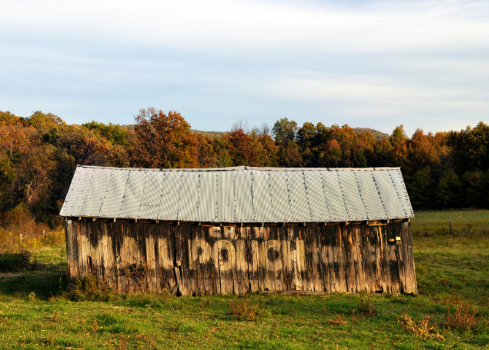
Over the years, paid ads began to replace the folk art on the sides of barns.
Barn quilts have made a comeback over the last 20 years though, as a way to once again celebrate farming and draw tourism to certain areas of the country – known as “Barn Quilt Trails”.
Making Your Own Barn Quilt!
These directions are for a 36” x 36”, 24” x 24” or 12” x 12” barn quilt. To keep the math simple, I suggest making your quilt one of these sizes! Most quilt block patterns are created by either a 4 row by 4 column pattern or a 3 row by 3 column pattern.
If you know that the block pattern you want for your barn quilt has 4 rows by 4 columns, then just make sure the size of your wooden square can be divided by 4.
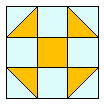
this block will require a 3 x 3 grid 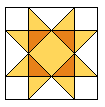
this block will require a 4 x 4 grid
Likewise, if you know the block pattern you want for your barn quilt has 3 rows by 3 columns, then make sure the size of your wooden square can be divided by 3.
I don’t like to think that hard, lol! And I want the flexibility to change my mind on the quilt pattern I want to make, so I play it safe and stick to the sizes recommended above. These sizes can be divided by either 4 or 3, so I can change my mind on the fly and not have to change the size of the wooded square!
Materials Needed…
Wood: Use ½” plywood for the barn quilt. You can get plywood at a local building supply store like Menards, Home Depot or Lowe’s. Sometimes you can purchase pre-cut plywood squares, and sometimes you can talk the employees into cutting the size square you need. If not, you’ll need someone with a nice SKIL saw, jig saw, or table saw to cut your ½” plywood to the size you need.
Paint: Use acrylic paint to paint the basecoat and colored design. Two-ounce bottles of acrylic hobby paint work great, like FolkArt or Apple Barrel. One bottle for each of the colors you’re including in your design should do the trick!
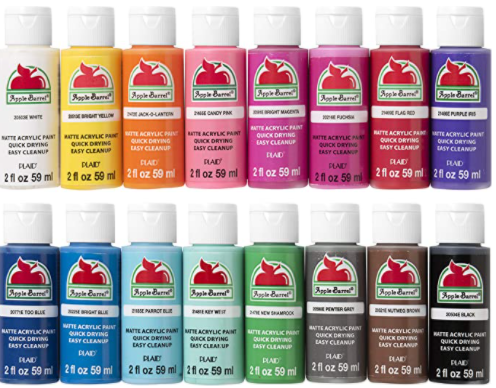
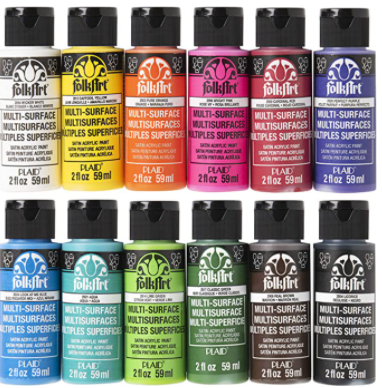
For the basecoat I suggest buying a bigger bottle of acrylic hobby paint in white, off white, or cream color. You can sometimes find 8-ounce or 16-ounce bottles, which is a bit cheaper than buying multiple 2-ounce bottles. You can also use satin interior paint if you have some left-over from a room painting project. The trick is having enough paint to cover the entire front, back, and sides of the plywood square.
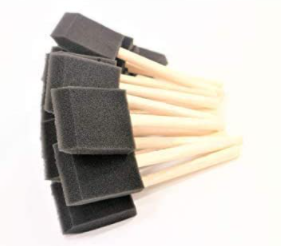
Brushes: Sponge brushes work great for painting barn quilts. You can sometimes find pretty cheap packs of these at the dollar store or on Amazon. I suggest getting one brush for each color you’re using in your barn quilt. Then you don’t need to worry about thoroughly rinsing out the brush between colors, just toss it when you’re finished!
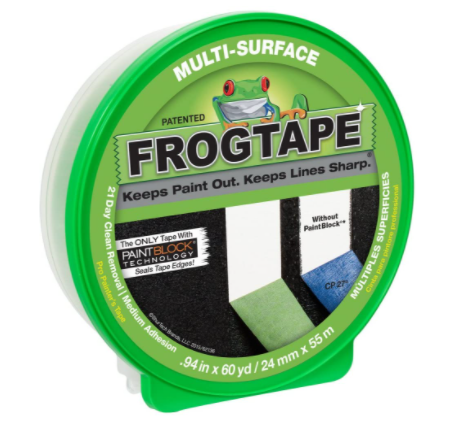
Tape: Buy Frog Tape! You need to tape off the quilt pattern to paint each color, and regular painter’s tape just doesn’t cut it. Spend a few more pennies and buy Frog Tape Painter’s Tape! It doesn’t let the paint bleed underneath it, and you can remove it even before the paint is fully dry.
Other items: You’ll also need a pencil, yardstick (or measuring tape plus a straight edge), water and paper towel (in case you need to fix any paint drips!), a table covering, and the pattern of quilt block you want to put on your barn quilt!!
Quilt Block Patterns
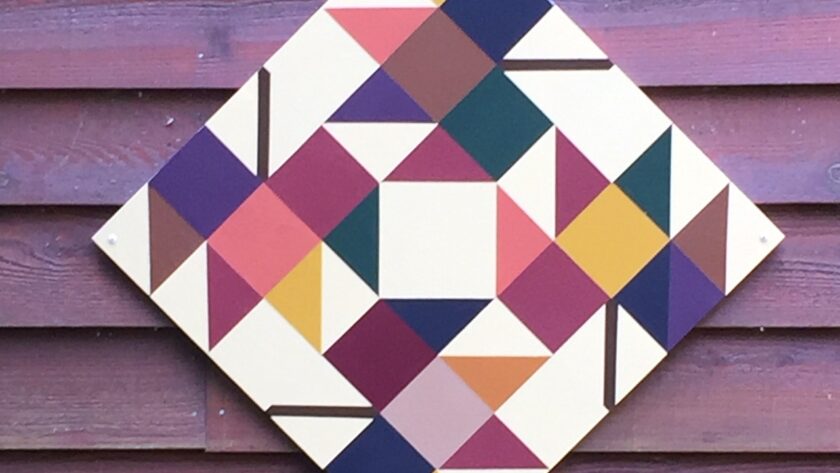
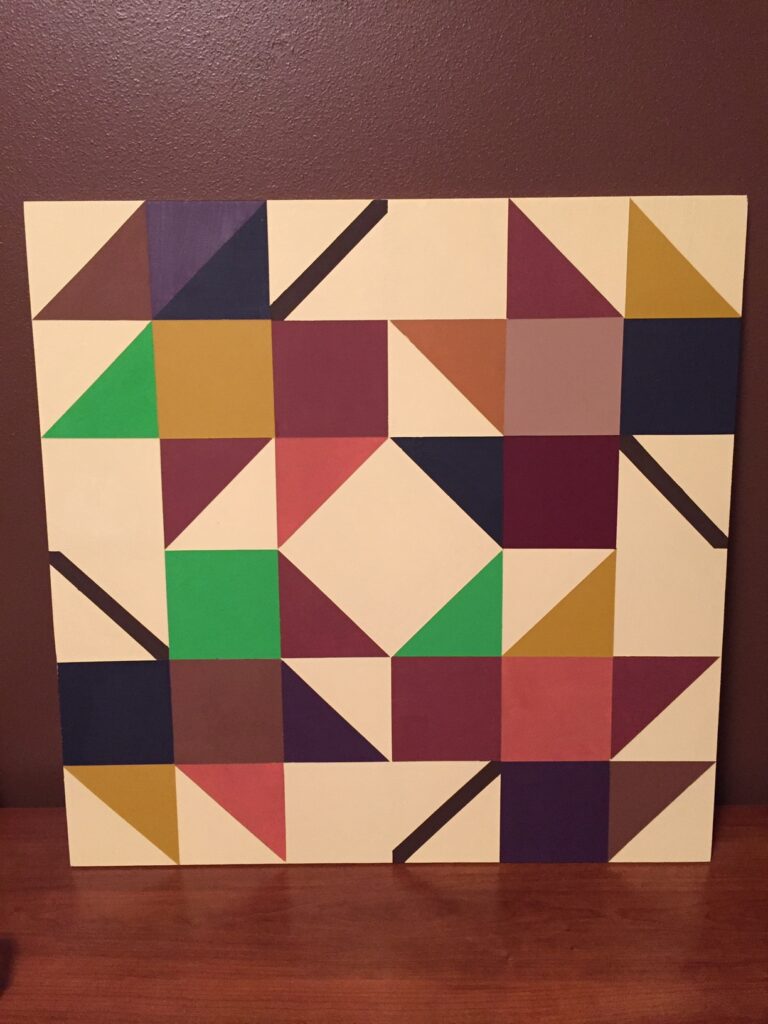
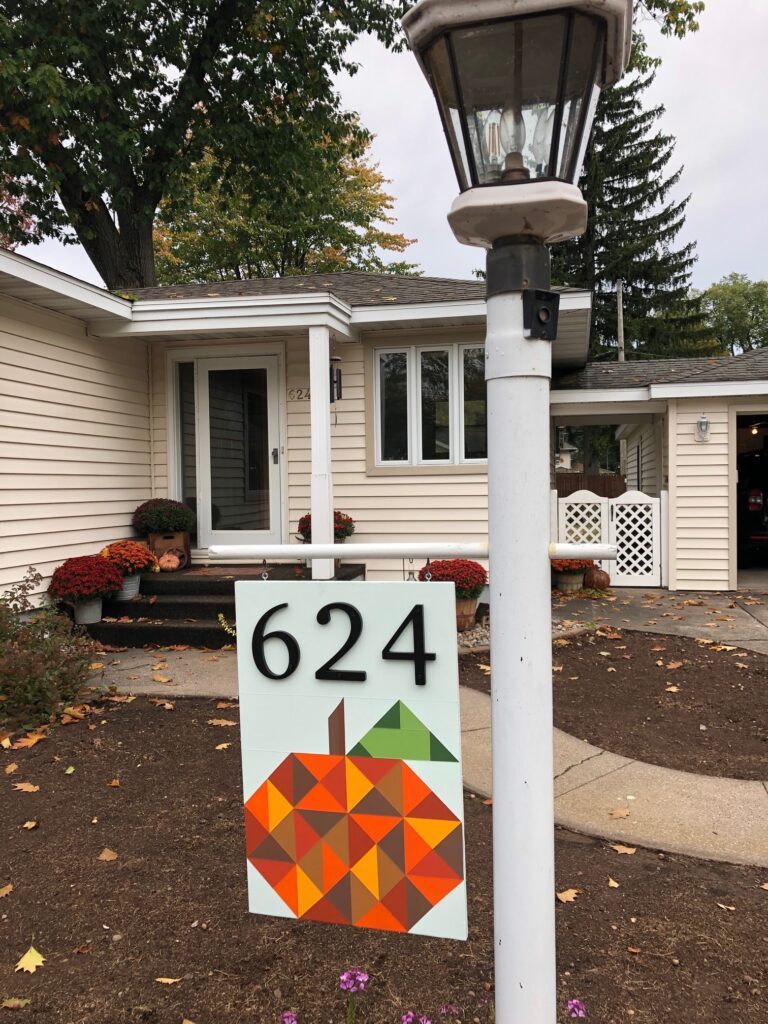
There are so many wonderful quilt block patterns to choose from! I made my barn quilt using a maple leaf pattern. This pattern speaks to me because I love nature, everything about fall, and the fall color palette. I especially love how scrawny little maples get to show off their crimson brilliance in the fall!!
I suggest using a pattern that speaks to you too! Search the Internet or Pinterest to find a quilt block to replicate for your barn quilt, or use one of my suggestions below!
Classics
There are a ton of classic quilt block patterns to choose from. A few of my simple favorites that would make lovely barn quilts are the Ohio Star, Shoo Fly, Greek Square, Clay’s Choice, Pinwheels, or Road to Oklahoma. Maybe one of these speak to you?

Ohio Star Shoo Fly 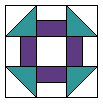
Greek Square
Clay’s Choice 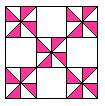
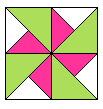
Pinwheels 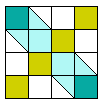
Road to Oklahoma
Stars
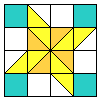
You might also like a simple star pattern. A sawtooth star is a simple quilt block that can be designed many different ways by switching up how the center is arranged. You can keep the center plain, or make it from other patterns. There’s no limit on the ways a sawtooth star pattern can be made!
There are many, many other star patterns to choose from! If a star is the pattern you like, I’m sure one of these will speak to you!

Eight Pointed Star 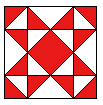
Mosaic Star 
Sarah’s Choice Star 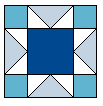
Sawtooth Star Variable Star
Four Patch
The four patch includes a lot of different designs to choose from! Perhaps the Broken Dishes, Flying-X, Pinwheel, or Dutchman’s Puzzle is one that you’d like to make!!
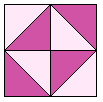
Broken Dishes 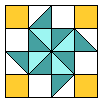
Flying-X
Turnstile 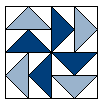
Dutchman’s Puzzle
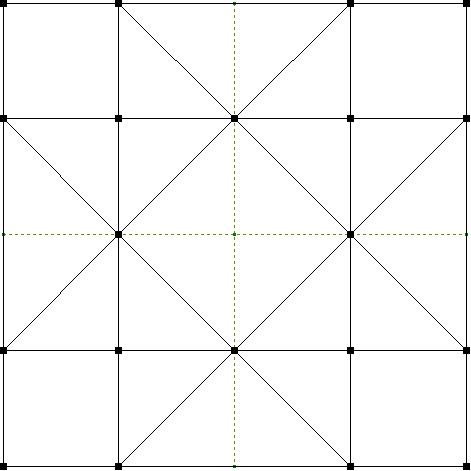
Drawing the Quilt Block on Wooden Square
You’ll begin to draw your quilt block by first making a grid on your wooden square. You need to determine whether your block contains a 4 x 4 grid or a 3 x 3 grid.
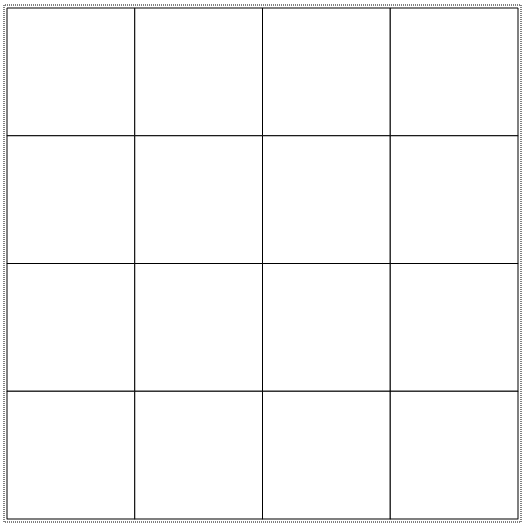
4 x 4 grid 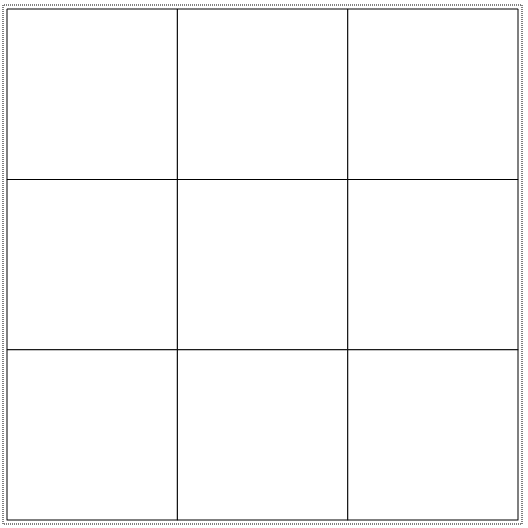
3 x 3 grid
If you’ve chosen another type of block other than one that can be divided into 4 or 3, then just do the math appropriately to the block you’ve chosen. Again, I like to stick to the 4 and 3 division to keep it simple!
Using your ruler or yardstick measure out your columns and rows. Connect these measurements to make your grid!
Make the Design…
Once you have your grid, you’ll use a straight edge to begin drawing out the quilt block design. This is the design that you’ll eventually tape and paint to create your barn quilt! Use the straight edge to connect corners of the blocks to create diagonal lines. If your design has some squares with straight across lines, measure them out and draw them in.
Using a pencil you can always erase if you make a mistake. The paint will cover up the lines and the mistakes, so have fun drawing out your quilt block. It’s kinda like putting a puzzle together!!
Another great idea to do right now is to lightly pencil in each color for your quilt design. It may sound simplistic, but you’ll be happy you took the time to label each section with the color you want it to be.
It’s easy to mess up where to place the colors once you start painting, this extra step will save you time and angst!! Think of it like a big “paint by number” project!!
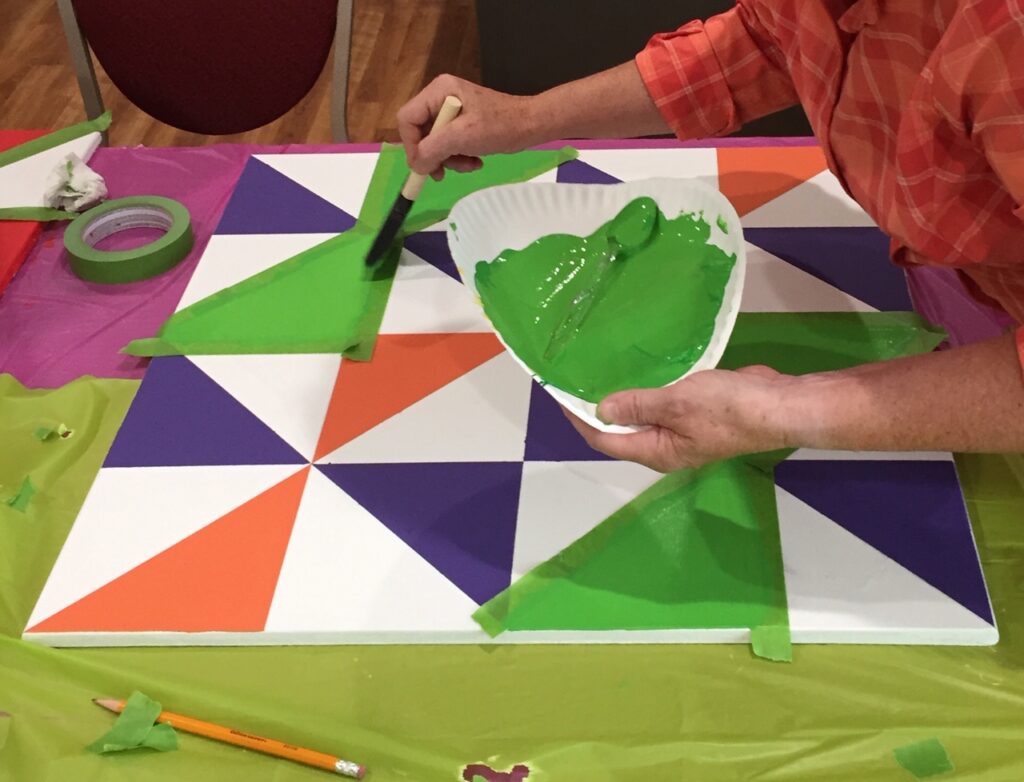
Paint It In!
Once you have your block replicated onto your grid, it’s time to paint it in! Don’t be scared to get started!! Trust me, if you make a mistake you can paint over it!! I repainted several of the areas of my barn quilt because I wanted to switch out a color and you’d never be able to tell!!
This bright green wasn’t cutting it for me! 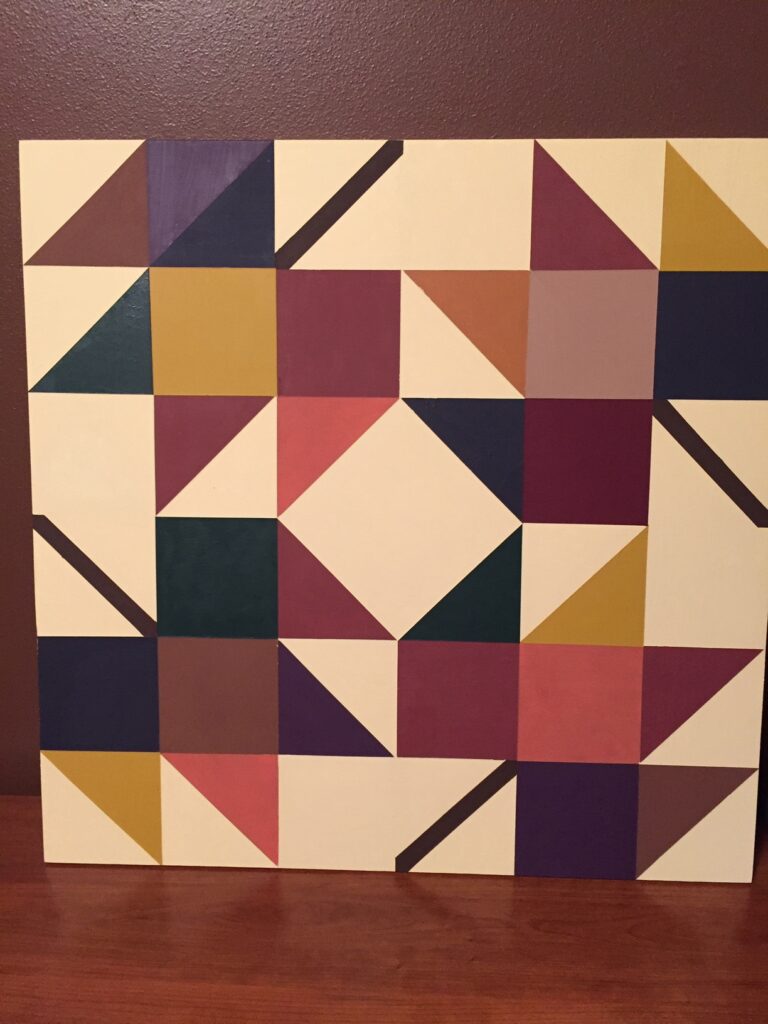
I like this version much better!!
Using the Frog Tape, tape off sections of the sections that all have the same color. Make sure to press the tape firmly to your wooden grid so paint doesn’t leak underneath it.
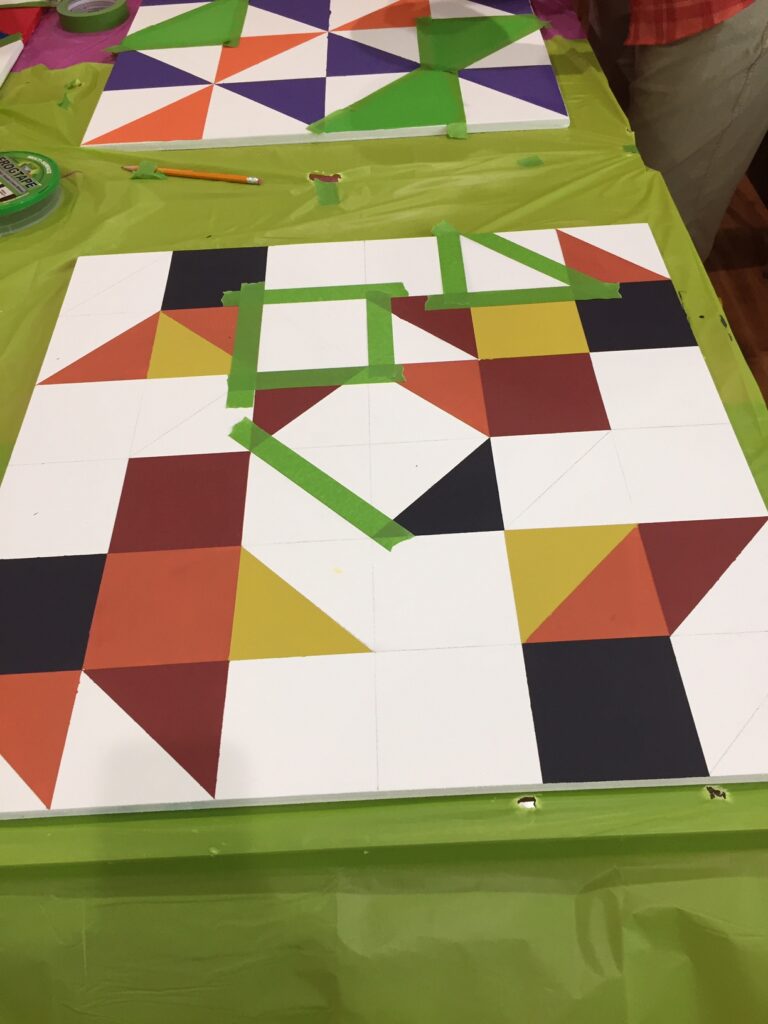
Depending on the size of the block use either a 1” or a 2” sponge brush. Dip the sponge brush in paint, and begin to fill in the taped off sections. You don’t want too heavy of a layer of paint. I suggest going lightly and applying two coats rather than gooping the paint on.
Getting Crisp Lines…
A handy dandy trick to get the paint to dry before you pull the tape off is to use a hair dryer! Hold the hair dryer at least a foot away, and blow dry the wet paint. You’ll be able to see the paint dry right before your eyes!!
The great thing about using Frog Tape is that you don’t need to have the paint fully dried before removing it. But you DO need to have the paint fully dried before you tape over it to create the taped borders to paint the next colors. I like to “overdry” rather than “underdry”. Really, it only takes a few minutes with the hair dryer to fully dry your thin layers of paint!!
If the base color is showing through after the color you’ve applied has dried, then add a second layer of color. The second layer should do the trick!

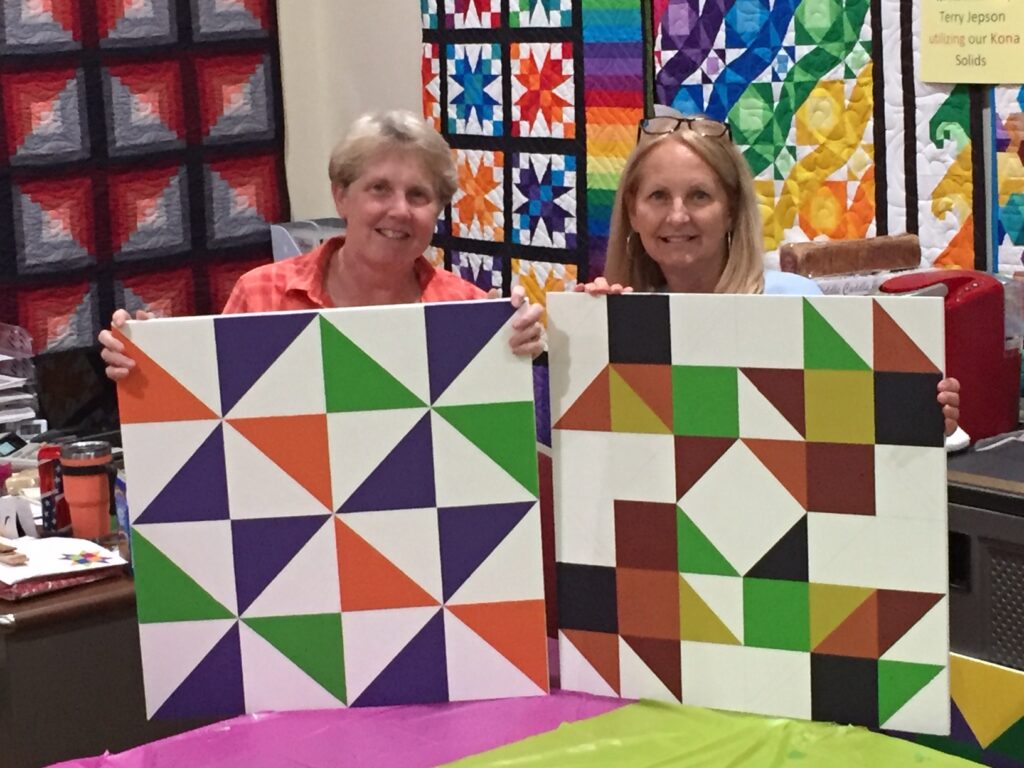
Keep taping, painting, drying, and gently pulling off tape until you complete your entire design! This is a great project to do with a friend! Have fun!!!
Finishing and Hanging the Barn Quilt
I like to finish off my barn quilts with a coat of acrylic spray! If you’re hanging your barn quilt indoors, you can skip this step. But if your barn quilt is going to be outside in the elements, the acrylic will keep the paint from fading and wearing off.
Make sure to be safe and wear a mask and safety goggles! You don’t want to breathe in any of the acrylic, or get it in your eyes!! Also, I suggest spraying your quilt outside for best ventilation and so fumes aren’t gathering in your house.
Following the directions on the can, apply several coats of acrylic spray allowing coats to dry between applications.
Hanging…
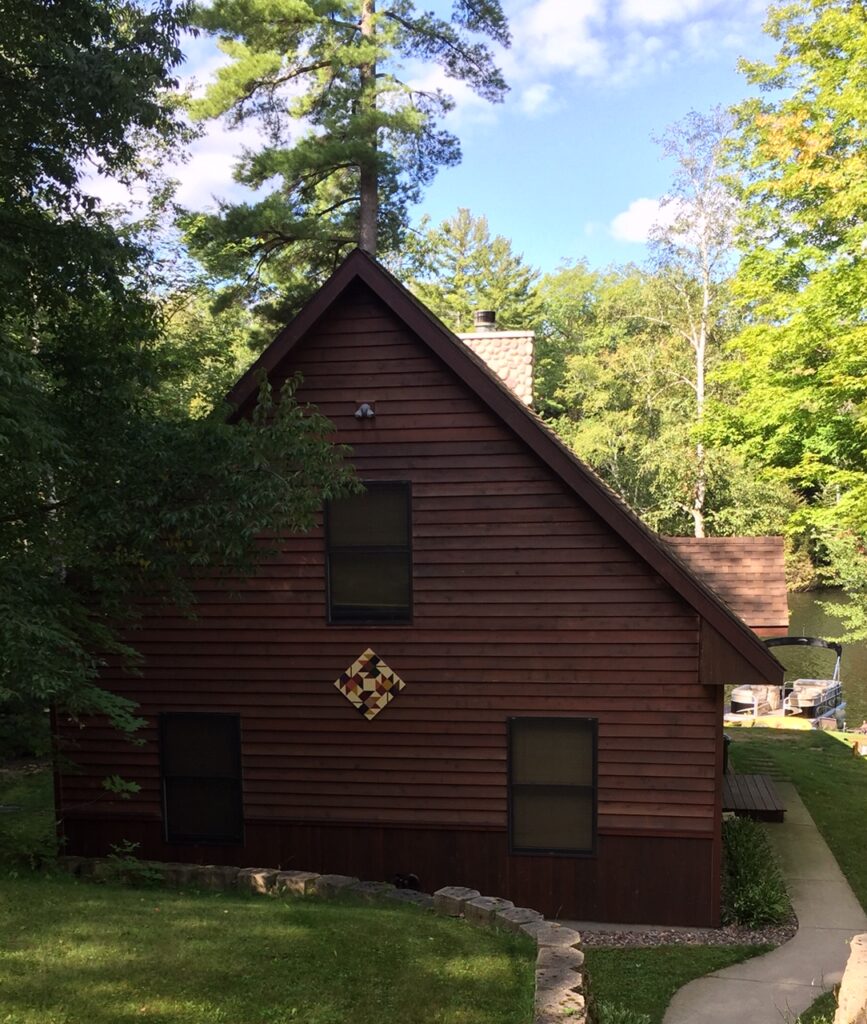
My husband was cool with screwing my barn quilt directly into the wooden siding of our house! He used stainless steel wood screws that won’t rust in the elements.
You can also screw or nail a hanging bracket onto the back of the wooden barn quilt, and use a nail, screw or hook to hang it to your surface. You certainly don’t want to screw it into your wall if you’re hanging it inside, lol!!
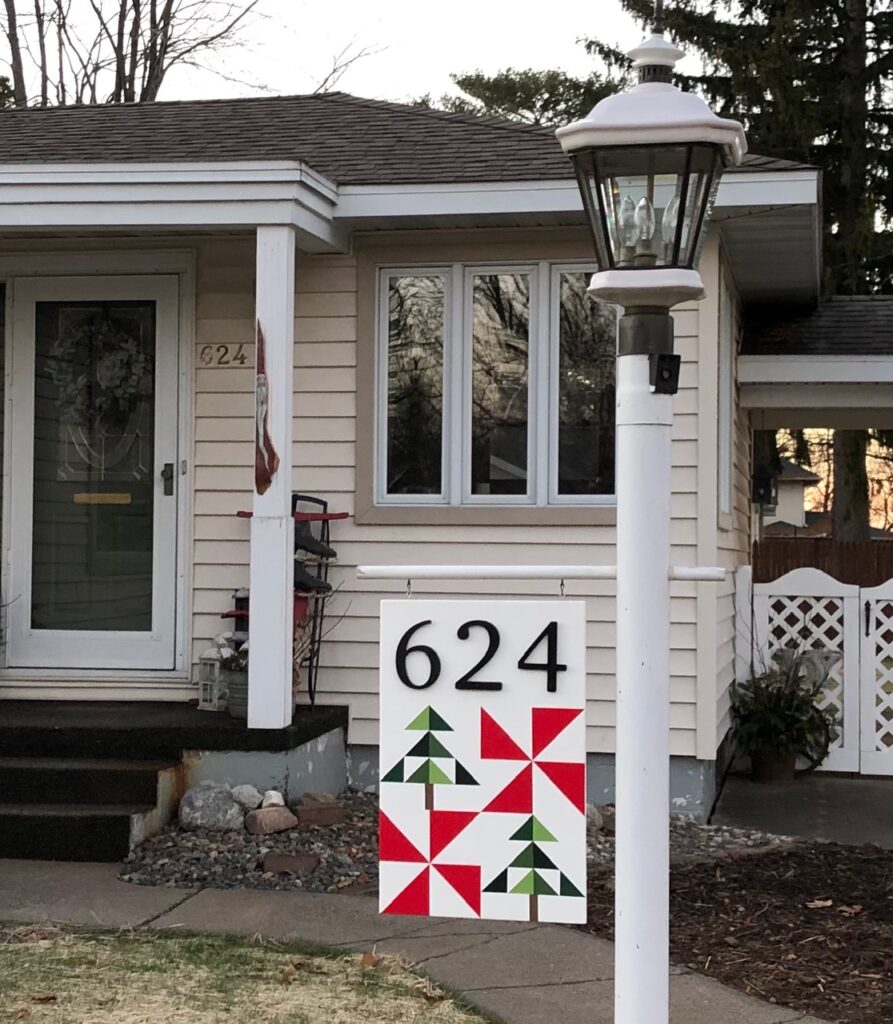
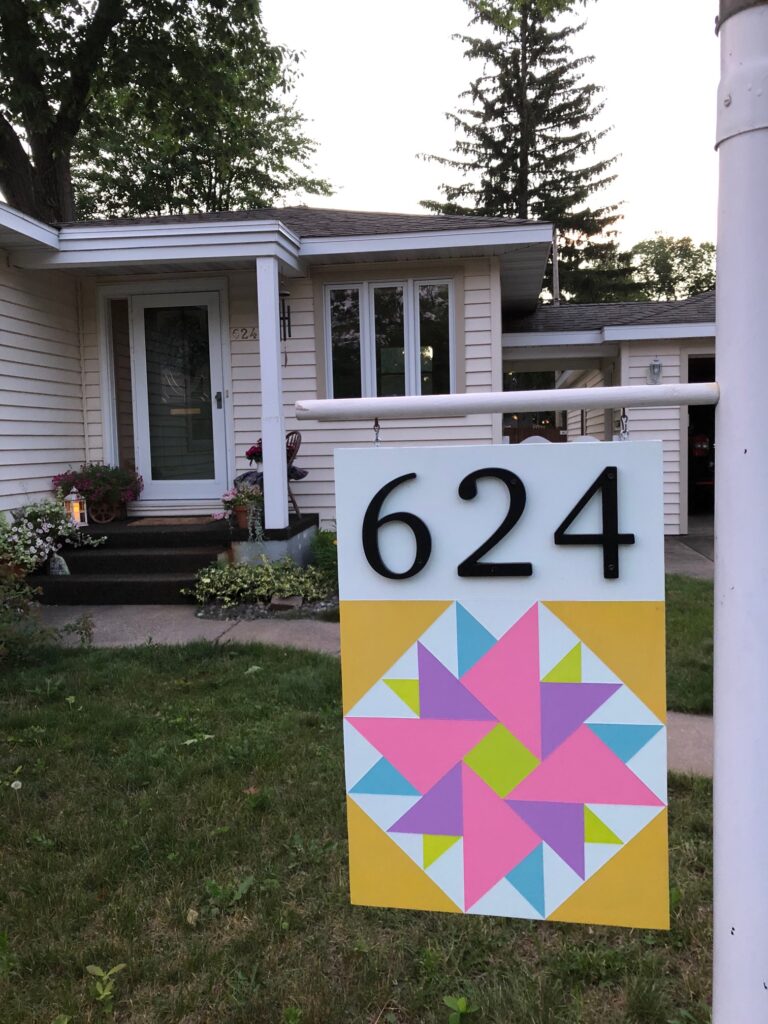
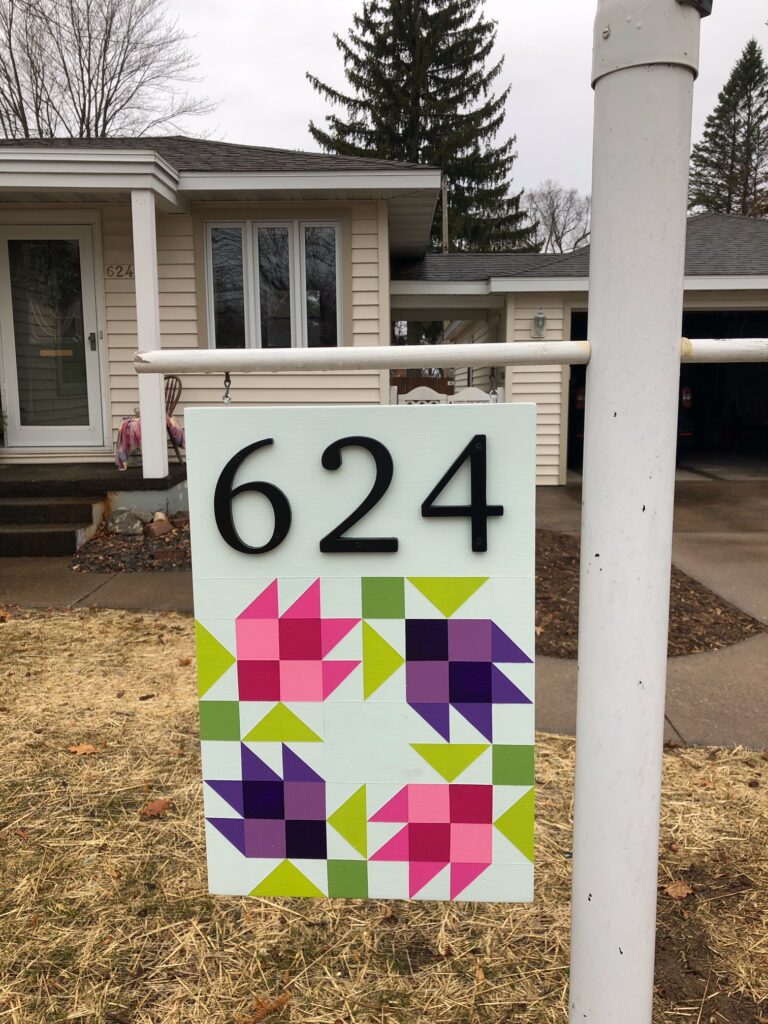
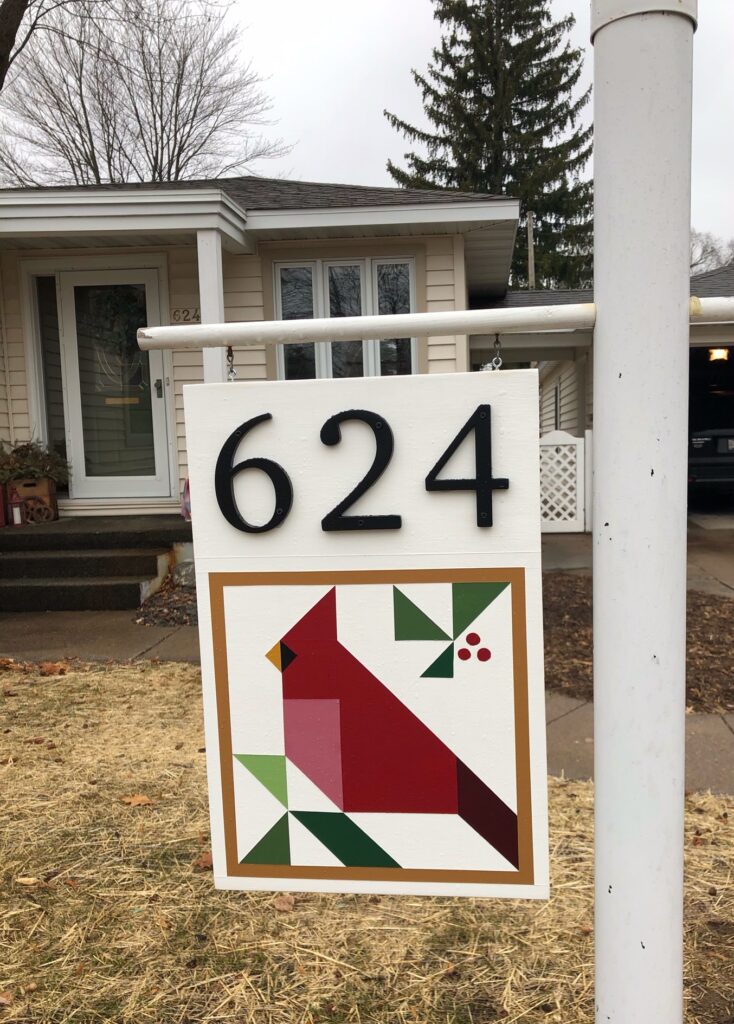
A friend of mine has made several 12” barn quilts which include the house numbers of her home. She changes them out with the seasons, and they are adorable!
WARNING: Making barn quilts can be addicting! But it’s ok if you get addicted, they make great gifts once you have enough made for yourself, lol!!
Have fun creating these amazing pieces of art!!
Cheers!!!
~Bonnie