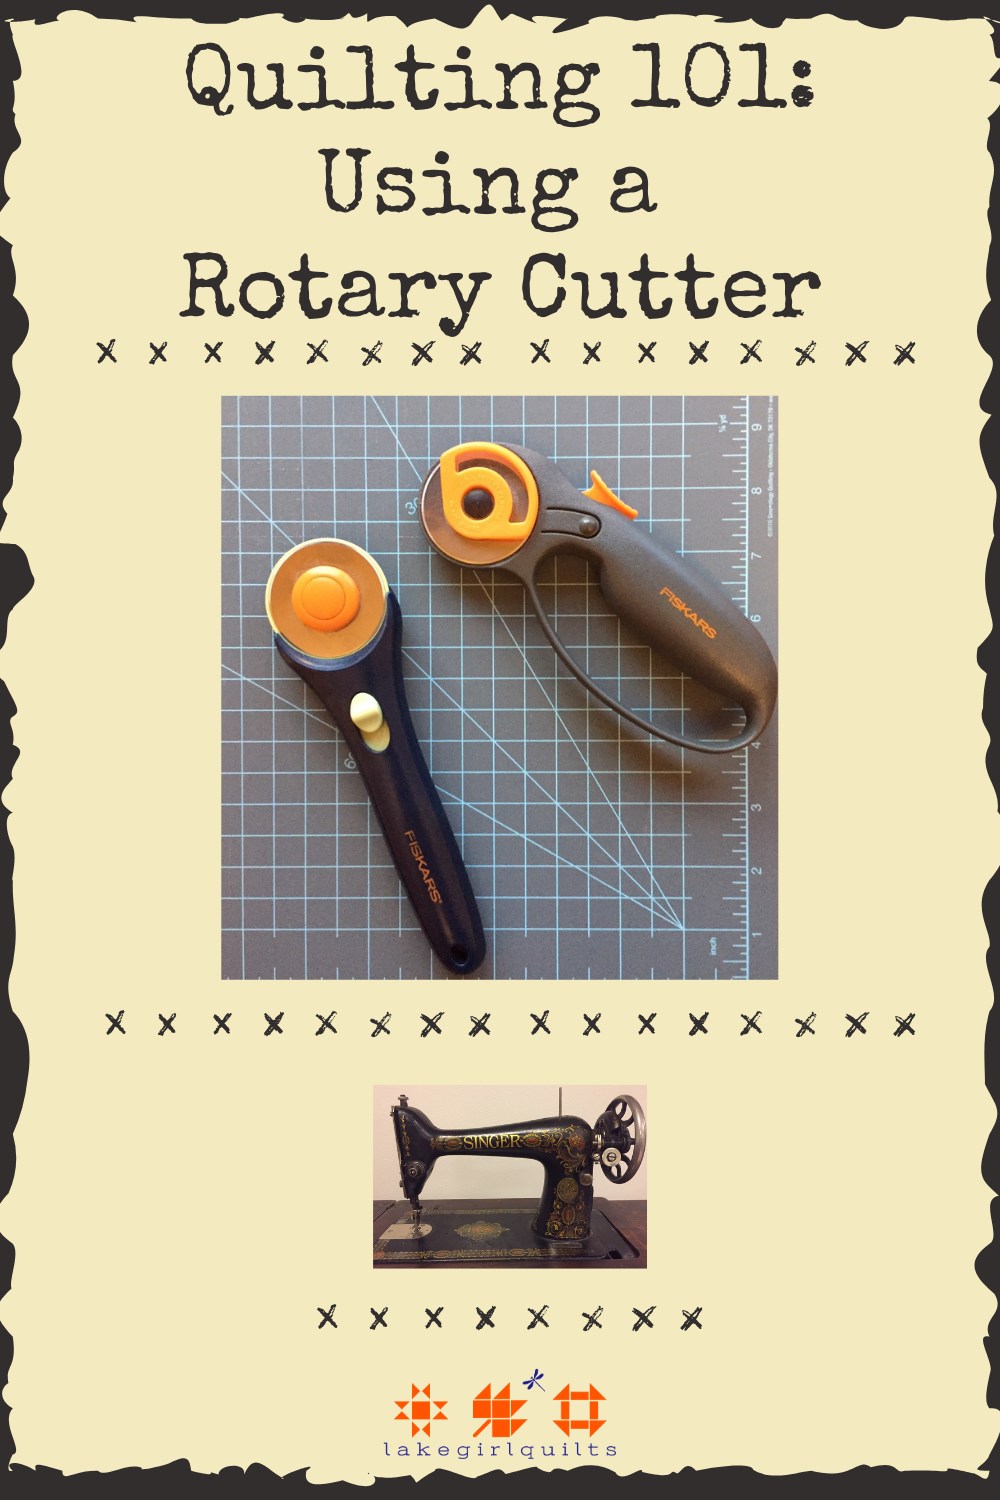
Cutting fabric using a rotary cutter can be a bit intimidating! Although it looks like a pizza cutter, there’s a bit more to it, lol!!
I’m hoping this post will help you build your rotary cutting skills, and cut madly accurate strips and squares!
Probably out of all the steps and techniques of quiltmaking, cutting fabric is the most important to be picky, picky, picky about!!!
You need to be very accurate when measuring and cutting your quilt pieces, or your blocks and quilt top will be all wonky and not squared up. Seams and corners won’t match up, and you’ll end up frustrated and discouraged and ready to throw it all in a corner. Ask me how I know, lol!
It’s not hard to be exact but it does take patience, a good technique, and a bit of practice.
Rotary Cutter Tools and Maintenance

You’ll need to change out the cutting blade on your rotary cutter from time to time. The blades will cut a lot of fabric before you need to change it. You’ll know it’s time to change when you start having difficulty cutting through your fabric.
Purchase new blades, and follow the directions on the package for changing them out. Here is a few step-by-step pics…


Loosen the nut on the cutter. Carefully…remove the old blade and replace it with the new one. Screw the nut back on tight. Properly dispose of the old blade
Also, make sure to invest in a good cutting mat to place under your fabric as you cut it with the rotary cutter. Here’s a link to my previous post where I’ve described some of these tools.

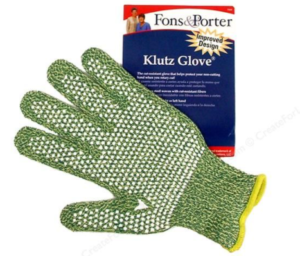
Safety first!
There are special cut-resistant gloves you can purchase and wear to prevent cutting injuries while using this rotary-cutting technique. Many quilters highly recommend wearing these as you cut fabric with your rotary cutter! You can find them on Amazon or other online retailers.
Another handy dandy tool is a ruler grip. These grips have suction cups to adhere to your plastic ruler, and help to firmly hold the ruler in place as you’re using your rotary cutter.
If you don’t have a cut-resistant glove or a ruler grip, work very slowly and carefully!! And keep your fingers away from the edge of the ruler that you’re cutting against!
“Squaring Up” the Fabric
To cut straight strips you need to start with a straight edge to measure from.
I do this by folding the fabric in half, matching up the edges. Place the short edge of your ruler along the fold of the fabric, and cut along the right side of the ruler. Use the rotary cutter to carefully, and slowly, cut along the right edge of the ruler. If you’re left-handed do this in the opposite position. This process is squaring up the fabric so you can measure and cut from a straight edge.


Cutting Strips
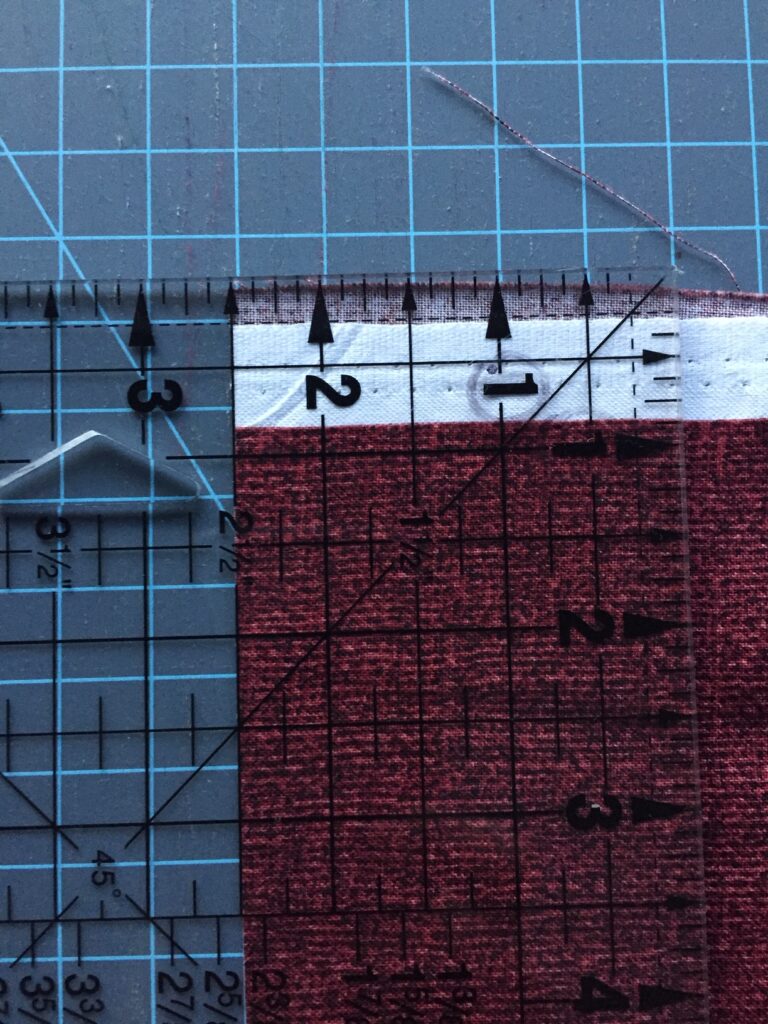
Now you have a straight edge to measure from. Carefully flip the fabric over so the straight edge is on the left, and measure from that straight edge whatever width of strip you’re needing to achieve.
Make sure to measure from the correct side of the ruler (from the 1” side, not the 6” side!), and firmly hold the ruler in place on the fabric. Make sure your measurement aligns all the way along the straight edge of the fabric and is “squared” along the fold of the fabric.
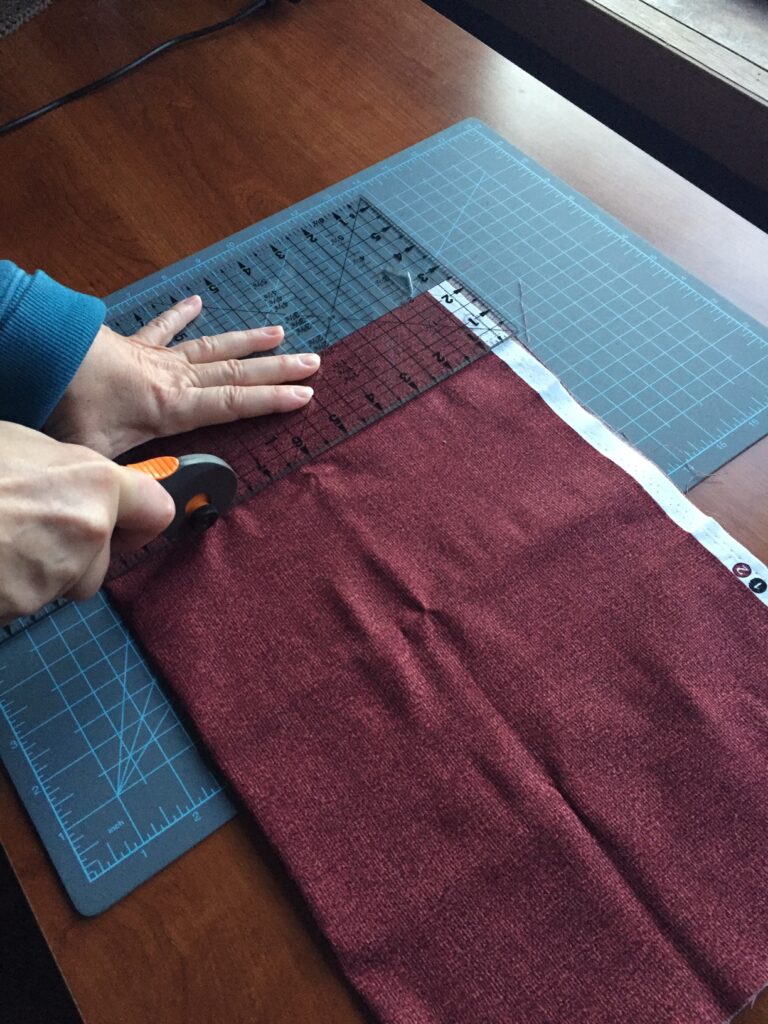
Using a firm, steady motion slowly move your rotary cutter along the edge of the plastic ruler (making sure not to veer from the ruler as you go).
Here is a video to demonstrate the process of squaring up your fabric, and accurate measuring and cutting using a rotary cutter.
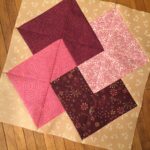
Strips to Pieces
Your pattern will indicate the width and length of strips, rectangles, or squares you’ll need for completing the quilt block.
Cut the end of the strip so it’s squared, using your ruler to make the 90 degree corner.

The strips of fabric you cut can then be recut into the size of squares or rectangles that your pattern calls for. I like to store my left-over strips in a plastic ziploc bag labeled by strip width.

Use the same careful measuring, squaring, and cutting technique when cutting strips into small pieces.

Patience is a Virtue
It’s a BIG mistake to try to hurry through cutting the pieces for your quilt blocks. Hurrying = making mistakes. I’ve learned this lesson by having pieces that don’t fit together properly when you sew your blocks together. Sometimes you can fix these wonky blocks and sometimes you can’t and they end up in the garbage.
And measuring incorrectly can waste your precious fabric. Although I usually save these “happy little mistakes”! Unless they’re smaller than 1 1/2 inches, I can usually reuse them for leaders and enders or in something small and scrappy I’m making.
If you make mistakes while cutting or measuring, don’t worry! It’s part of the process and one of the growing pains of learning how to be a quiltmaker.
Practice Makes… Almost Perfect!
Even veteran quilters make mistakes cutting fabric!! You’ll make them too. Just know that cutting your fabric pieces is a step where patience definitely pays off!! And…practice makes almost perfect when it comes to measuring and cutting!
Don’t start practicing on that beautiful piece of fabric you’ve been saving for just the right project. Practice your cutting skills on a less favorable piece of fabric, perhaps a muslin or some other less expensive fabric. This way if you mess up it won’t matter as much.
Put in the time and practice cutting several different sizes of strips, and strips into squares or rectangles.
Put in the practice and let your perfectionist side shine! This way you’ll end up with quilt blocks and projects to be proud of!!!
——————————————————————————————————————–
As a former 4th grade teacher, I’d always tell my students there is more than one way to do something. The way to solve a problem that makes sense to you might not make sense to someone else.
It’s true with quiltmaking too!!
There are many ways to arrive at the end result of making a quilt! As you hone your skills and continue to explore the art of quilting, you’ll find variations of ways to perform various skills and techniques and choose your “go-to” favorites.
You might even discover a whole new way of doing something!!
~Bonnie