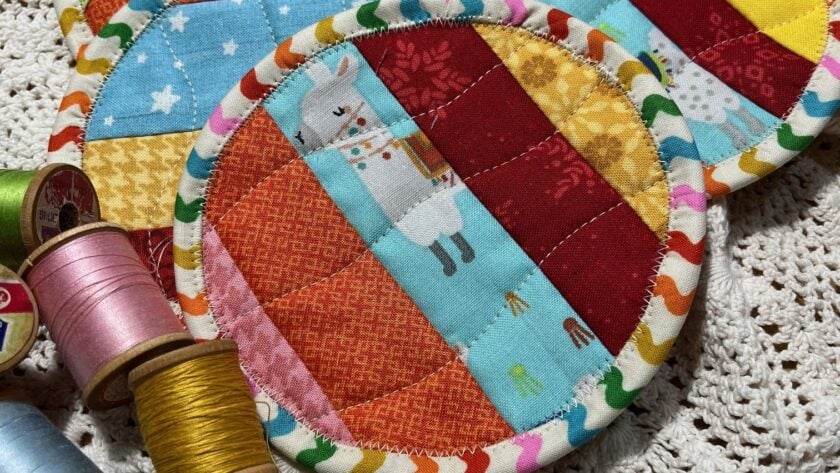
Looking for a quick Christmas sewing project or a handmade gift idea? These little quilt-as-you-go fabric coasters are just the thing!
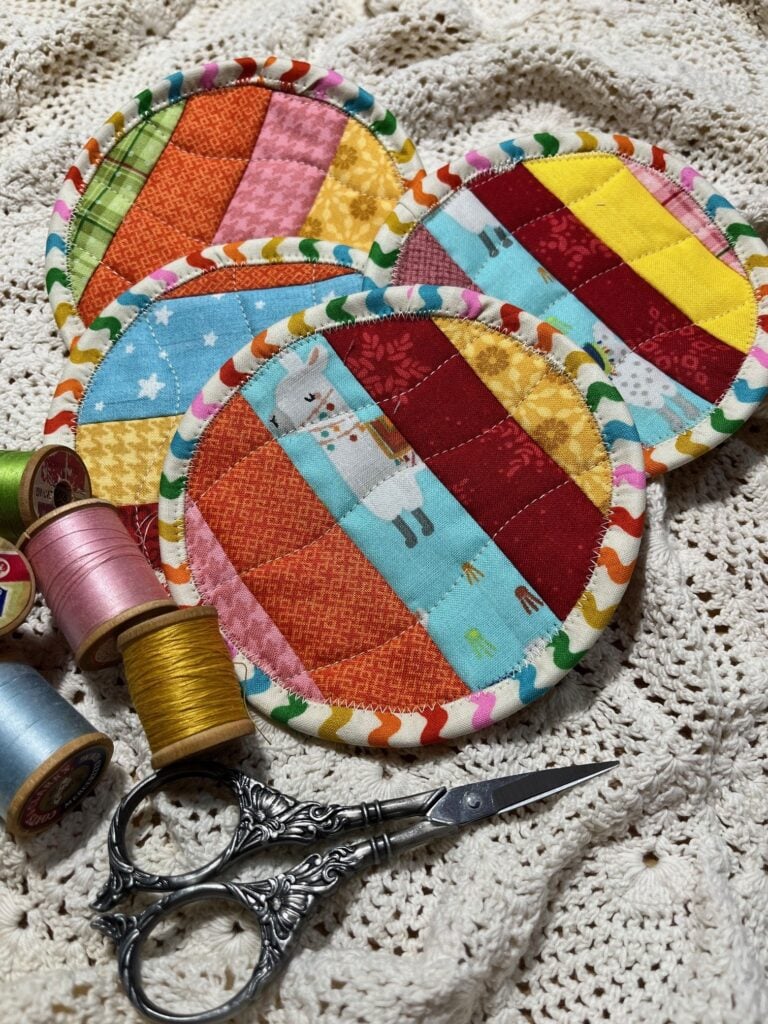
Made with 1” – 1 1/2″ fabric scraps, a little batting, and some leftover fabric, these coasters come together in about two hours. I used a mix of vintage-inspired reds, pinks, aqua, yellow, orange, and green for a fun, scrappy look.
The best part? Each coaster is a little different, making them even more charming as a set. Tie four together with a piece of twine, and you’ve got an easy handmade Christmas gift!
Post contains affiliate links and we earn commissions if you shop through the links on this page, including Amazon Associate links. For more information please read the disclaimer on the Privacy Policy page.
Supplies You’ll Need for the Quilt-As-You-Go Fabric Coasters
For each coaster:
- Assorted 1″ to 1 1/2″ wide fabric strips (various lengths)
- One 6″ square of batting
- One 6″ square of backing fabric
- One 2″ wide strip for binding
- Thread
- 4 1/2″ circle template
You’ll also need a rotary cutter, cutting mat, ruler, sewing machine, iron, and scissors.
Step 1: Prepare Your Fabric Strips
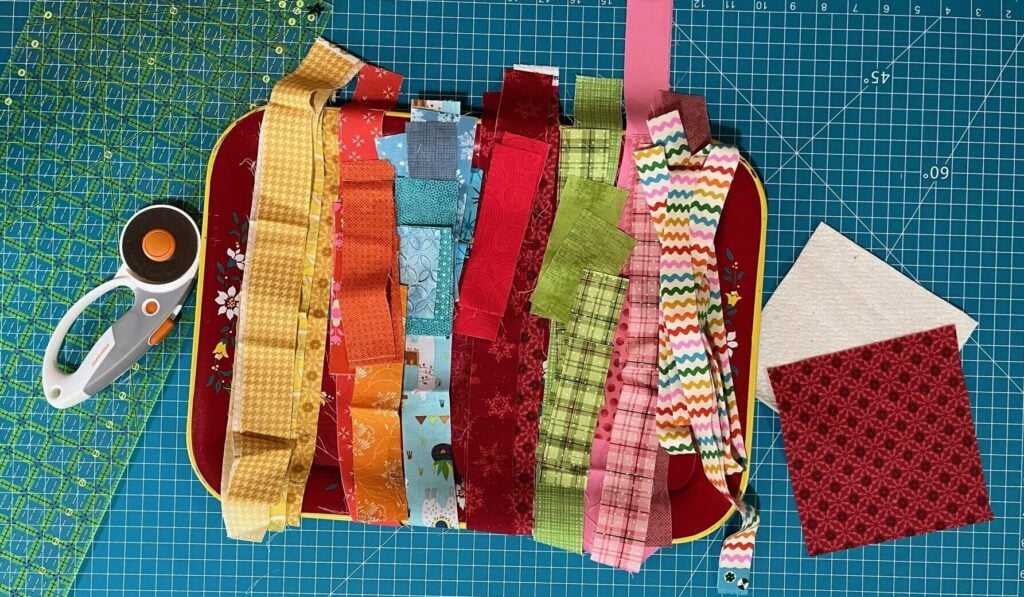
Gather an assortment of 1″ to 1 1/2″ wide fabric strips. This is a great project for using up leftover scraps!
I used a combination of vintage-colored Christmas fabrics in reds, pinks, aqua, yellow, orange, and green.
Cut your batting and backing fabric into 6″ squares.
Step 2: Quilt As You Go Strip Piecing
Place your batting square on top of your backing fabric, with the backing facing down and the batting facing up.
Start with your first fabric strip, positioning it diagonally across the batting from one corner to the opposite corner (at a 45-degree angle). Place a second strip right sides together, and sew the strips in place. Finger press the top strip open.
Place each new strip right sides together with the previous strip, sew along the edge, and finger press open.
Continue adding fabric strips along each side, working outward toward the edges of the batting.
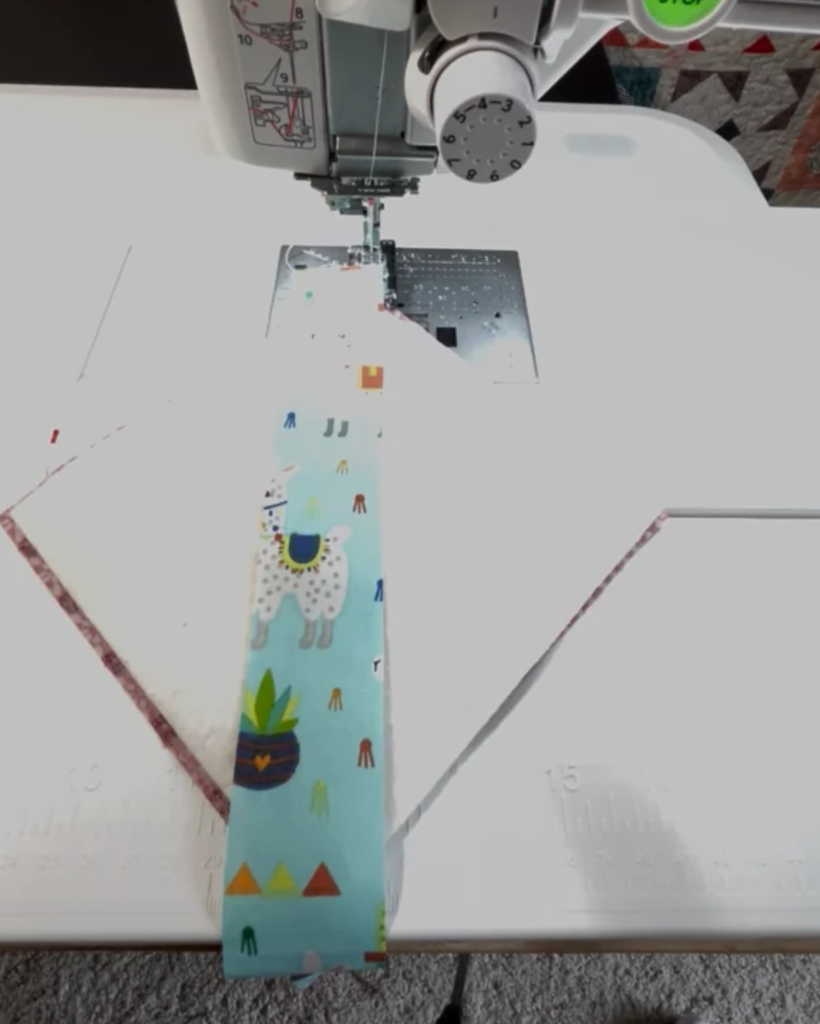
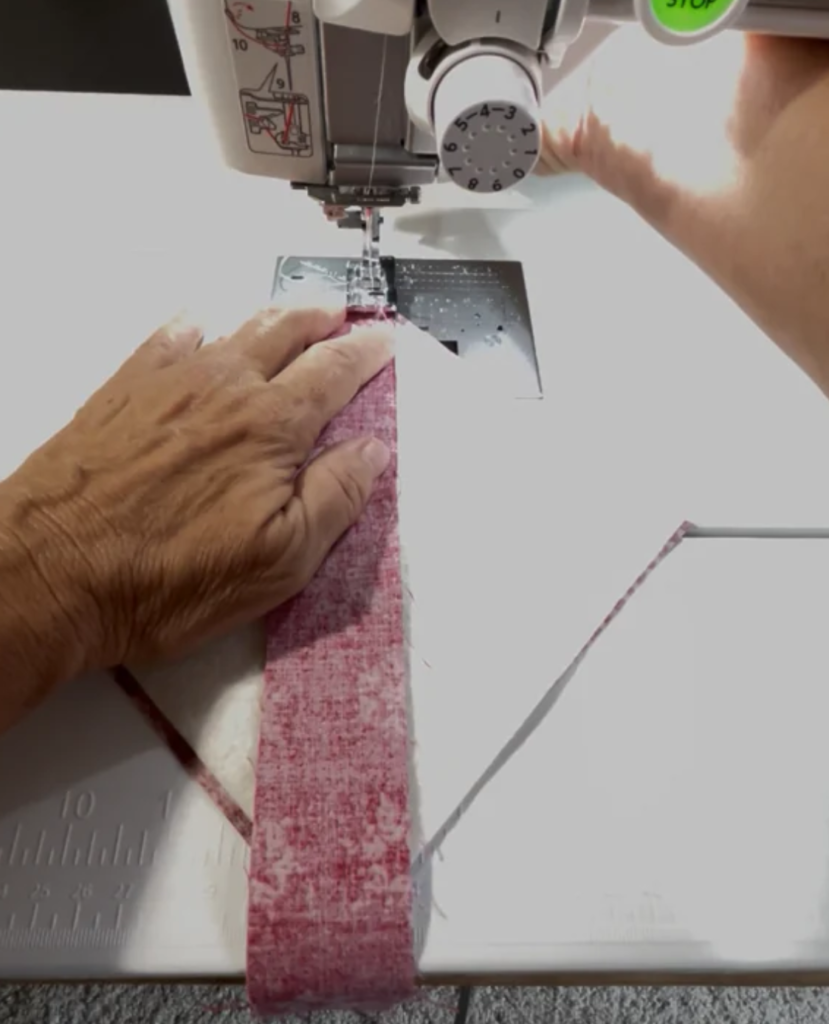
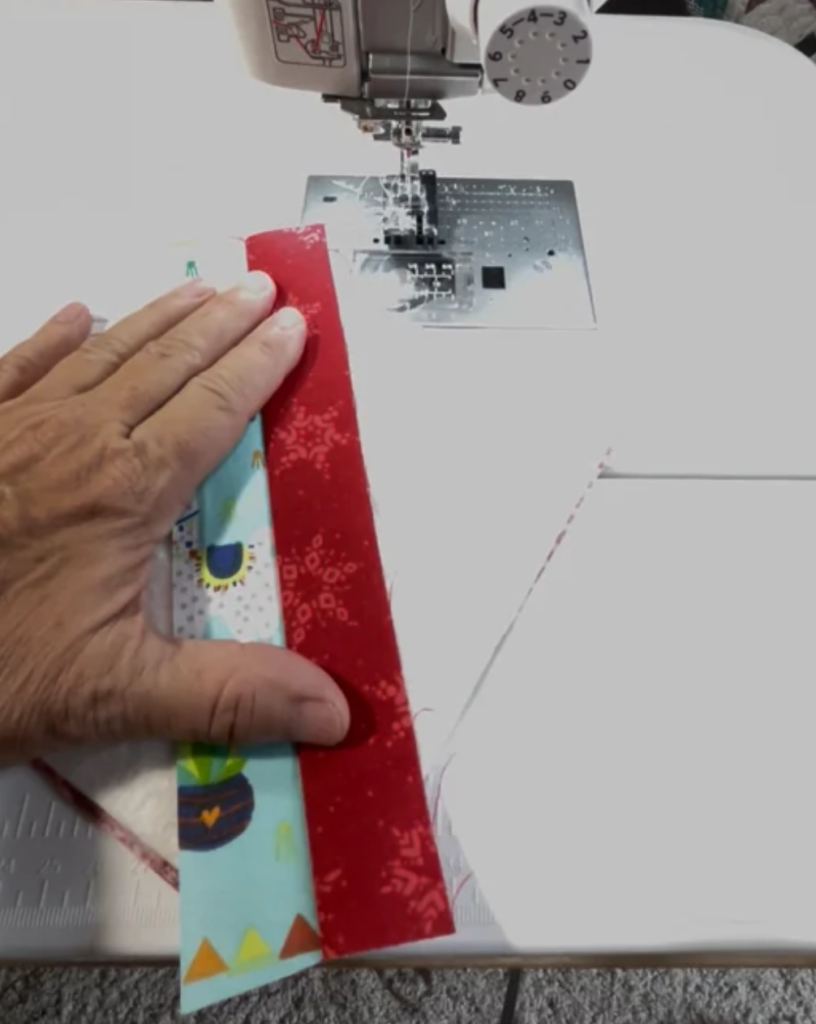
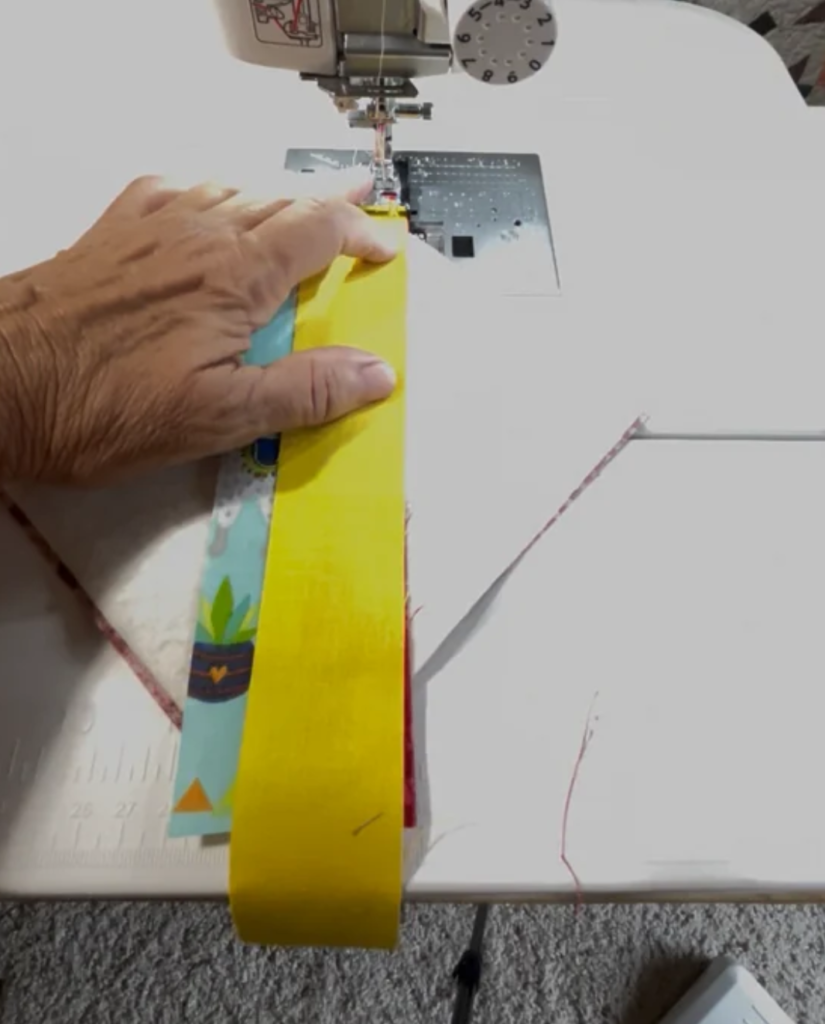
Continue adding strips until the entire batting square is covered.
After all the strips are sewn in place to cover the entire batting, press the entire project with your iron.
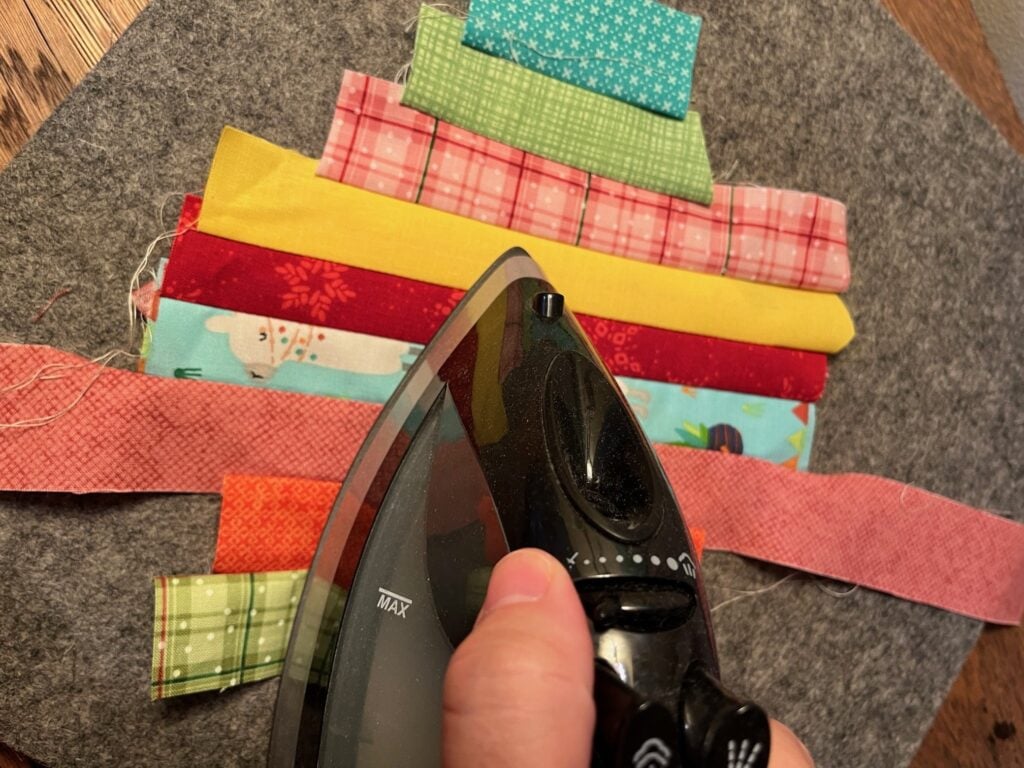
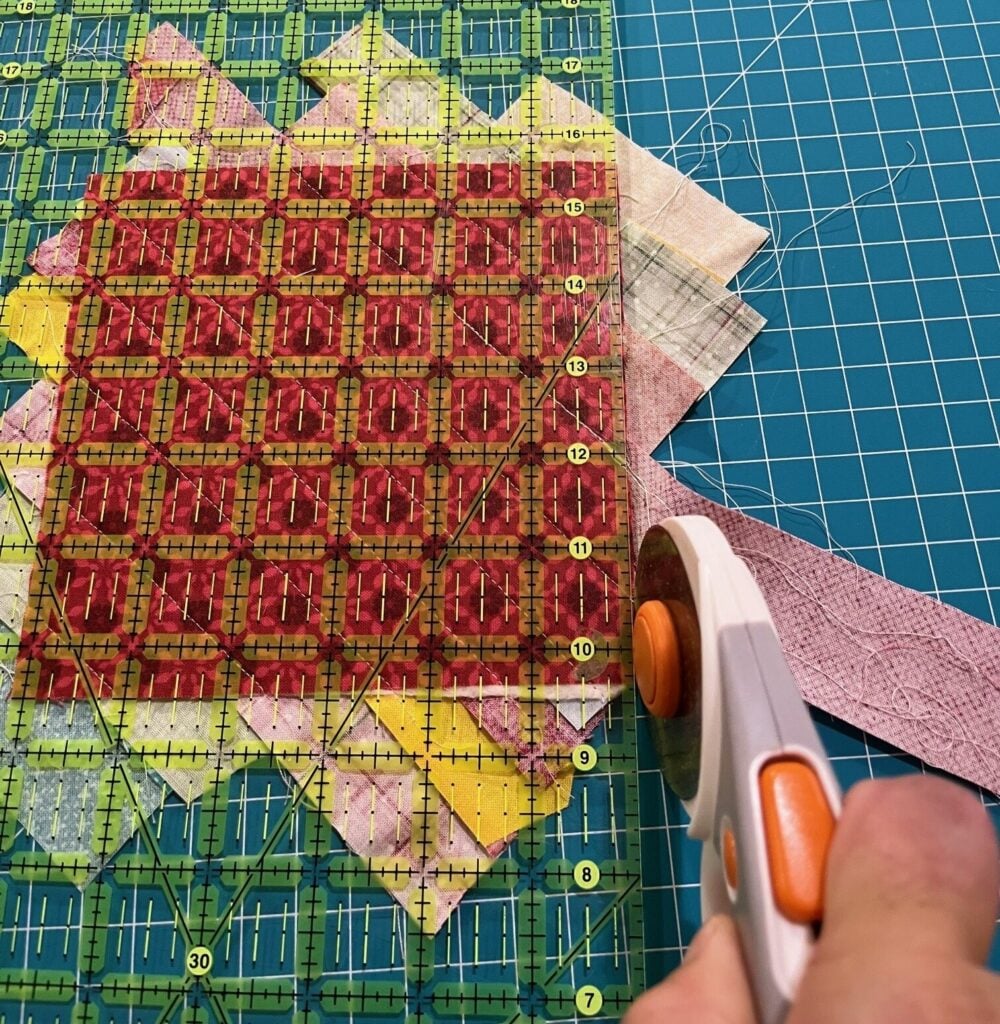
Trim any overhanging fabric from each side.
Step 3: Add a Little Machine Quilting
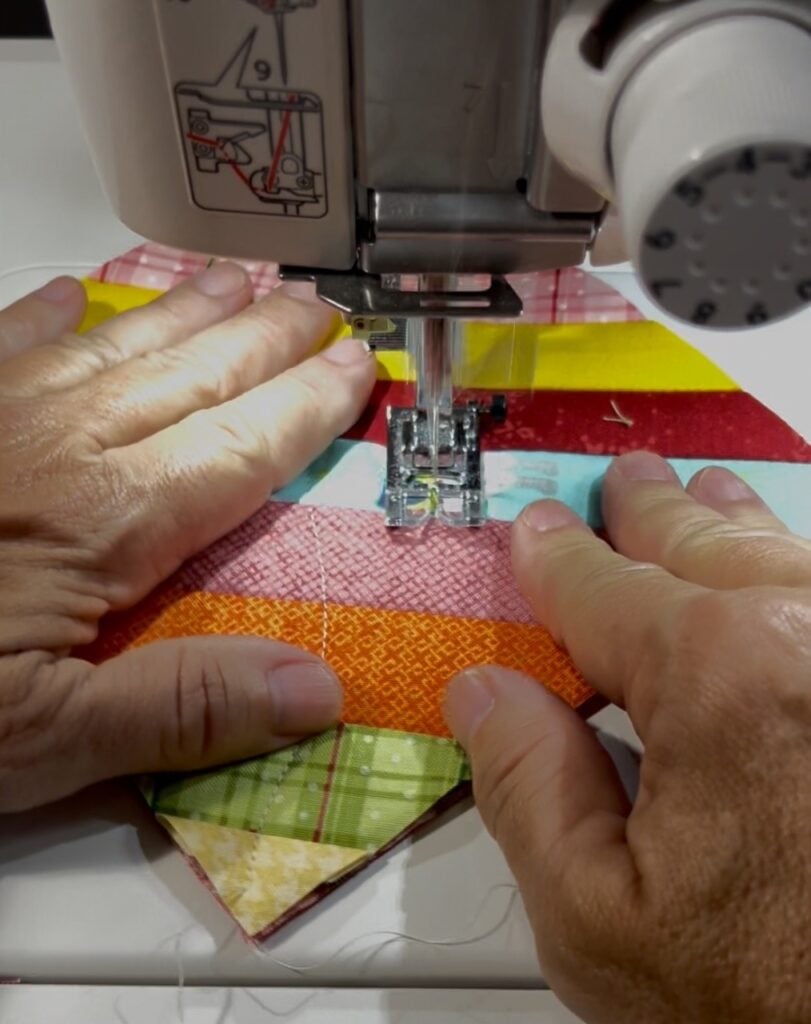
To give the coaster a little extra stability and texture, I added wavy lines of machine quilting between the fabric seams.
The wavy stitching adds a fun detail while helping hold all the layers together.
Step 4: Cut Out Your Coasters
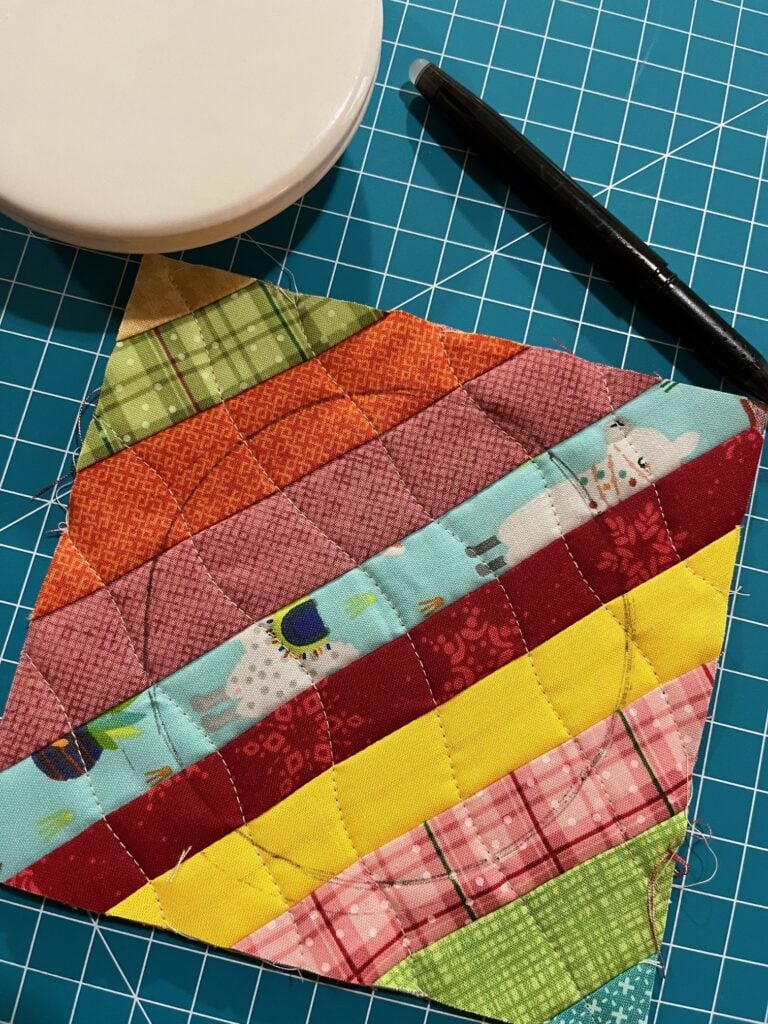
Using a 4 1/2″ circle template, trace a circle onto the quilted square.
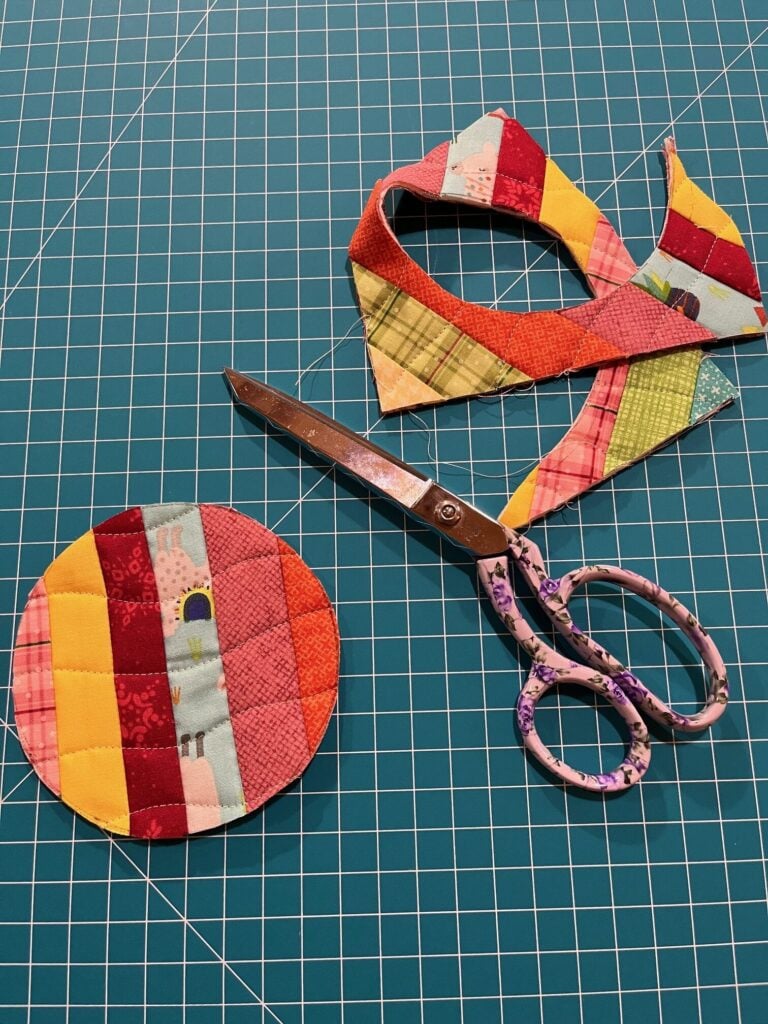
Carefully cut out the circle with fabric scissors.
Repeat for each coaster.
Step 5: Add the Binding
Cut your binding strips 2″ wide and bind each coaster just as you would a quilt. My Majestic Maple mini quilt post shows and explains all these details to help you add the binding!
I used a simple method of joining the binding ends by tucking one end into the other for a neat finish.
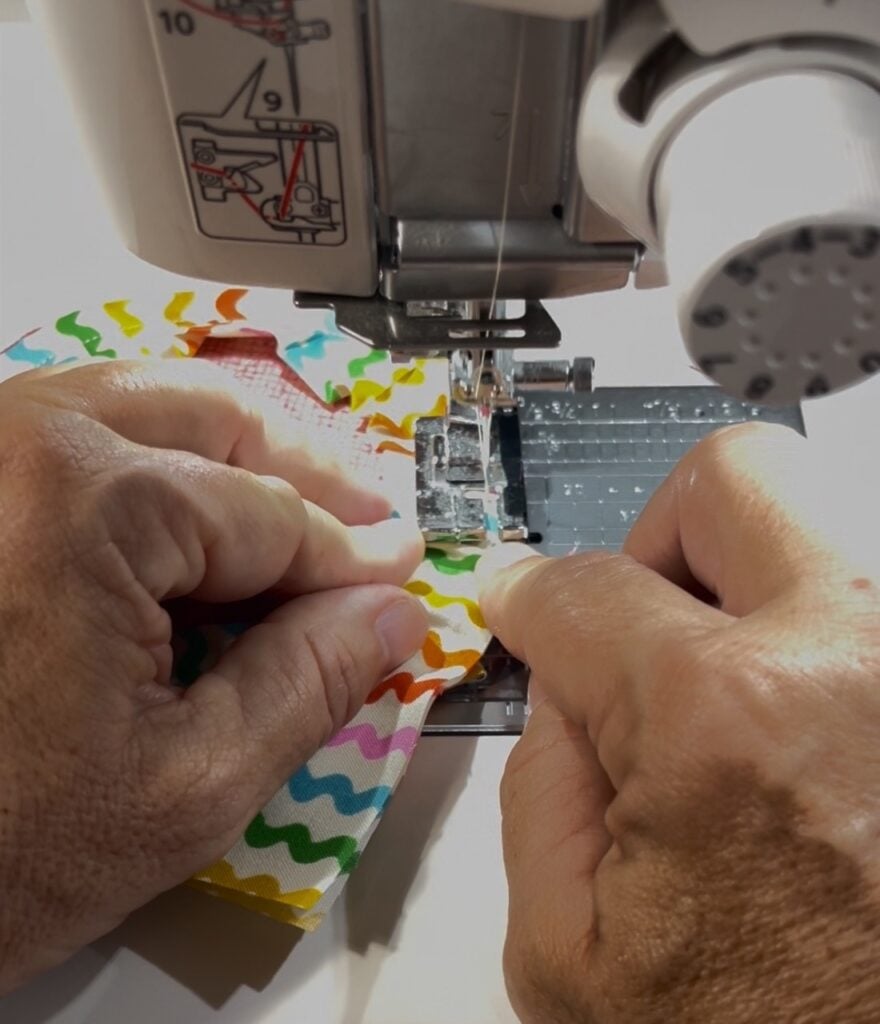
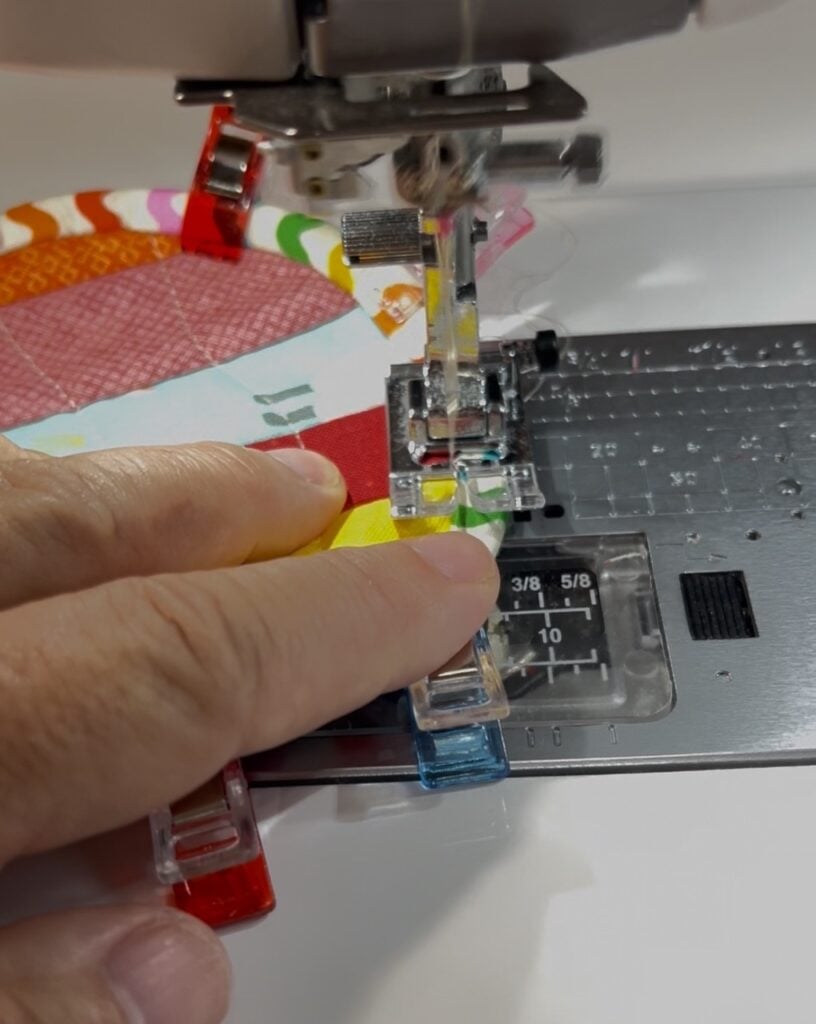
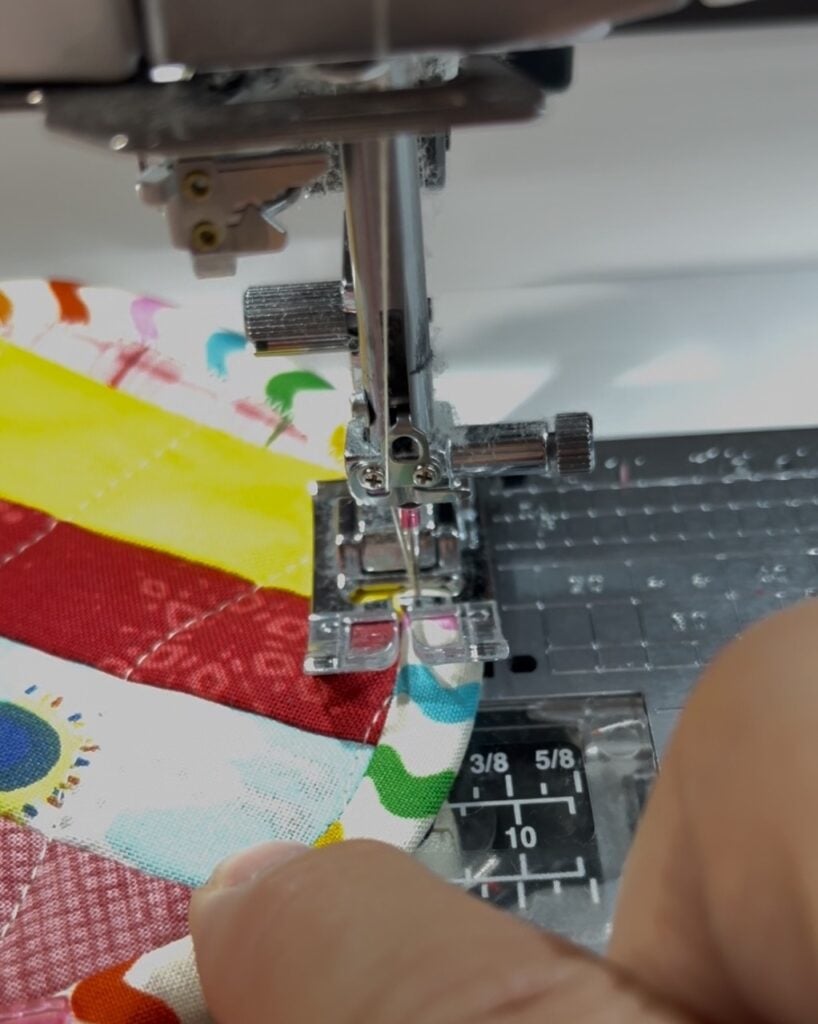
Take your time around the curves, easing the binding as you sew.
Machine stitch the binding in place to finish it off. I used a cute zigzag stitch to machine bind it!
A Sweet Little Handmade Christmas Gift!
That’s it! Your quilt-as-you-go Christmas fabric coasters are ready to use or gift.
I made a set of four and tied them together with a little twine for a simple, handmade presentation.
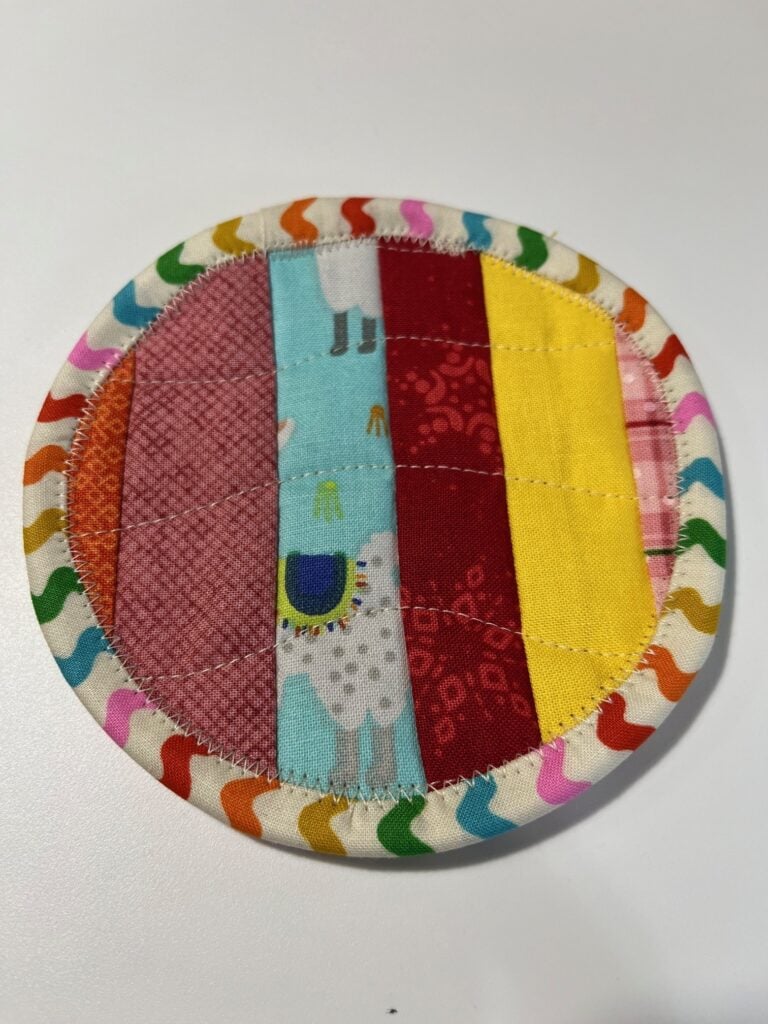
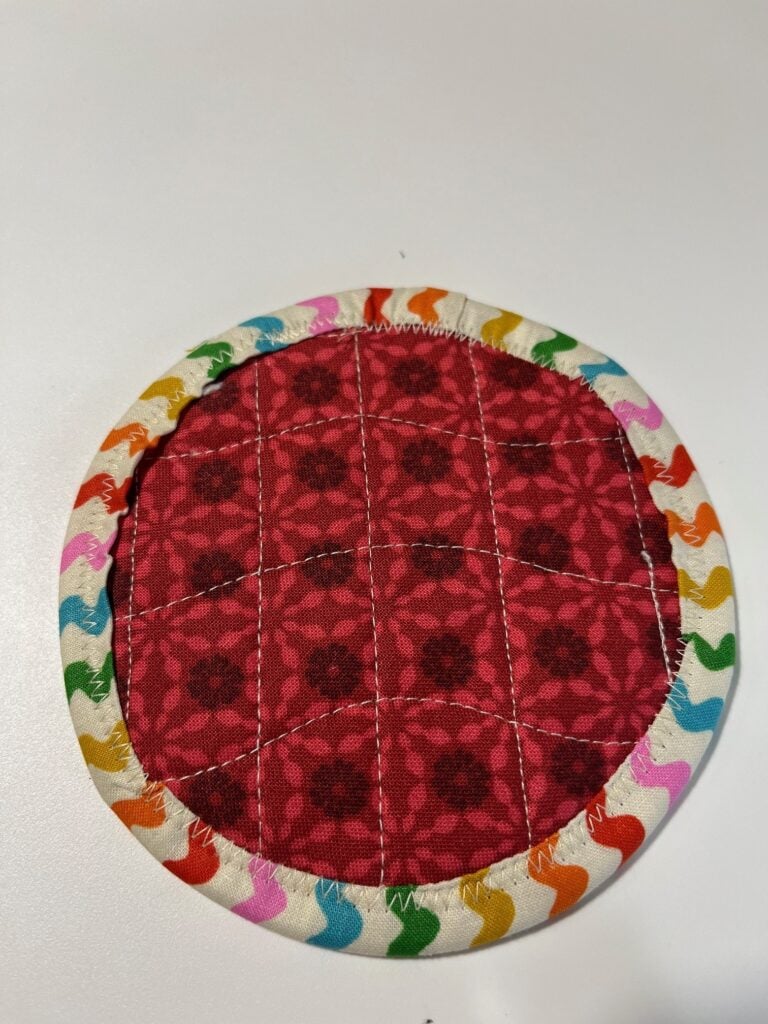
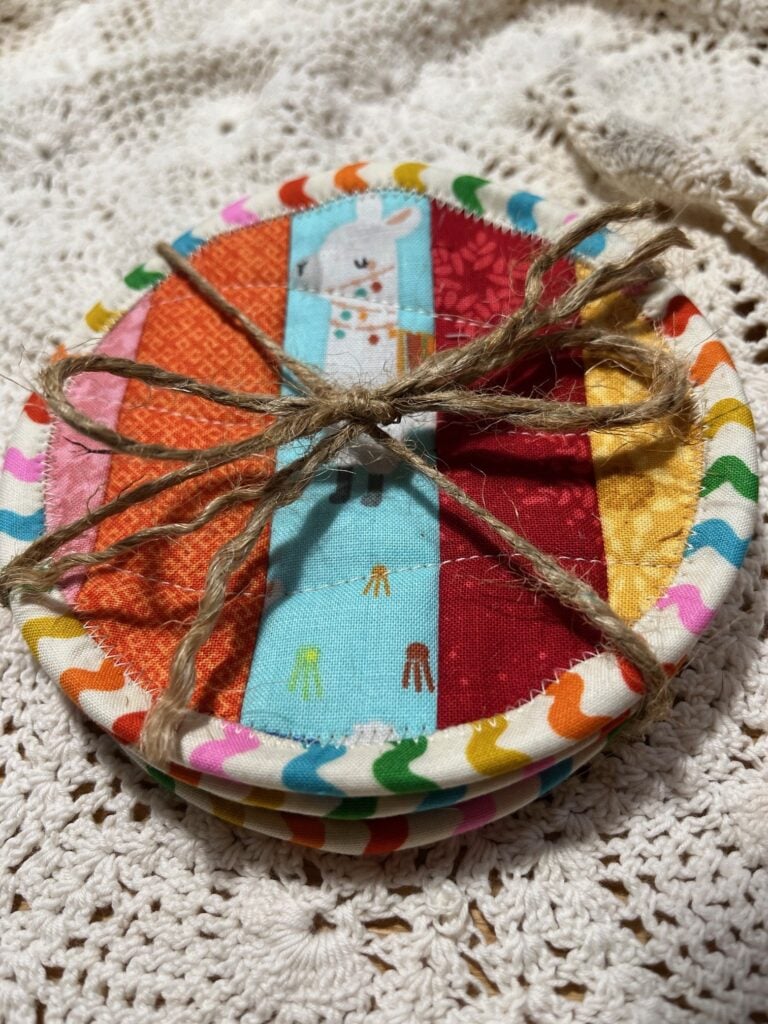
These are such a fun way to use up fabric scraps, and you can easily change the colors and prints to match any season or occasion.
Finished size: Approximately 4 1/2″ round
Project time: About 2 hours for a set of four
Happy stitching!