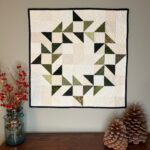
The Lumberjack quilt is an easy project for a beginning quilter. There’s nothing complicated about the pattern!! All directions for this Lumberjack quilt are included below.
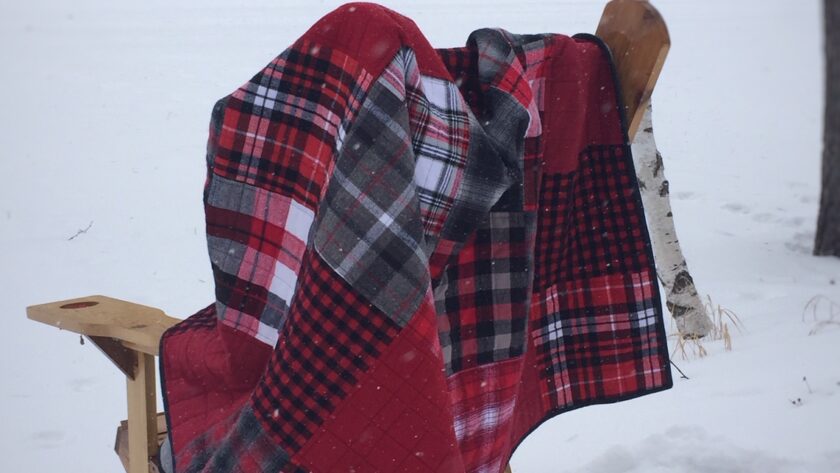
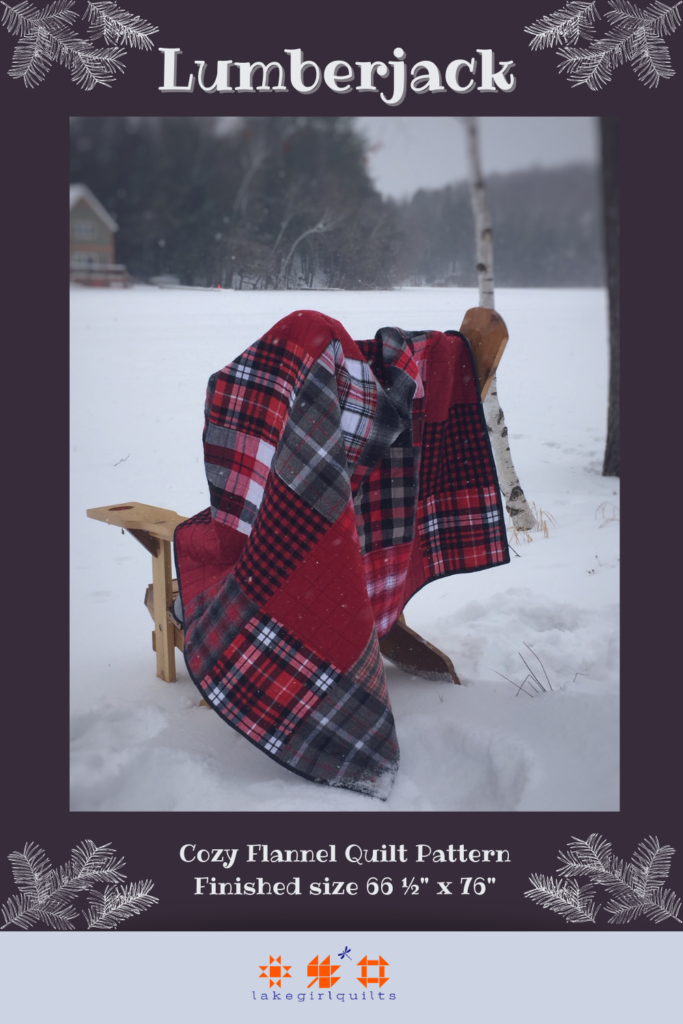
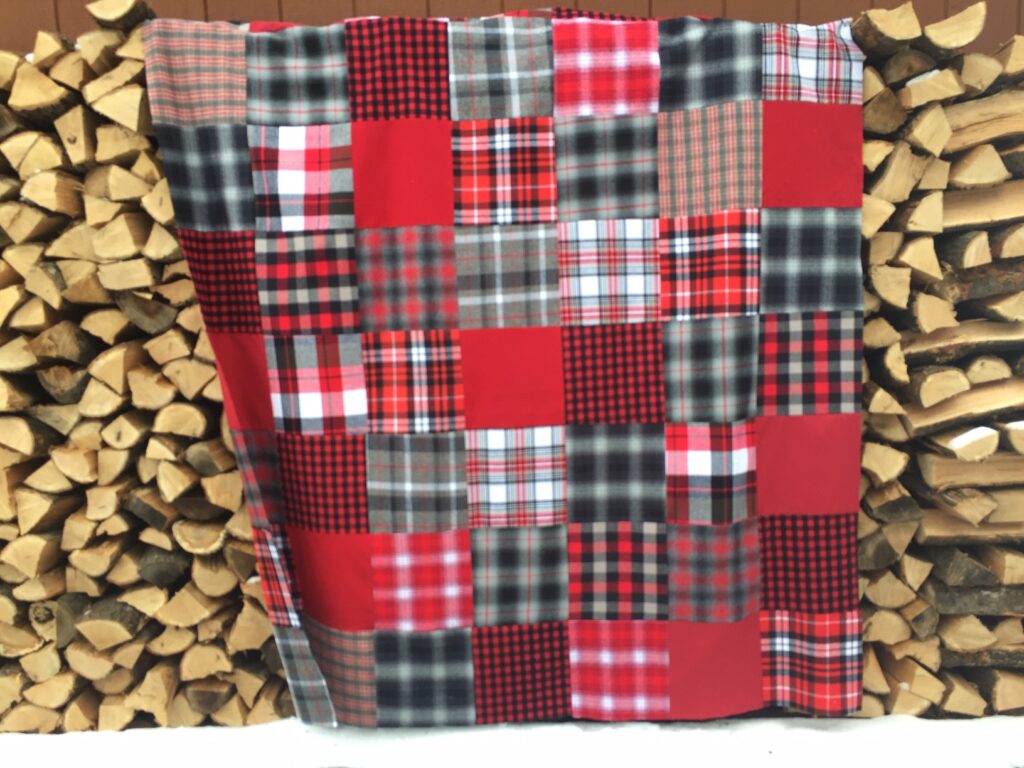
The Lumberjack quilt is super cozy! At a finished size of 66 ½” x 76”, the all-flannel Lumberjack quilt provides that extra layer of warmth and softness on those chilly nights!
Inspiration…
Lakegirlquilts is located in northern Wisconsin, an area rich in lumbering history. One of the oldest log cabins on our lake was originally a lumber camp over 100 years ago! The flannel fabrics of this quilt reminds me of the type of shirts a lumberjack would wear to keep warm in the woods!!
General Sewing Directions
The directions for this Lumberjack quilt are for rotary cutting, machine piecing, machine quilting, and the binding is hand stitched to the quilt back.
Accurate cutting and sewing enhances your final product.
Pin your pieces together before sewing them. This ensures proper seam alignment.
Use a ¼” seam allowance. I recommend using a special presser foot with a ¼” guide if you have one for your machine. This will help you get uniform seams, and matching corners!
Follow the directions described below as you press open the seams. Each individual row is pressed in the opposite direction of the previous row to eliminate bulk and help seams to lay flat. Rows sewn together are all pressed in one direction for a uniform look.
The finished quilt measures 66 ½” x 76”.
Fabrics
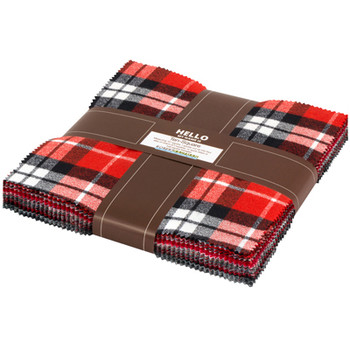
The inspiration for this quilt started with a wonderful 10” layer cake bundle I purchased at a quilting event. In one of the little booths the 42-piece bundle by Mammoth Flannel by Studio RK – Red Colorstory caught my eye right away!!!
Layer Cake
This fabric had me at Hello! Who can resist red, black, and gray flannel prints?! I was happy to snab it when I did!! There was a line of quilters behind me ready to take it if I hadn’t!
Additional Fabrics
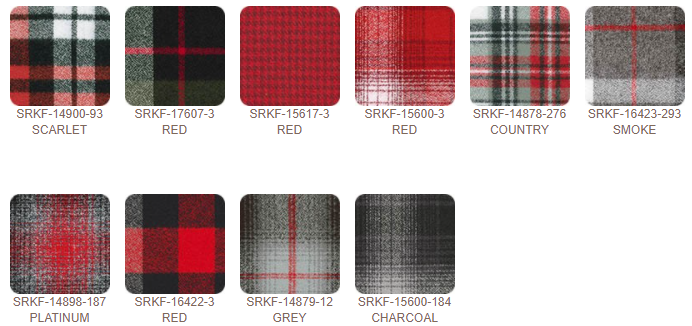
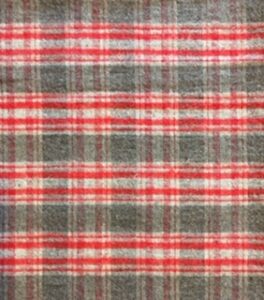
I added to the variety of ten fabrics found in the bundle by including a couple of flannel fabrics I had in my stash. One of the flannels, the light gray with reds in the plaid, came from the collection of fabrics I inherited from my mom.
It always makes my heart happy when I can incorporate my mom’s fabric into a quilt. It’s like getting a little hug from her!
I used all flannel fabrics in the Lumberjack quilt, but you really don’t need to. This pattern can easily be made with any type or color of fabric. Use your imagination, and be creative!!
Tips on Flannel
While you won’t be able to wash precut flannel, I highly suggest washing all other flannel you plan to use in the quilt. Flannel tends to shrink, so it’s important to get those “shrinks” all out before you sew the fabric into your quilt!!!
The website ALLFREESEWING has a great article on flannel! Read their article, “How to Wash Flannel: The Ultimate Guide”, to learn more about preparing the flannel fabric prior to using it in your quilt!
Quilt Top
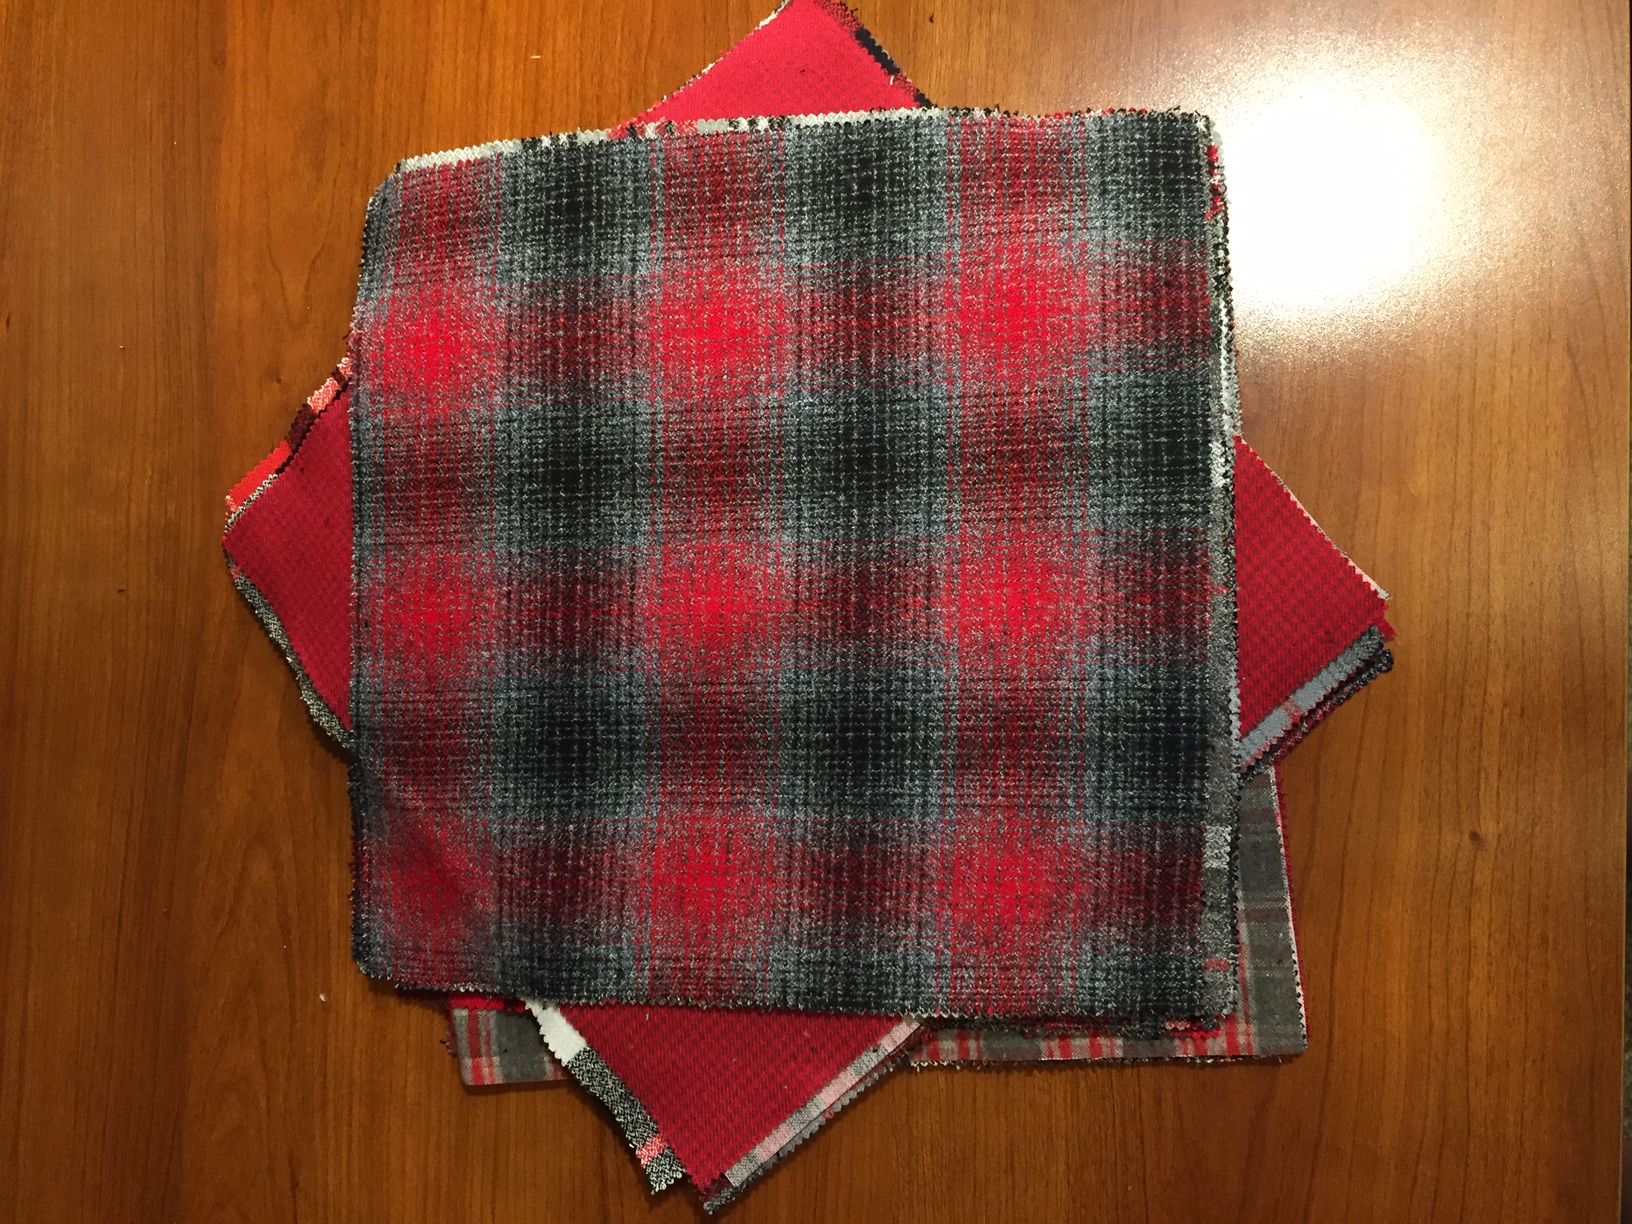
Cut 56 total 10” squares. I suggest using at least 10-12 different prints. The layer cake gave me 42 varied 10” squares. I cut 14 more 10” squares from my stash to get up to the 56 total 10” squares needed.
Quilt Back
For the back of my quilt I used 2 yards of a 108” wide flannel fabric from JoAnn Fabrics, Gray Medallion.
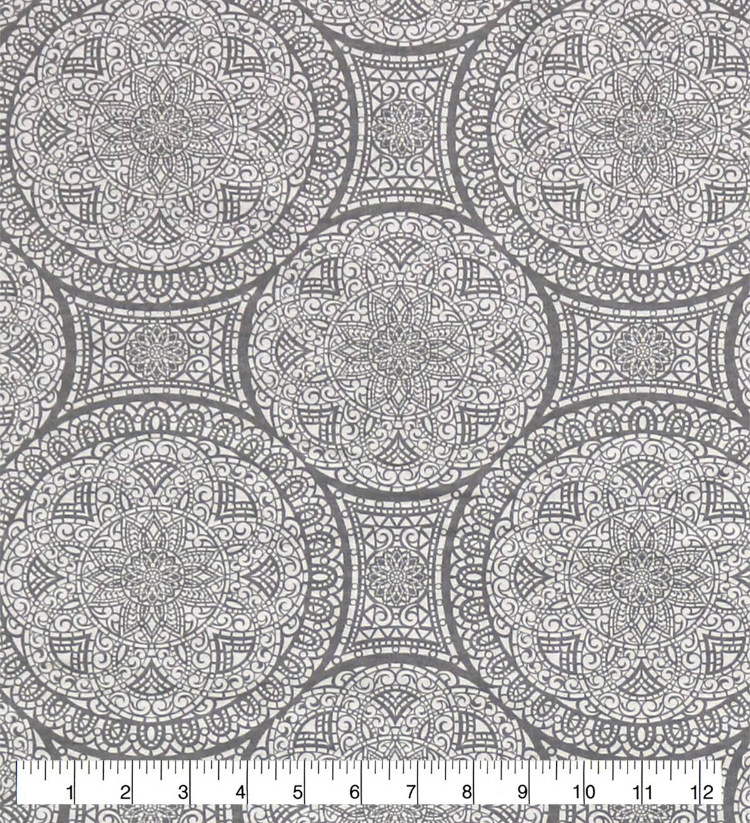
You’ll need a 72” x 82” rectangle for the quilt back.
This size allows for at least 3 inches of fabric to extend all around the edges of the quilt top.
If you don’t purchase a wide flannel for your back, you can purchase a narrower piece of flannel for your quilt back instead. Make sure it’s quilter’s flannel, so it’s a good quality flannel.
If you get a 43-44” piece, you’ll need to purchase 4 yards. You’ll then trim the salvage edges, and cut the 4 yards into two 2-yard pieces. Place the two 2-yard pieces right sides together, and sew along the long sides to make one large 72” x 82” back. Press the seam open to reduce bulk when quilting.
Binding
You’ll need ½ yard of flannel fabric for the binding. For the quality, I would stick to quilter’s flannel.
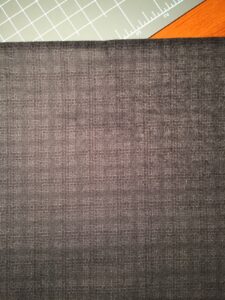
Cut seven 2 ½” x 44” strips of coordinating fabric. For the binding of my quilt, I used a black flannel with a small gray plaid. This is a Moda fabric from the Farmhouse Flannels collection by Primitive Gatherings.
The black binding really compliments the reds in this quilt!
Batting
You’ll need a twin size 72” x 90” thin cotton batting to make this quilt.
Trim one side of the batting to 82”, so you have a finished 72” x 82” rectangle of batting.
I always extend the batting 2-3” beyond each side of the finished quilt top to allow for stretching of the quilt top.
Sometimes when you machine quilt the quilt top fully stretches out a bit, so you want to have extra batting and backing for when this happens.
I like to use Warm & Natural needled cotton batting, but there are other similar types of cotton batting on the market.
Assemble the Quilt Top
Now that you have all your 10” squares cut, you want to plan how they’ll be arranged to make up the quilt top.
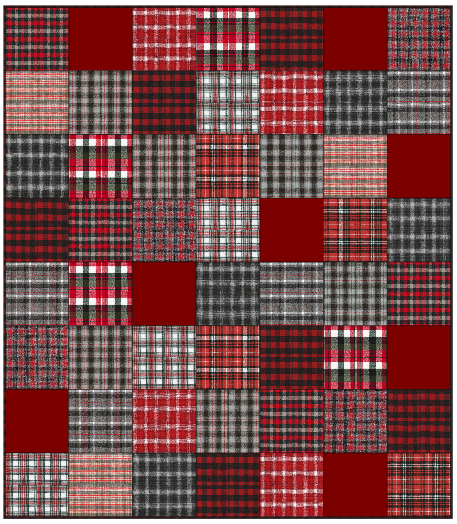
If you have a design wall to arrange the fabrics that’s great! I don’t have a design wall, I have a design floor! Play with arranging them until you get the look you want. The layout will be 7 squares across and 8 squares down.
Take a picture of this so you have the layout in case of a mess up when sewing the rows together. Carefully stack each row to keep them in order!
Sew the Rows
The quilt top has 8 rows. Begin stitching squares together (right sides facing) to complete each row. I always have to make sure to sew the squares together in the order I had arranged them, referring to my picture if I mess up.
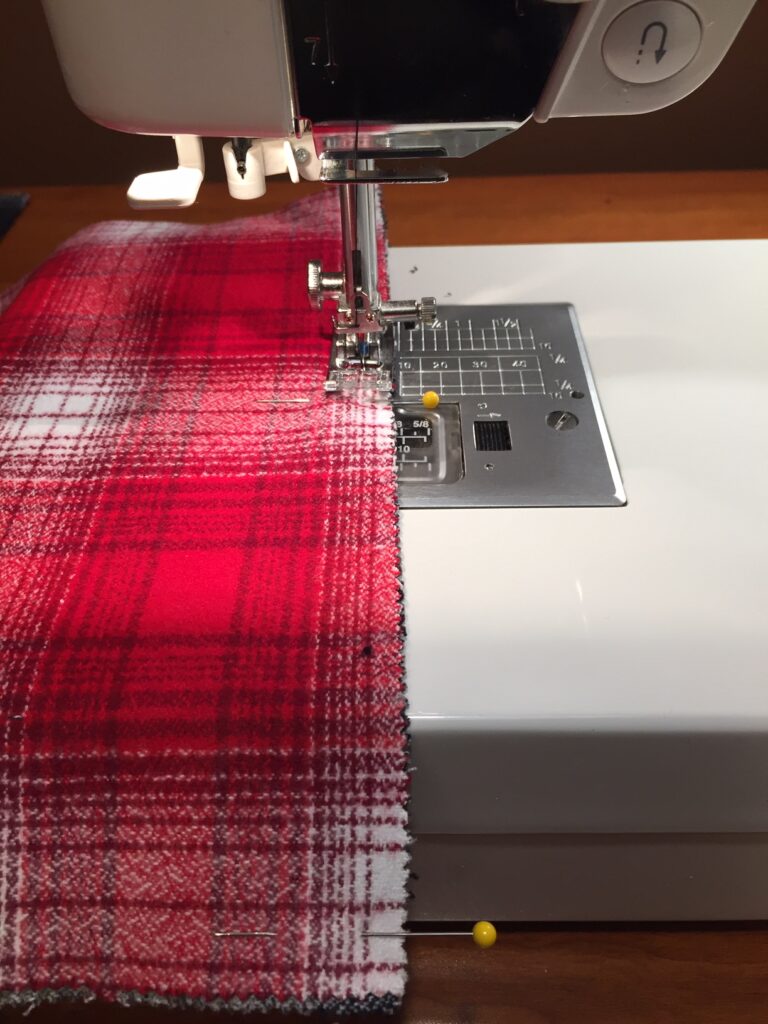
Remember to use a ¼” seam allowance for all seams. I really like to use my ¼” seam foot to make sure all my seams are exactly ¼”. If you don’t have this type of foot, make sure you know where your ¼” sewing line is on your machine, and be careful to follow it!
As you complete a row, lay it back down on the floor or over your ironing board in the right placement to make sure you don’t mess up your arrangement of rows.
Pressing the Blocks and Rows
Be careful to just “press” and NOT “iron” the seams in a back and forth motion, or your quilt will stretch out of shape.
Direction of Squares
Begin by pressing the seams of the first row all in one direction. Press the seams of the second row in the opposite direction. Continue to rotate the pressing direction of each row until you have the seams of all rows pressed.
Think…odd rows 1, 3, 5, etc. press the seams to the right. Even rows 2, 4, 6, etc. press the seams to the left.
By using this rotating direction of pressed seams, you will have less bulk when you sew the rows to each other. This method of pressing distributes the bulk, which will make you happy when you machine quilt your project!
Bulky seams can lead to bumpy quilting patterns, broken thread, and overall unevenness of your machine-quilted quilt top. Proper pressing helps take care of this issue!
Direction of Rows
Now that you have the pieced rows pressed, sew them together! Pin rows 1 and 2 together, right sides together. Make sure to line up the seams, and pin to hold them in place. When you’re stitching the ¼” seam, remove the pins as you come to them.
I like to press each set of rows as I sew them together. The rows all get pressed in one direction, either towards the top or towards the bottom. By pressing them all in one direction it will make for a more uniform and smooth quilt top.
Repeat until you have all 8 rows pieced together and pressed.
Finishing the Quilt
Now that you have your quilt top sewn together, it’s time to finish it! Some people call the completed quilt top a flimsy, and I really like this term.
The top is a flimsy because you haven’t yet added the 3 B’s to your quilt – batting, backing, and binding!
Layering the Top, Batting, and Back
I refer to layering the quilt as “sandwiching”. You need to sandwich the top and back with the batting in the middle.
Prepare the Bottom Layer of the Quilt Sandwich
On a large floor area or with two tables pushed together, use masking or painter’s tape to tape down the backing fabric. As you tape the back to the surface, you’ll want to make sure the fabric is smooth, without wrinkles. Tape the back taut (not stretched) and make sure the right side of the fabric is facing down!
Add the “meat” to Your Quilt Sandwich — the Batting!
Lay the batting on top of the taped-down quilt back, and move your hands across it to smooth it all over. This will get rid of any wrinkles in the batting, and help to adhere it to the backing fabric.
Add the Top to the Sandwich
Once you have the batting placed on top of the quilt back, center the top of the quilt (the flimsy!) over the two bottom layers. Right side facing up, of course! The two bottom layers of the quilt (the back and the batting) should extend about 2-3” all around the outside edges of the quilt top.
Move your hands across the quilt top to smooth it all over, and help remove any wrinkles. This will also help adhere the quilt top to the batting a little bit.
Once you have the top of the quilt all smoothed out, use 1 ½” stainless pins to baste your quilt layers together.
Holding the Layers Together
Basting is the term used to hold all three layers of your quilt together.
Some people prefer to use basting spray to sandwich their quilts together. This allows them to eliminate the need to pin the quilt layers to hold them together. Personally, I don’t prefer basting spray. I’ve never had good luck with it, and I usually end up with wrinkles in my quilt back, not fun!! I have better luck basting my quilts together using 1 ½” safety pins.
Baste the Sandwich Together
You’ll want to start basting on one side of the quilt, and work your way across. You should place a pin about every 4 inches or so.
I’ve learned that a pin should be placed about the size of your fist apart from each other, so that is a good visual to help guide your pin placements.
“Quilting” the Quilt
I chose a straight machine quilting stitch to permanently join all three layers of the Lumberjack quilt together. I’ll do my best to explain the technique I used. If you’re new to machine quilting you might want to search for online videos that can demonstrate the process for you.
Walking Foot
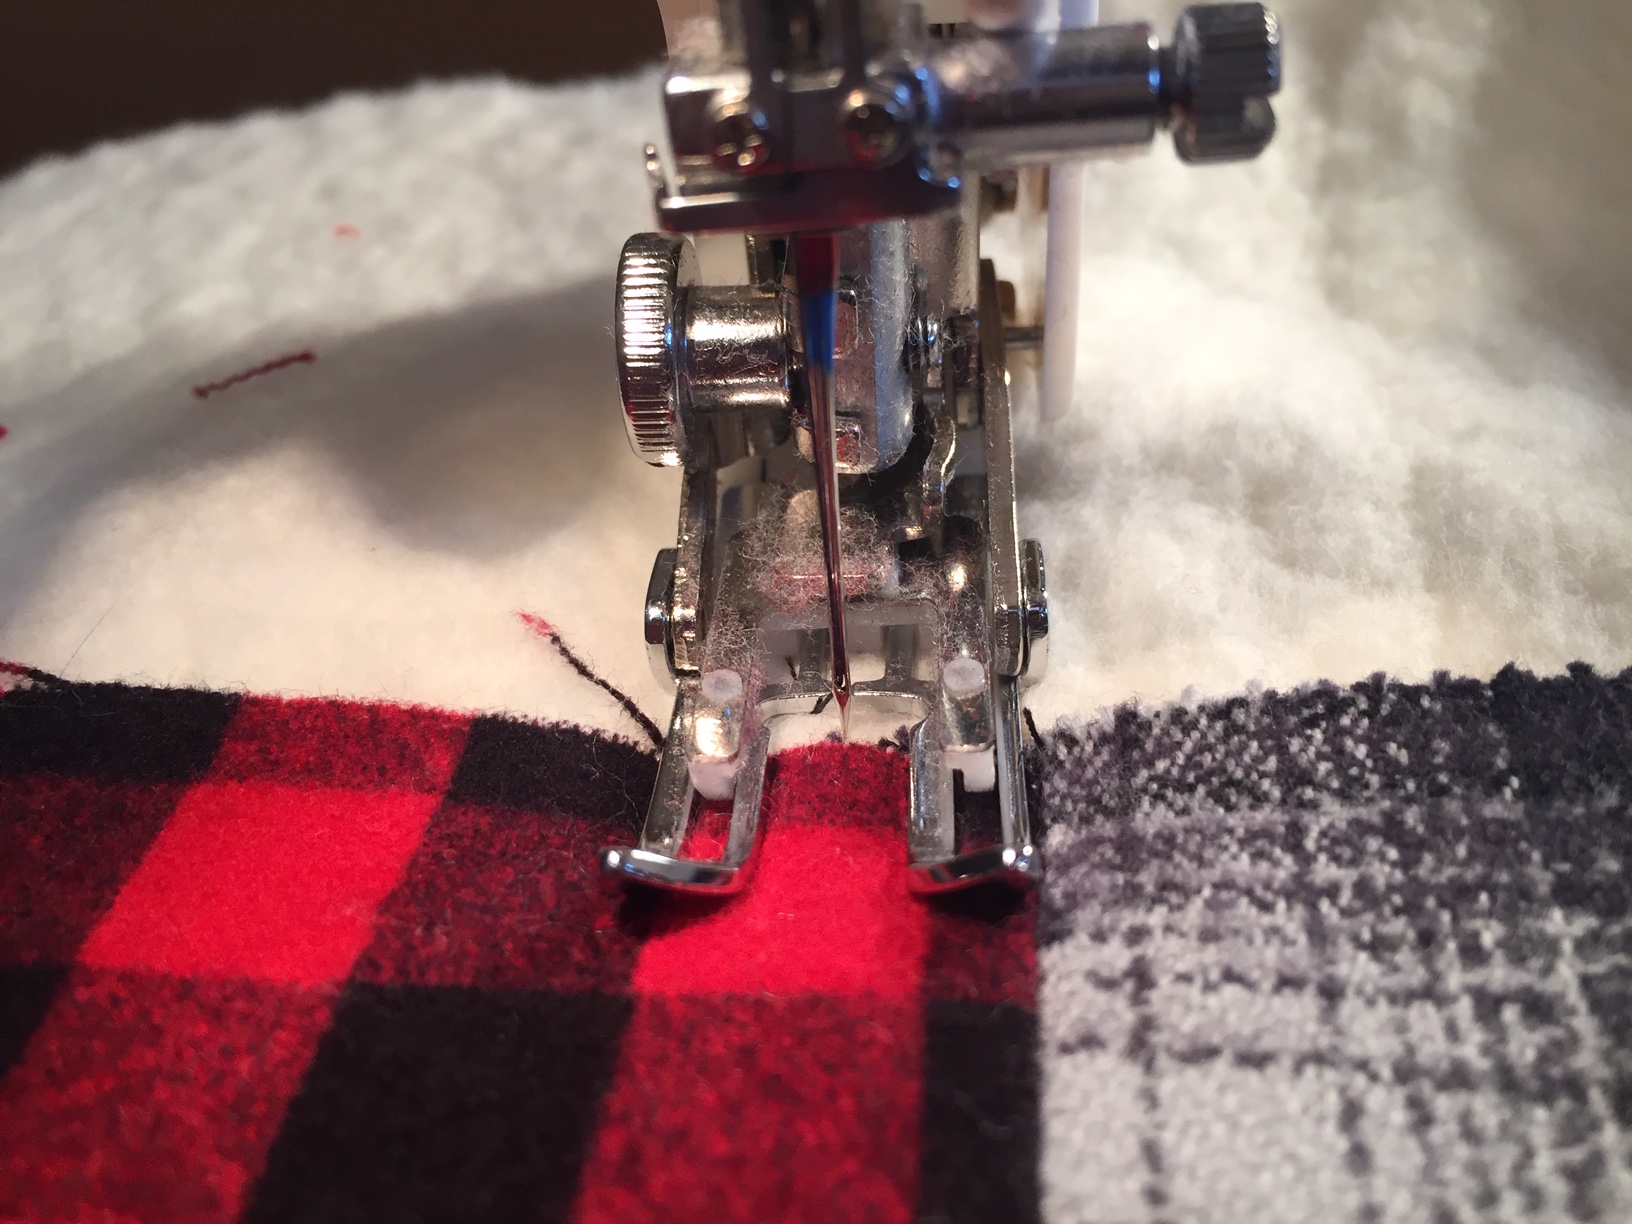
You’ll need a walking foot to evenly machine stitch your quilt layers together using a straight stitch. Remember, it’s a walking foot not a running foot!
Work slowly as you stitch so your machine can keep up with these heavier flannel layers.
Machine Quilt Pattern
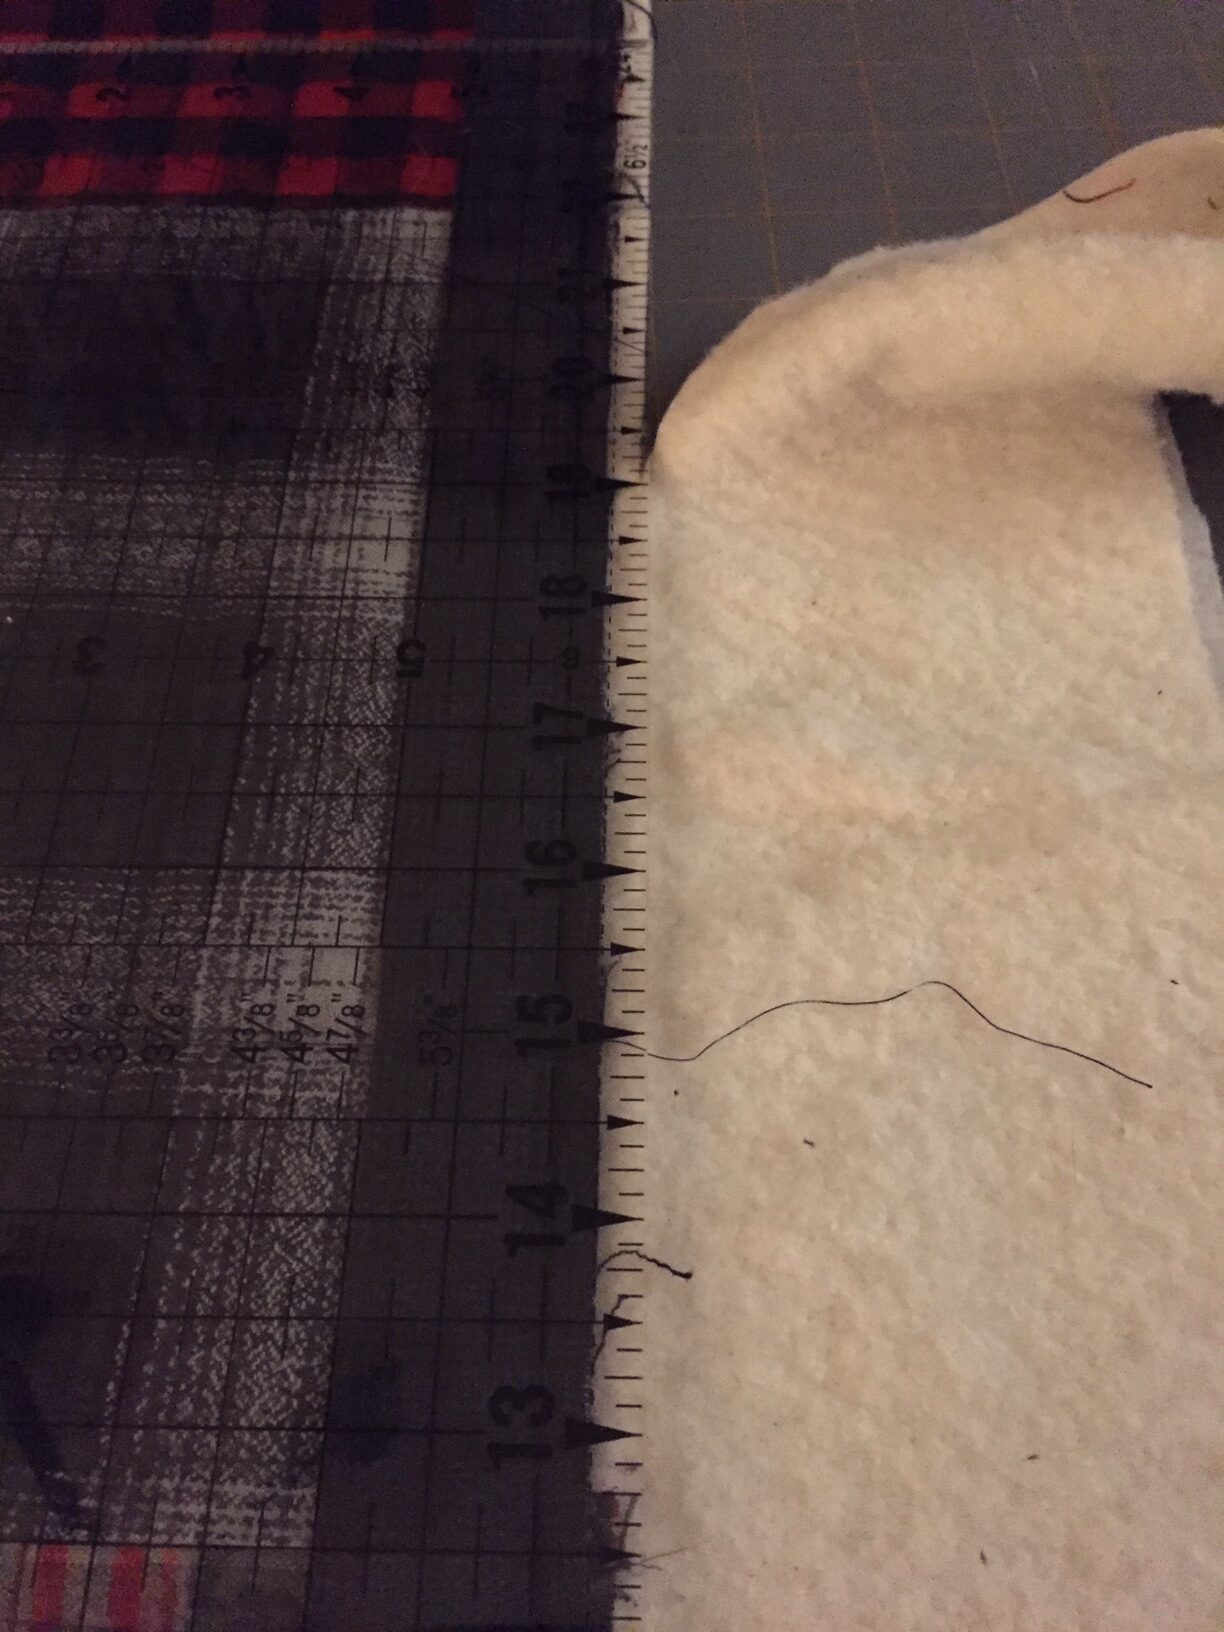
I used a plaid pattern in my straight stitching. Use 2” and 1” painter’s tape to accomplish this quilting design. Start machine quilting by stitching ½ inch from each vertical and horizontal seam. This allowed me to remove quite a few of my basting pins as I worked.


I measured 2 ½” from the seam (using my plastic ruler to measure evenly), and taped along this measurement with the wide tape. From the wide tape, I measured another 2” and taped the 1” tape in this measurement. As you tape, remove pins that are in the way of the tape. Remove pins as you stitch near them.
Stitch along all 4 sides of the tape.
I proceeded in this manner until I had all the vertical lines stitched. I then used the same measurements and taped/stitched all the horizontal lines.
This is a really easy way to machine quilt your layers!
You should be able to reuse the tape once or twice. When it doesn’t stick anymore then you’ll definitely want to start with a fresh piece of tape on your line!!
Binding the Quilt
1 hour 1 hour
When you’ve finished quilting the layers together, it’s time to bind the edges of your quilt! I’ll do my best to describe the binding process below, but if you’re confused by my directions there are lots of videos on the Internet that will demonstrate the process for you.
- Prepare Binding Strip
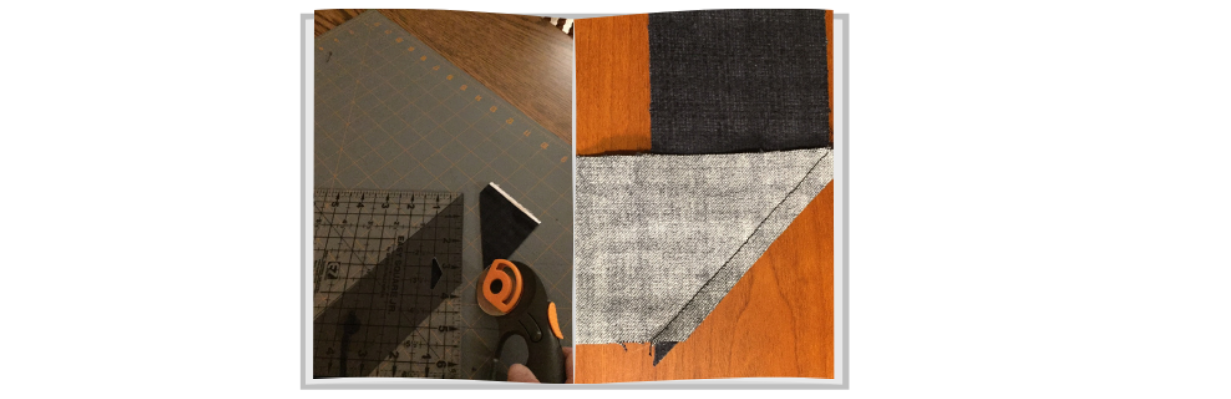
Take your seven 2 ½” binding strips that you previously cut and prepare to sew them together. To do this, fold the strip in half. Using your ruler, find the 45 degree line and lay it along the bottom of the folded strip. Now, you can cut a 45 degree angle through both layers. When you open up the strip each end will have the angle facing in the opposite direction.
- Press the Binding
Press the seams open.
Then, fold the binding strip in half (wrong sides together), and press.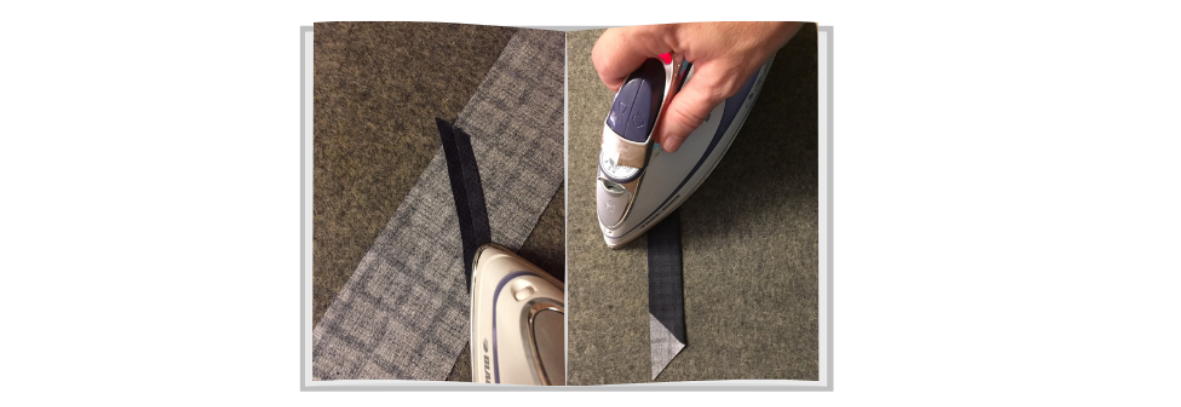
- Sew the Binding Strip to the Quilt
Begin to sew the raw edge of the binding to the quilt by pinning it along one side. Be careful to sew the raw edge of the binding strip to the quilt, not the folded edge!
I usually start sewing the binding strip in the middle of the quilt side that I’m starting with. Start sewing about 5” in from the end of the binding strip, leaving a hanging “tail” on the binding. You’ll sew this to the end of the binding strip when you finish sewing all along the sides of the quilt.
Stop sewing on the first side ¼” from the corner, use a pin to mark this location and sew right up to it. Backstitch a bit, and cut your thread but DON’T cut the binding strip.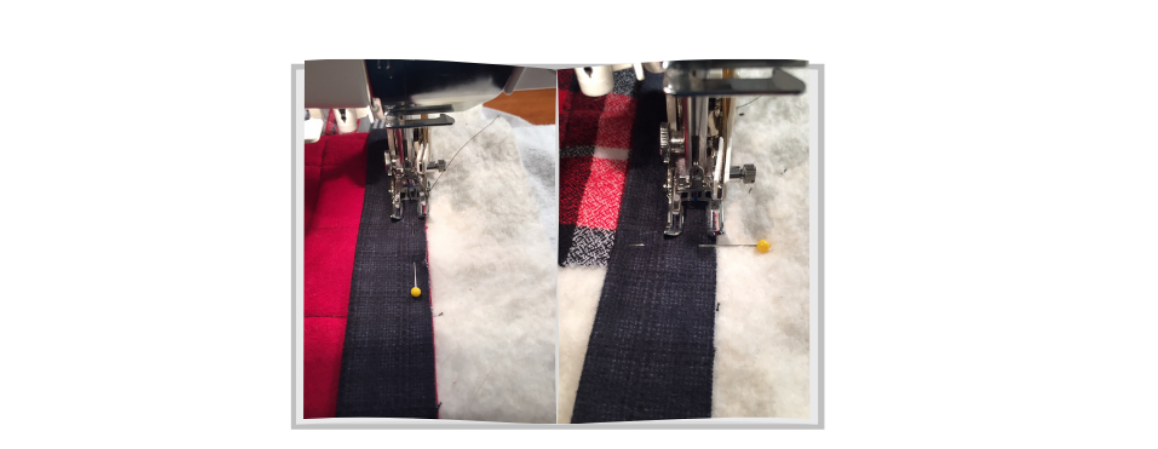
- Making the Mitered Corner
Now, remove the quilt and binding strip from your machine and fold the binding strip straight up so it’s perpendicular from the side you were just sewing on.
Fold the binding strip back down on itself and match it to the edge of the quilt you just sewed it to, and the next edge of the quilt edge you’re about to sew it to. Pin this fold in place, and pin the binding strip to this edge of the quilt and continue to sew it, again stopping ¼” from the next corner and repeating the folding process described above.
Continue in this manner until you are on the last side of the quilt, the side you started on.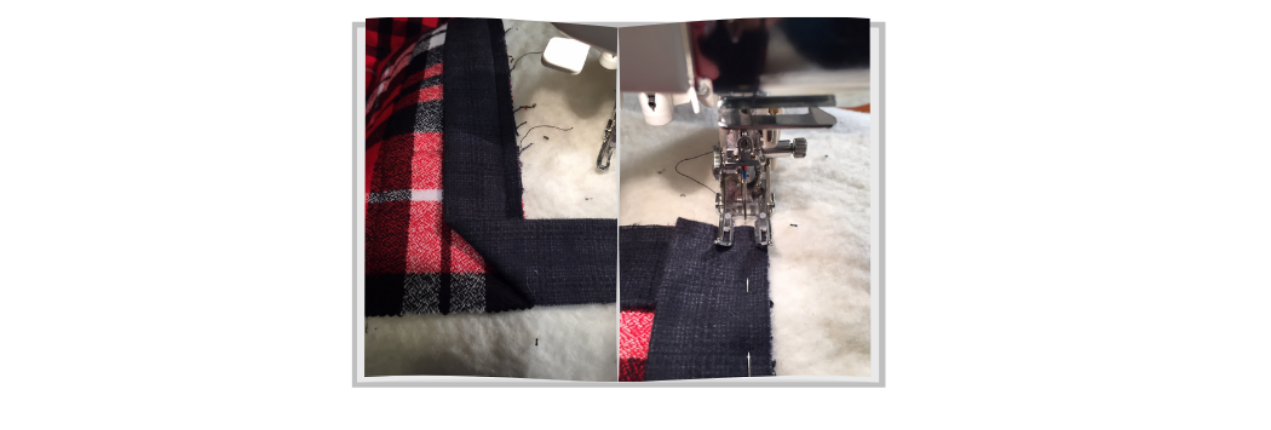
- Connecting the Ends of the Binding
Stop stitching about 4” from where you started. Backstitch and cut the thread (but not the binding strip, not yet!), remove the quilt and binding strip from the machine.
You now have two “tails” of the binding strip, one from where you started stitching it to the quilt and one from where you just stopped. You’ll need to join these tails together so that you have a continuous binding strip to finish sewing down to the quilt. This can be tricky!
I don’t worry now about cutting 45 degree angles on each end of the binding strip to sew it together to make a continuous strip. If you can master this technique, my hat is off to you!! What I do is measure how much more binding strip I’ll need to finish sewing it to the edge of the quilt. I then cut a straight line along each end of the binding strip, adding ¼” to each end so I can sew the ends together with a ¼” seam (right sides together). Continue to sew the now continuous binding strip to the quilt.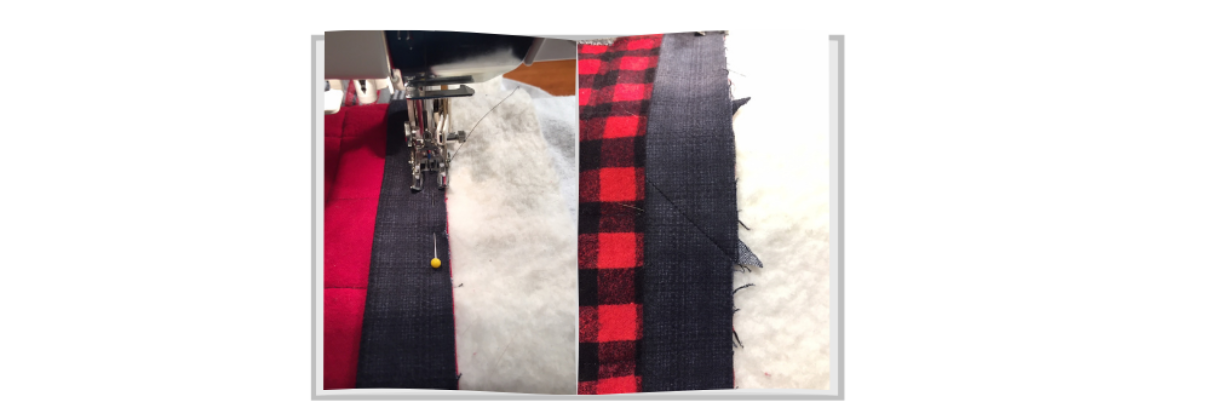
- Trim the Batting and Back
Trim the batting and quilt back to ¼” from the edge of the quilt top. I use a ruler and a rotary cutter to accomplish this task. Work carefully, so you don’t cut into your quilted project!
- Hand-Stitch the Folded Binding Edge to the Quilt Back
Here is my FAVORITE part of the process, hand-sew the folded edge of the binding strip to the back of the quilt. When you get to the corner, carefully turn the corner right-side out to make a nice, mitered corner. I tack a few stitches up the corner to hold it in place, and then continue stitching along all sides and corners until…VOILA! Your binding is complete!
Finishing Touch
As a finishing touch, you can add a label to the back of the Lumberjack quilt. A quilt label is like the signature on the masterpiece!!
The Lumberjack quilt has been featured on FaveQuilts. FaveQuilts is an amazing site to find more quilt patterns!! You can sign up for their newsletters here!
Have fun making your cozy Lumberjack quilt!!!
~Bonnie
[…] This is my favorite part of the process of quiltmaking, as it means the project is almost finished! Visit this previous post to read more detailed directions on binding a quilt. […]