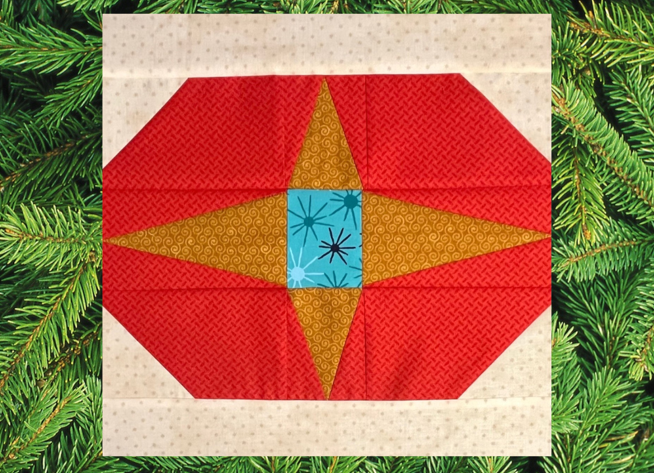
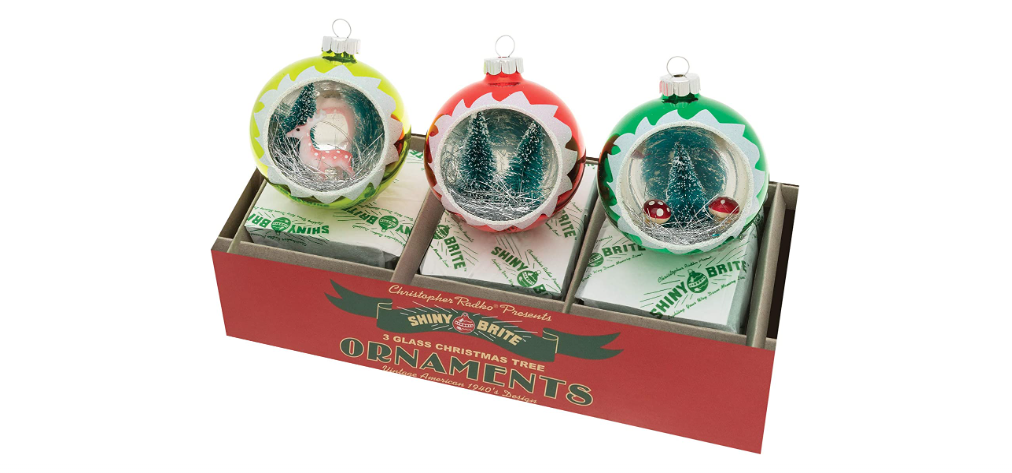
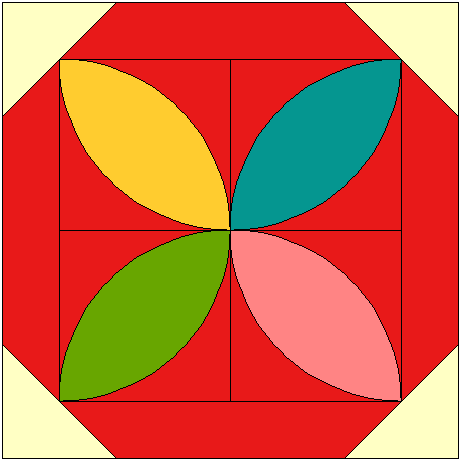
This enchanting Christmas ornament #7 quilt block is inspired by the vintage Shiny Brite Christmas tree ornaments that I’ve collected over the years.
I love the red, aqua blue, teal, pink, gold, purple, and green color combinations of the Shiny Brite ornaments!! These ornaments bring back the nostalgia of my childhood and decorating the freshly cut balsam tree on Christmas Eve.
Decorating with quilts during the holiday season is so cozy and brings a sense of warmth to your holiday décor!!!
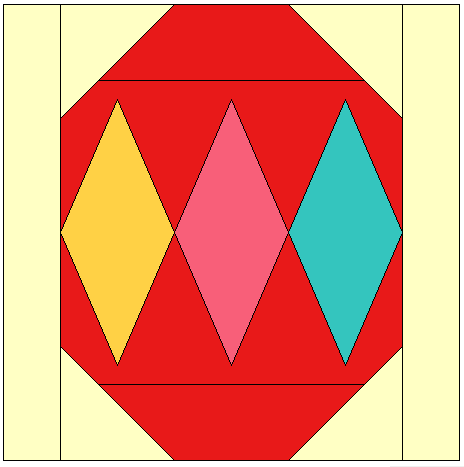
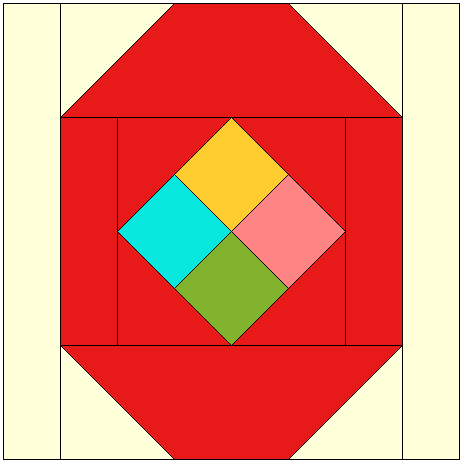
Ornament #7 quilt block has a colorful star burst in the center. This fun center is made from simple templates and easily sew together!
Post contains affiliate links and we earn commissions if you shop through the links on this page, including Amazon Associate links. For more information please read the disclaimer on the Privacy Policy page.
Cutting the Fabric for Ornament #7
Use your favorite rotary cutter, plastic ruler, and cutting mat to cut out the following pieces for ornament #7.
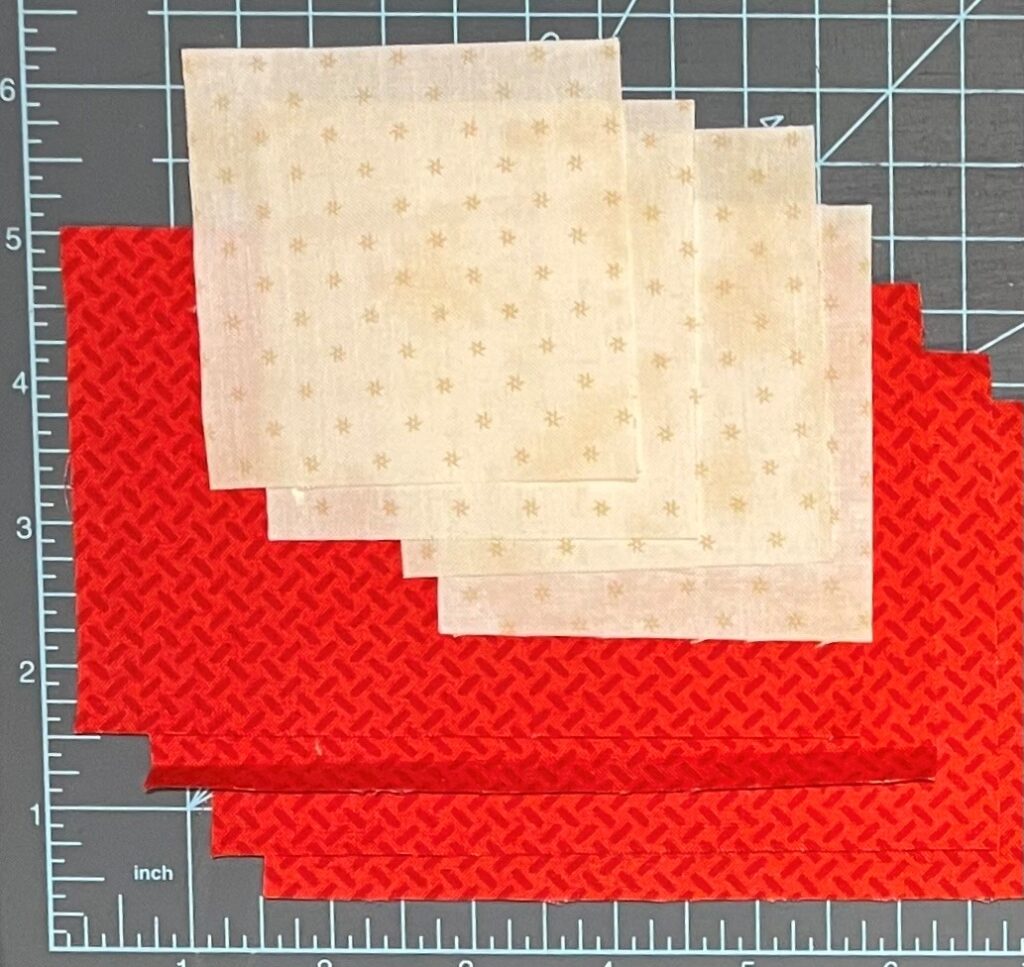
Red Fabric:
Cut 4 – 3 1/2″ x 5 1/2″; 2 – pieces from Template C; 2 – pieces from Template D; cut 2 – pieces from Template F; and 2 – pieces from Template G
Blue:
Cut 1 – 2 1/2″ x 3″
Gold:
Cut 2 – pieces from Template E and 2 – pieces from Template H
Cream Fabric:
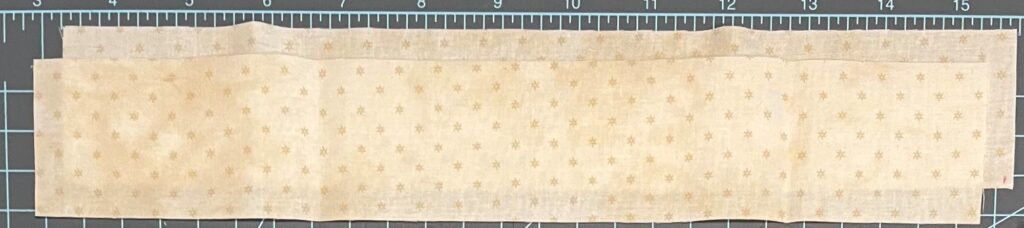
Cut 4 – 3″ x 3″ and 2 – 2″ x 12 1/2″
Sewing the Ornament #7 Quilt Block
Follow each of the steps below to make the Ornament #7 quilt block!
Step 1
Cut all necessary pieces listed above.


Step 2
Using a straight edge and a washable marking pen, draw a diagonal line from corner to corner on wrong side of 3″ cream squares.
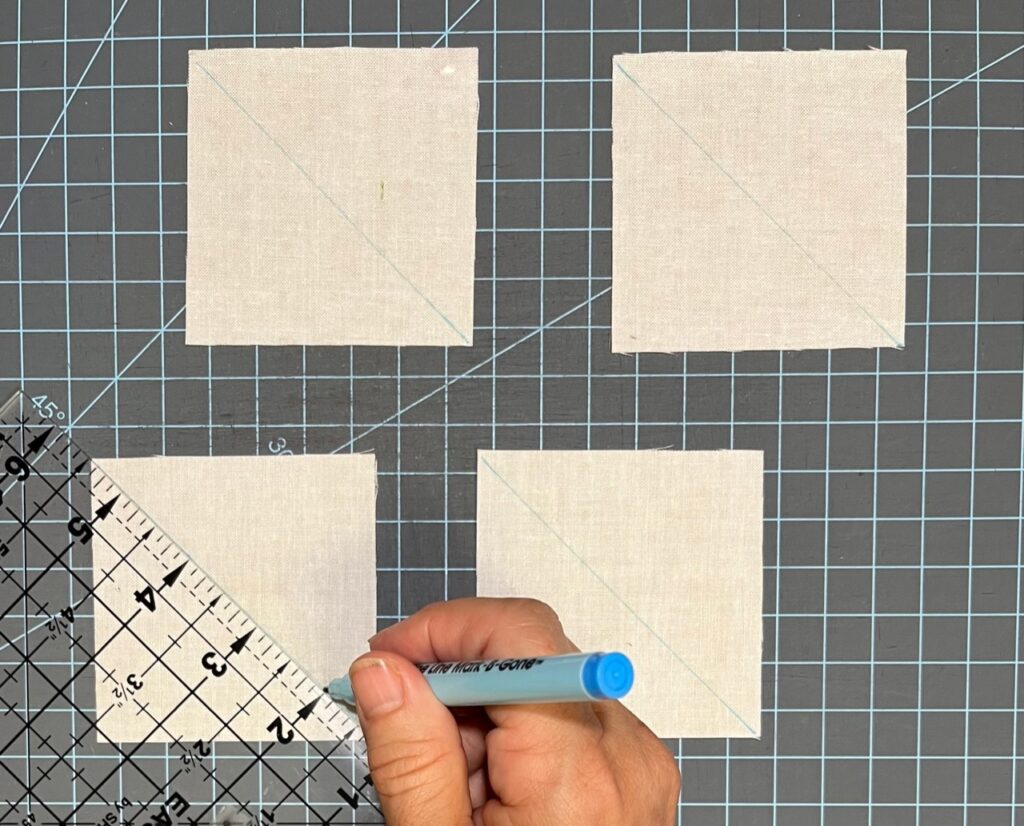
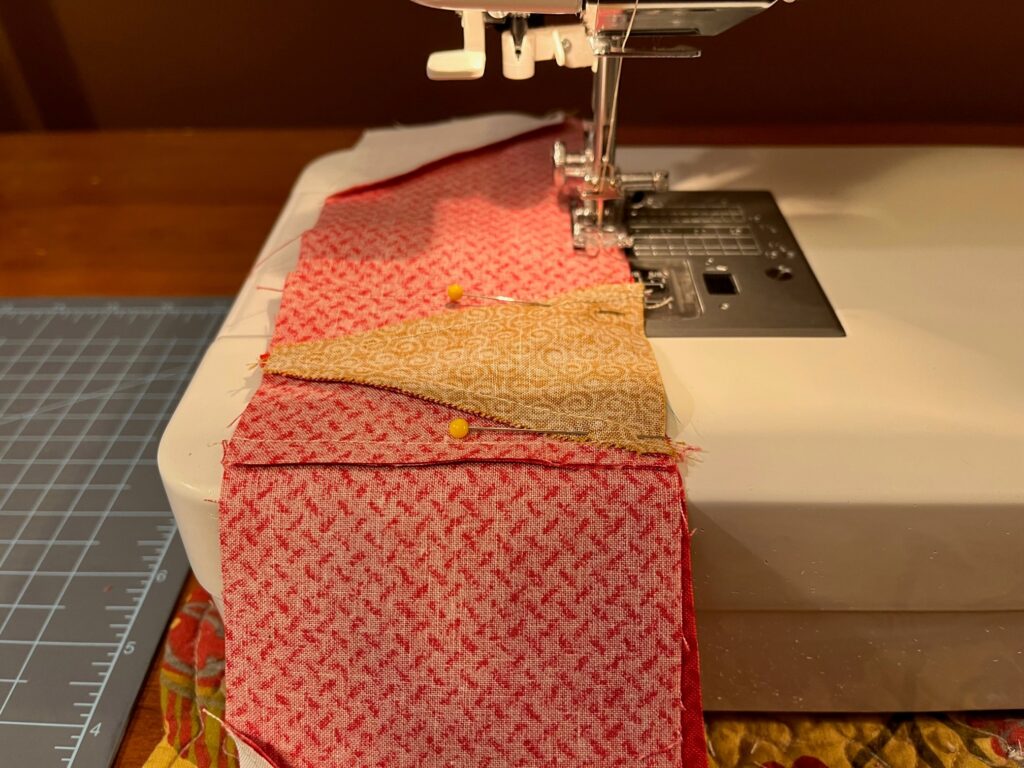
Lay out 4 red rectangles. Right sides together (RST) pin cream squares in corners of each of the red rectangles.
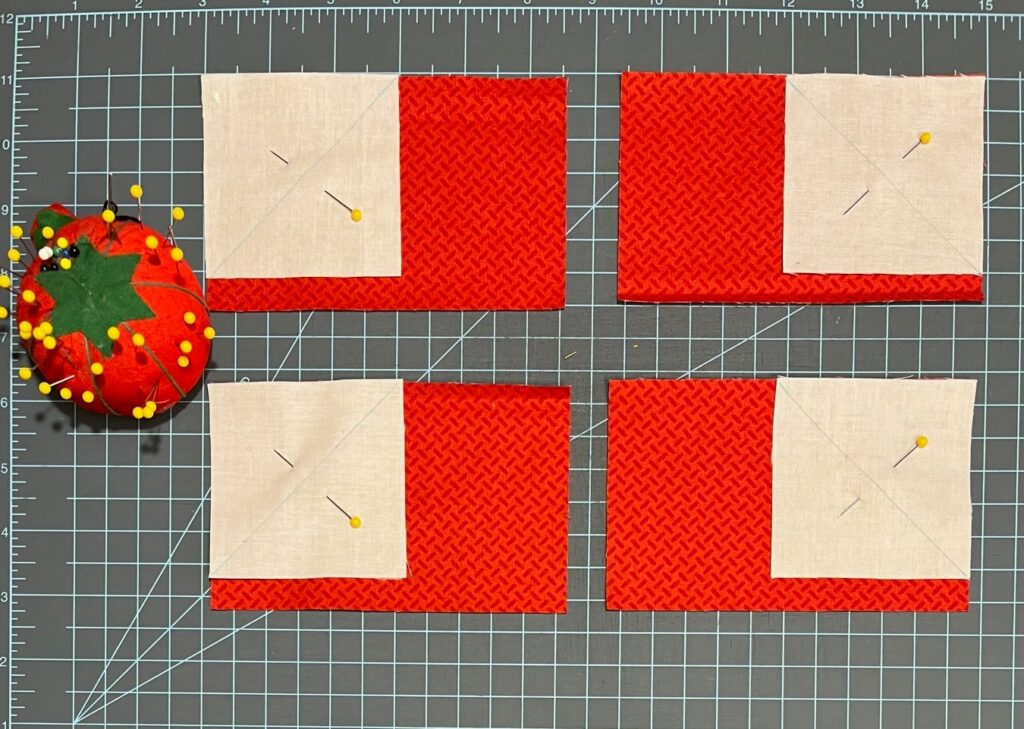
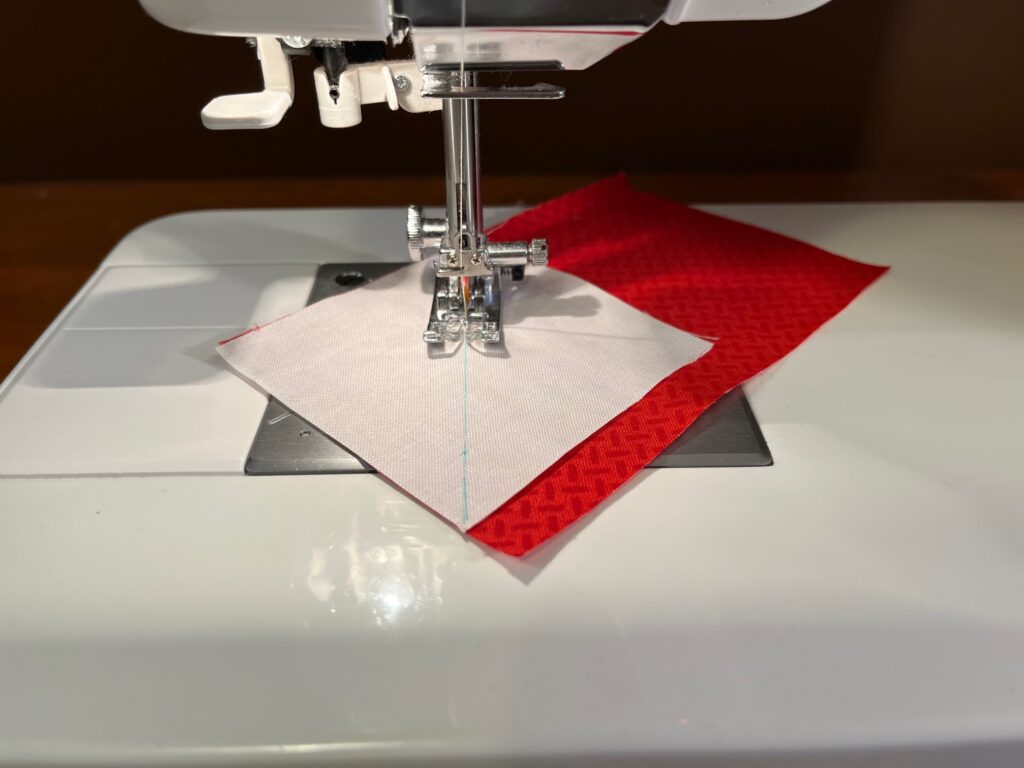
Sew along diagonal lines of cream squares. Trim corners 1/4″ from seam, press toward cream corner.

Step 3
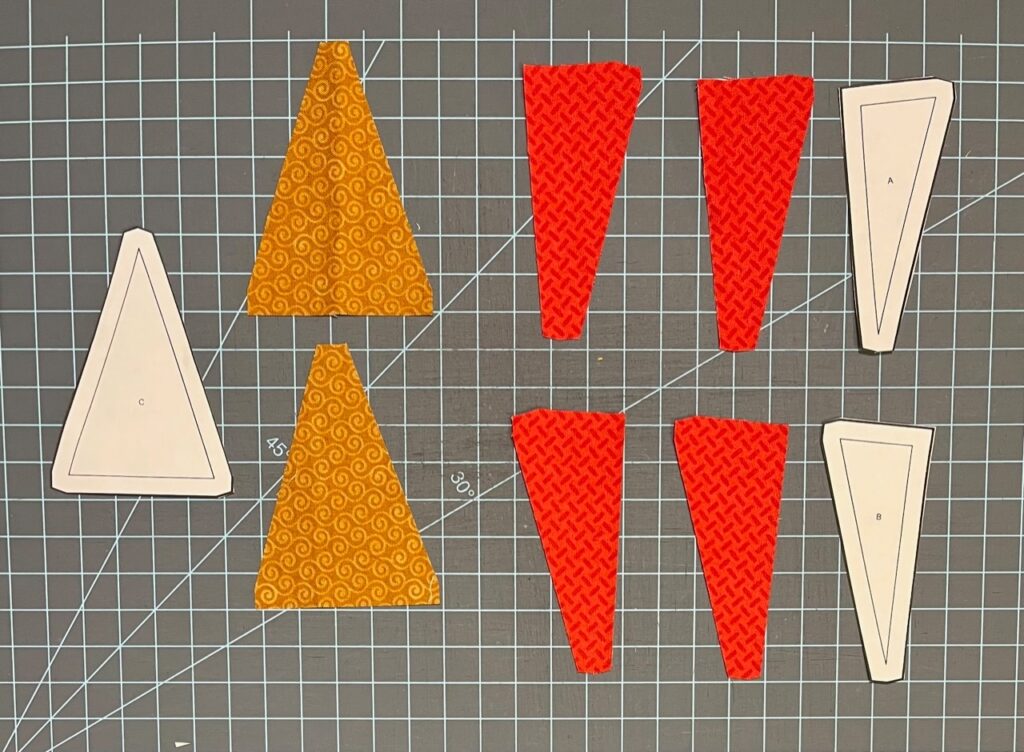
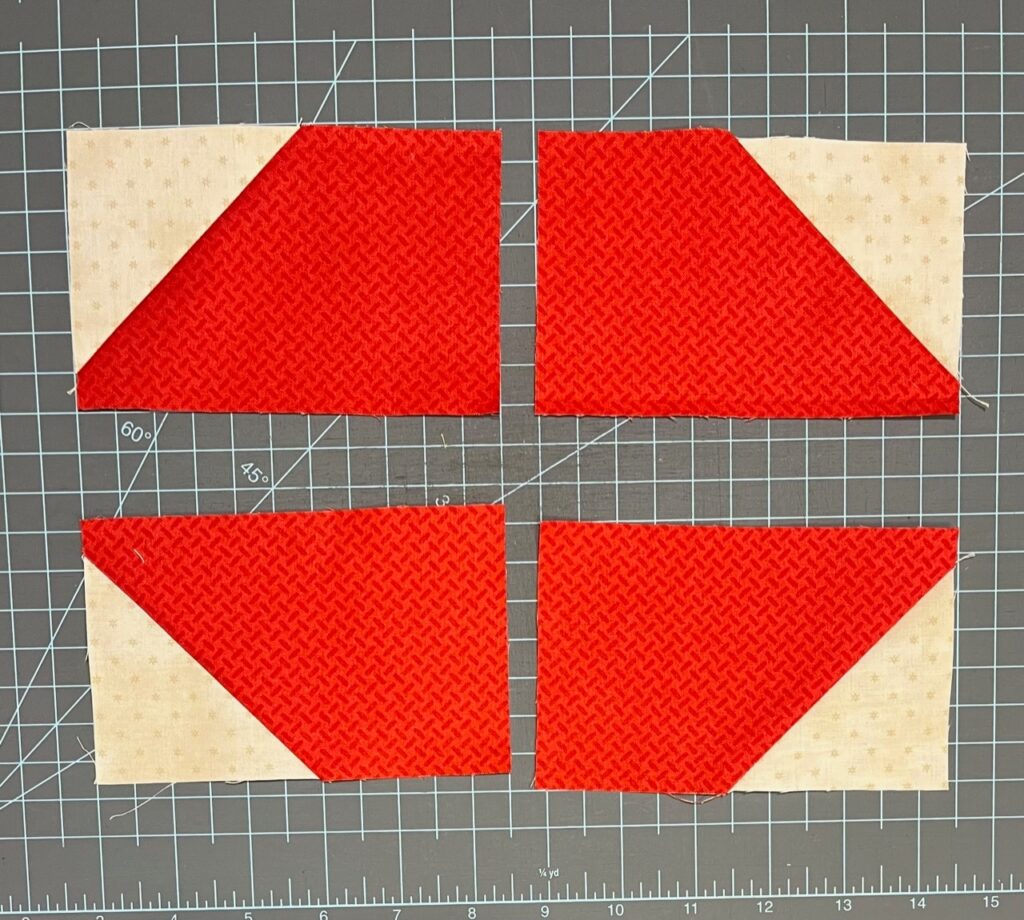
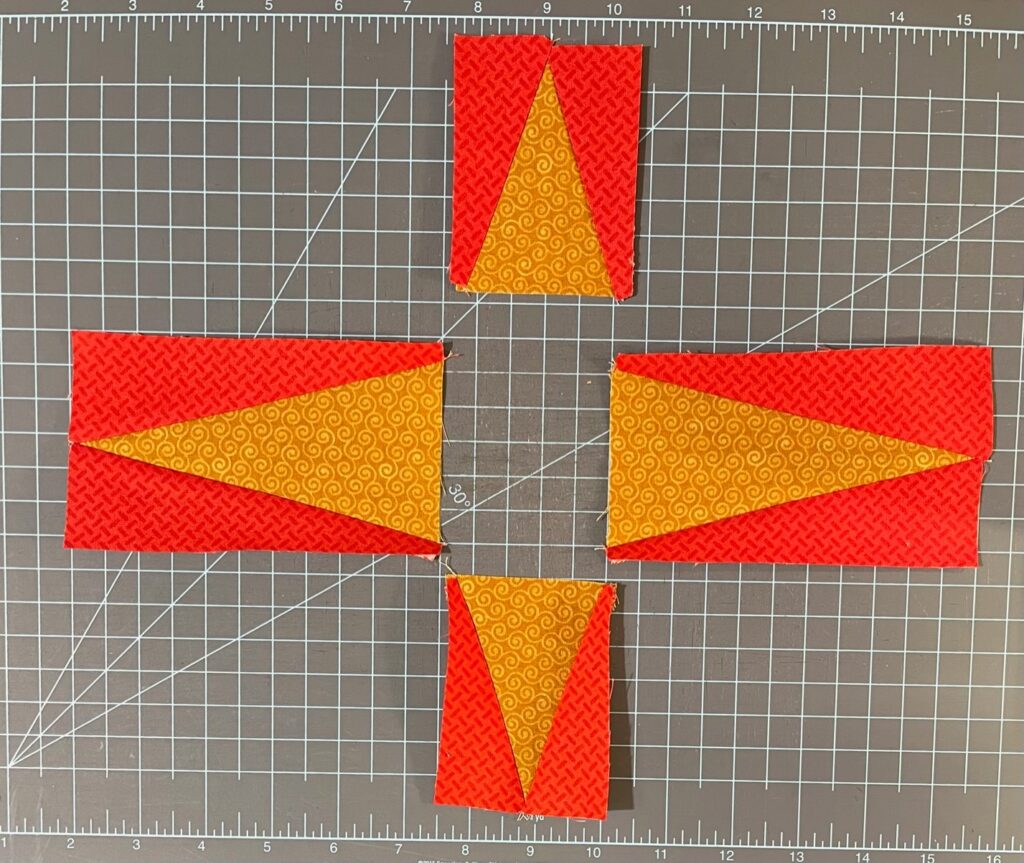
Lay out pieces cut from Templates C, D and E.
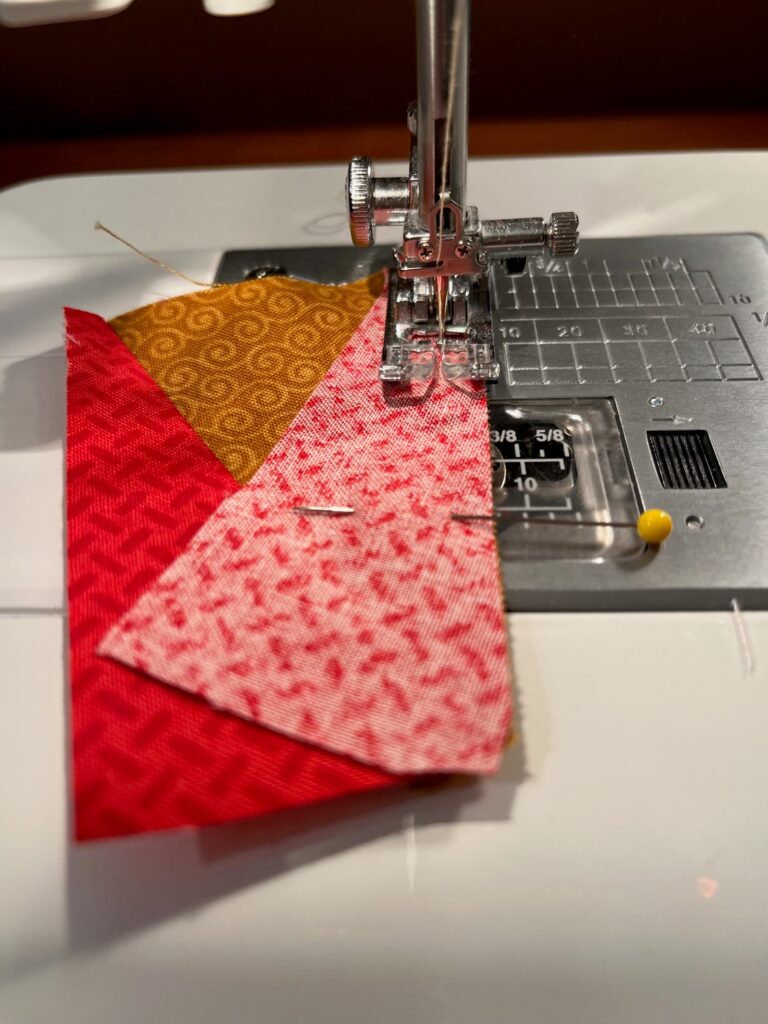
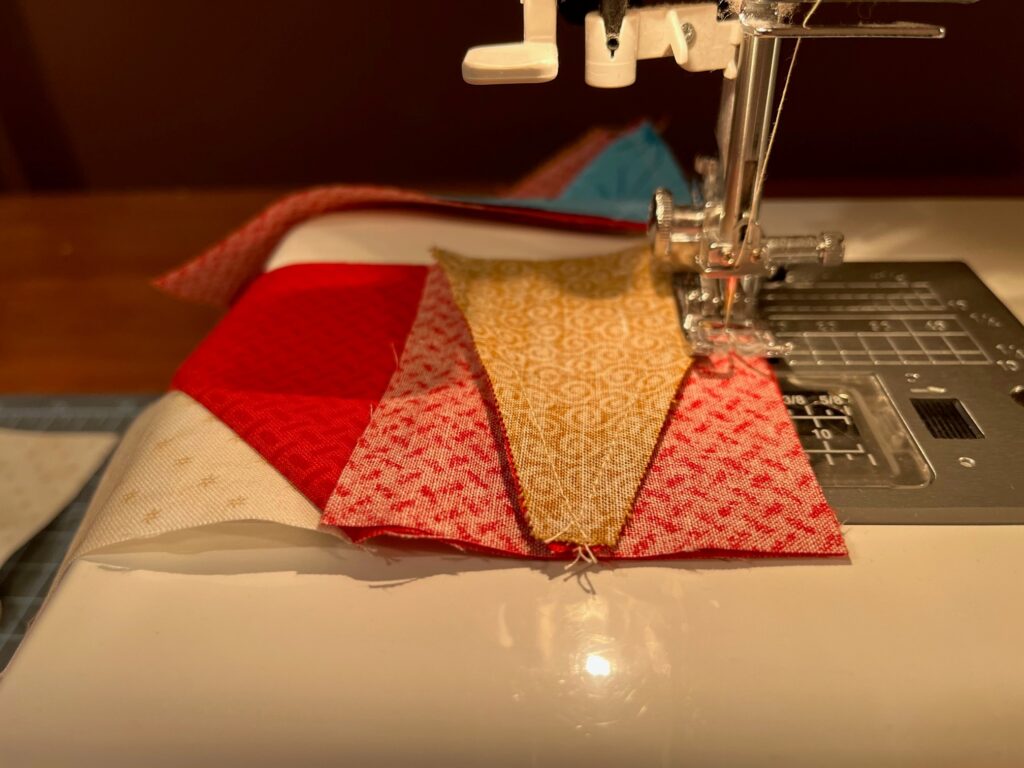
RST sew red triangle cut from Template C to the left side of the yellow triangle cut from Template E. Press seam toward red fabric.

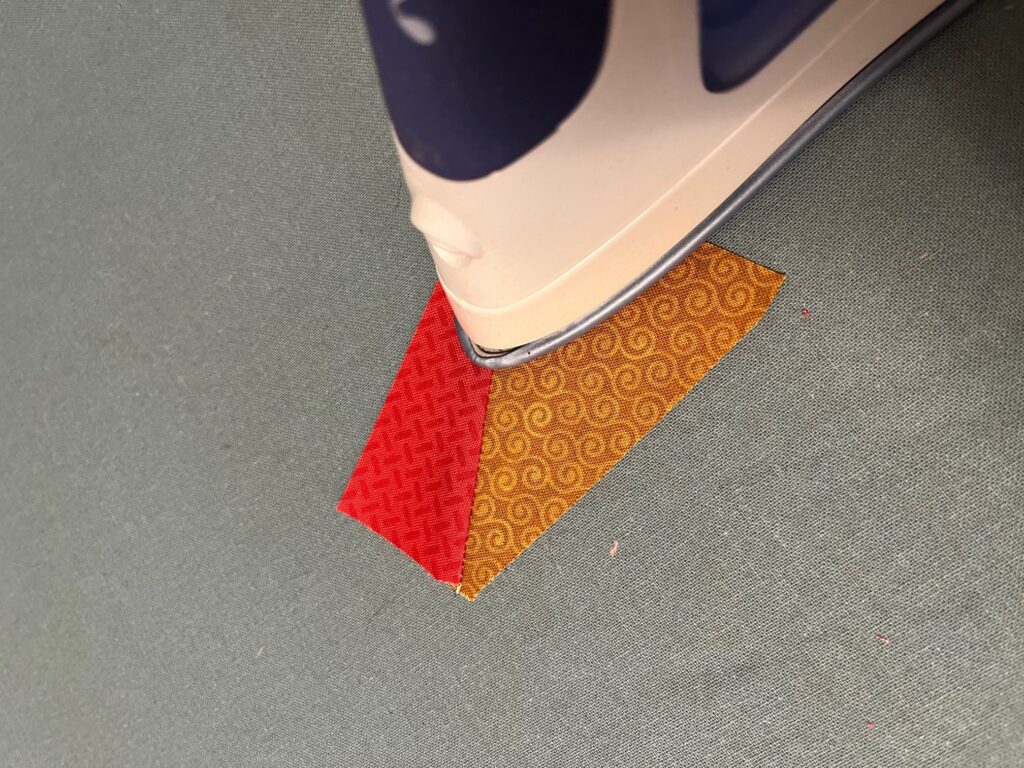

Sew the red triangle cut from Template D to the other side of this unit. Press seam toward red fabric.

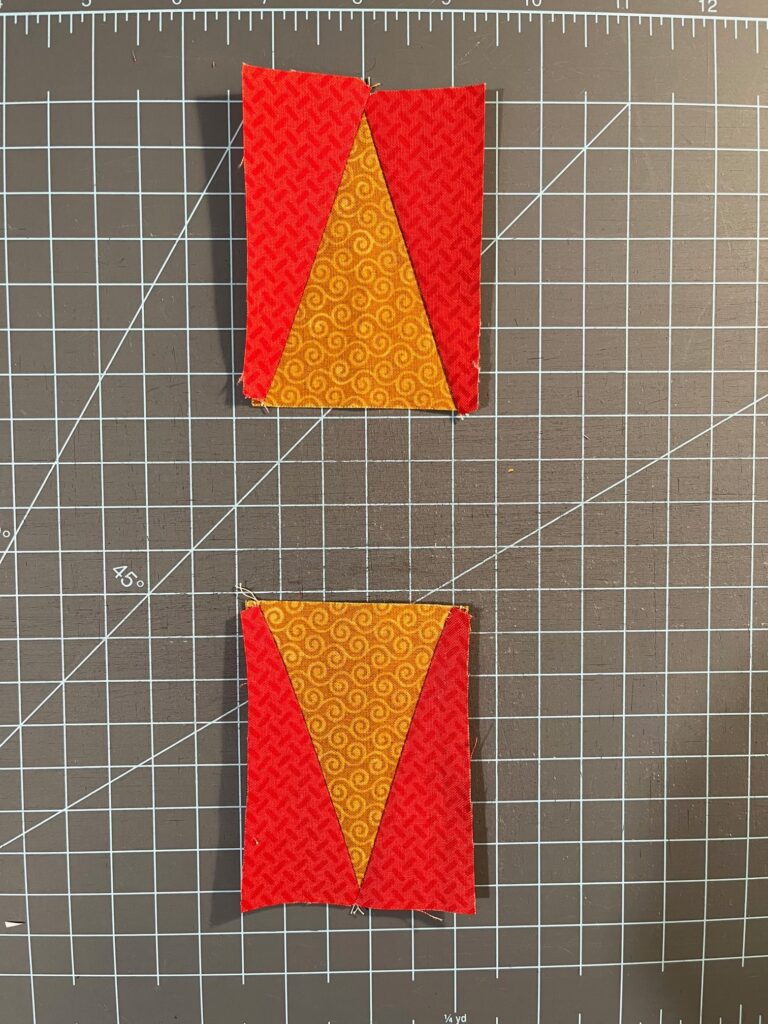
Repeat steps for other triangle unit this size.
Step 4
Lay out pieces cut from Templates F, G and H.

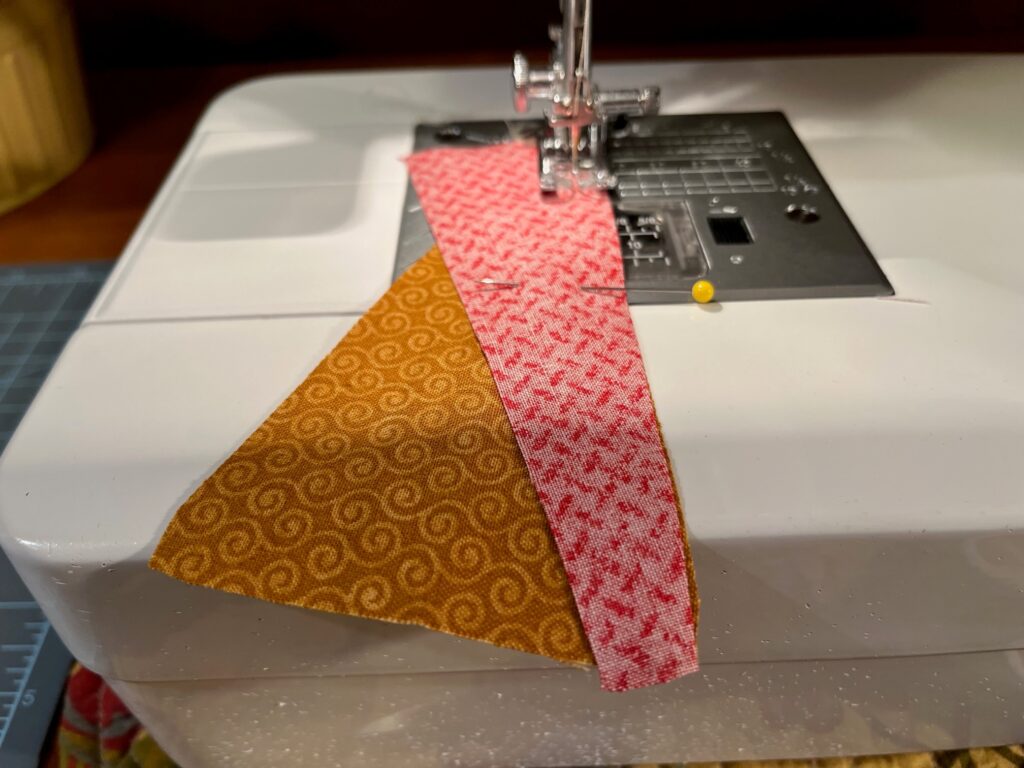
RST sew red triangle cut from Template F to the left side of the yellow triangle cut from Template H. Press seam toward red fabric.

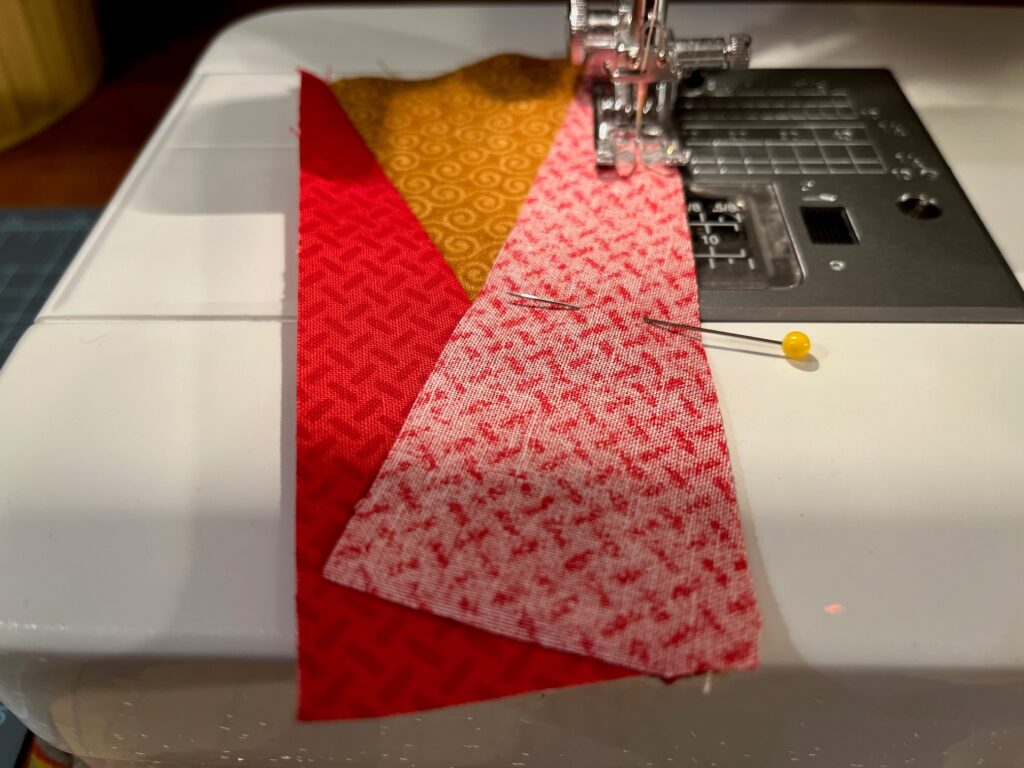
Sew the red triangle cut from Template G to the other side of this unit. Press seam toward red fabric.

Repeat steps for other triangle unit this size.
Step 5
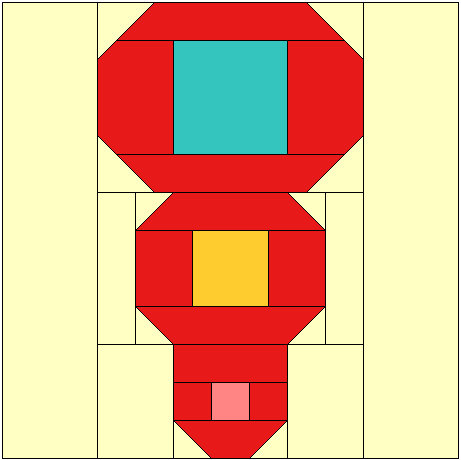
Lay out center piece and sewn units as shown.
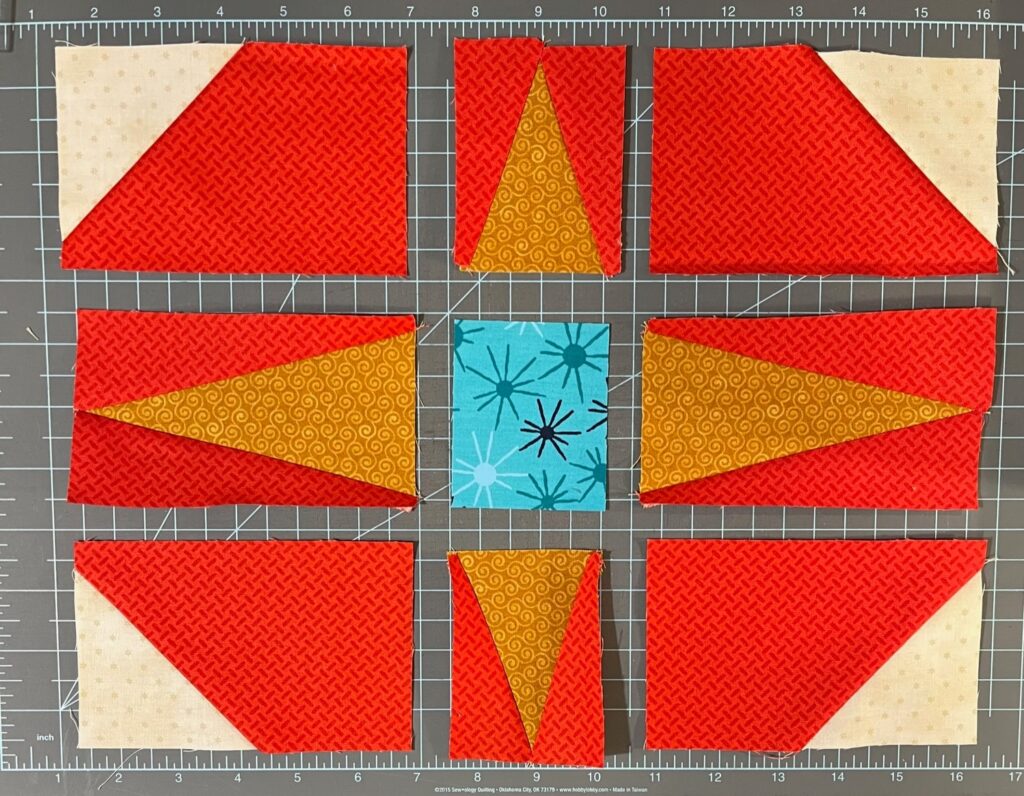
RST sew pieces from top row together and sew pieces from bottom row together. Press toward outside red/cream units.
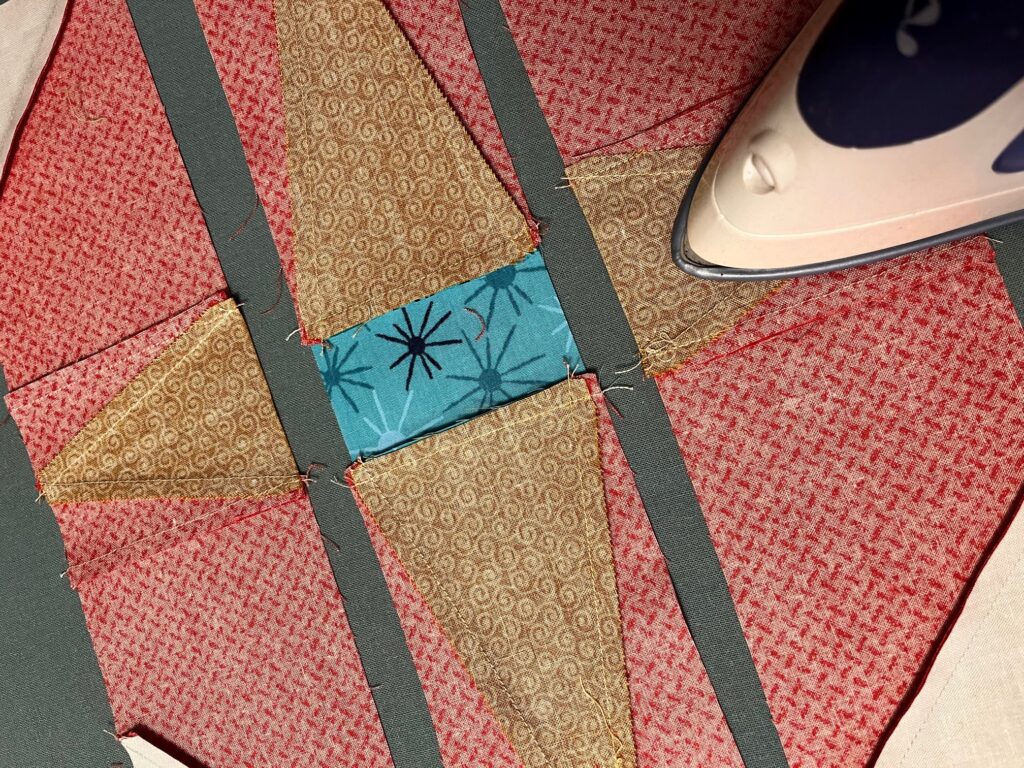
RST sew pieces from center row together, press toward blue center.
Sew rows together to complete ornament unit. Press seams open.

Step 6
RST sew cream strips to the top and bottom of ornament unit. Press seams toward cream strips.


Block should measure 12 1/2″ x 12 1/2″, trim if needed.

Have fun making this Ornament #7 Quilt Block.
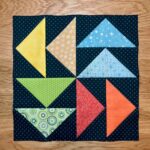
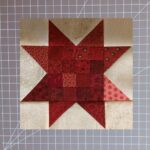
Check out the links below for other ornament blocks inspired by vintage Shiny Brite ornaments!!!


Happy Quilting!
Bonnie