The Springtime quilt is an easy project for a beginning quilter. There’s nothing complicated about the pattern!! All directions for this Springtime quilt are included below.
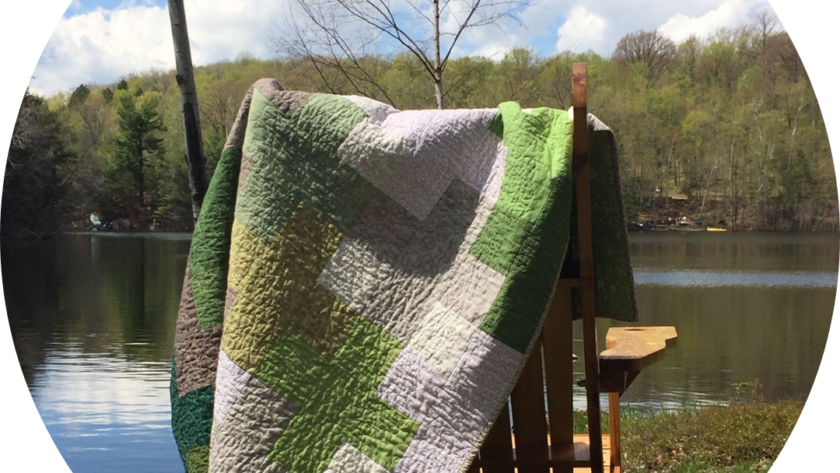
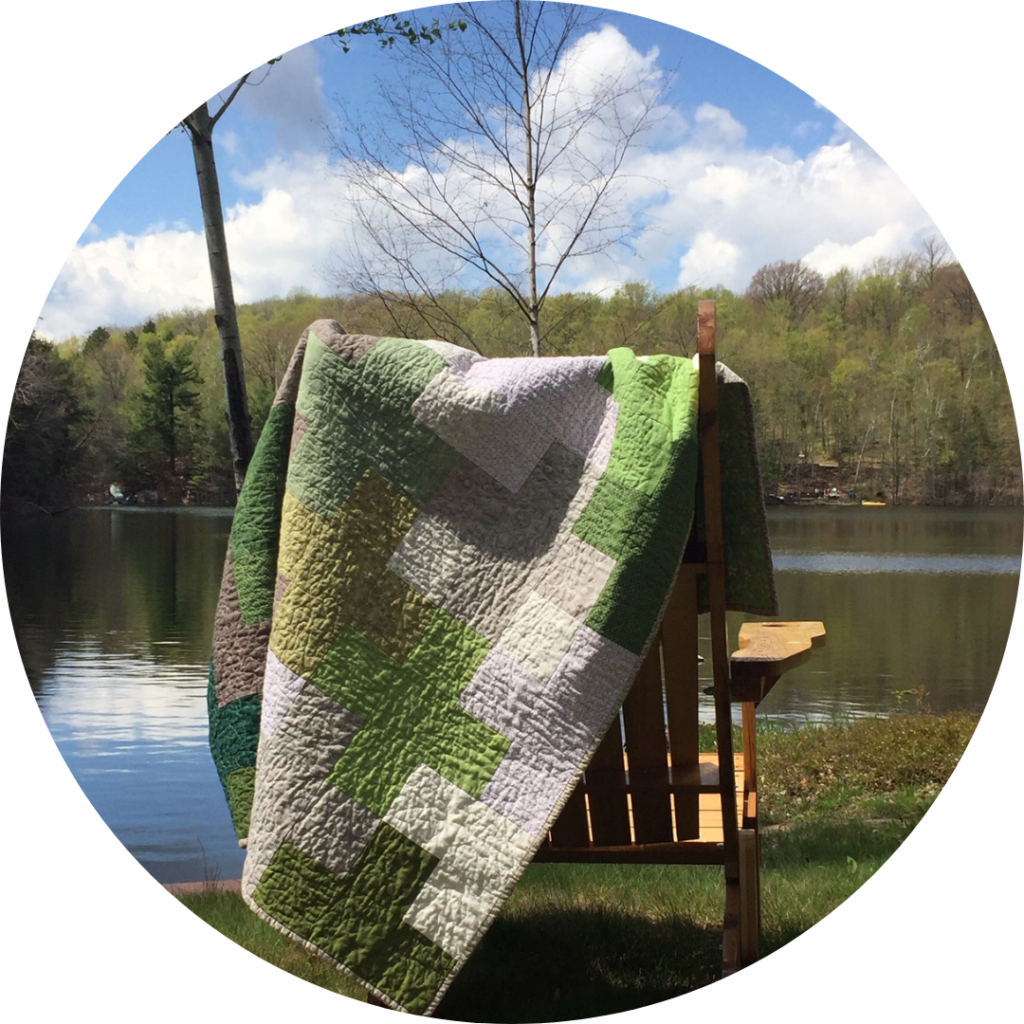
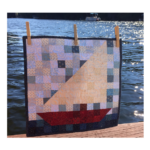
The Springtime quilt is the perfect quilt to keep you cozy! At a finished size of 60” x 72”, the Springtime quilt provides that extra layer of warmth and softness on those chilly spring evenings!
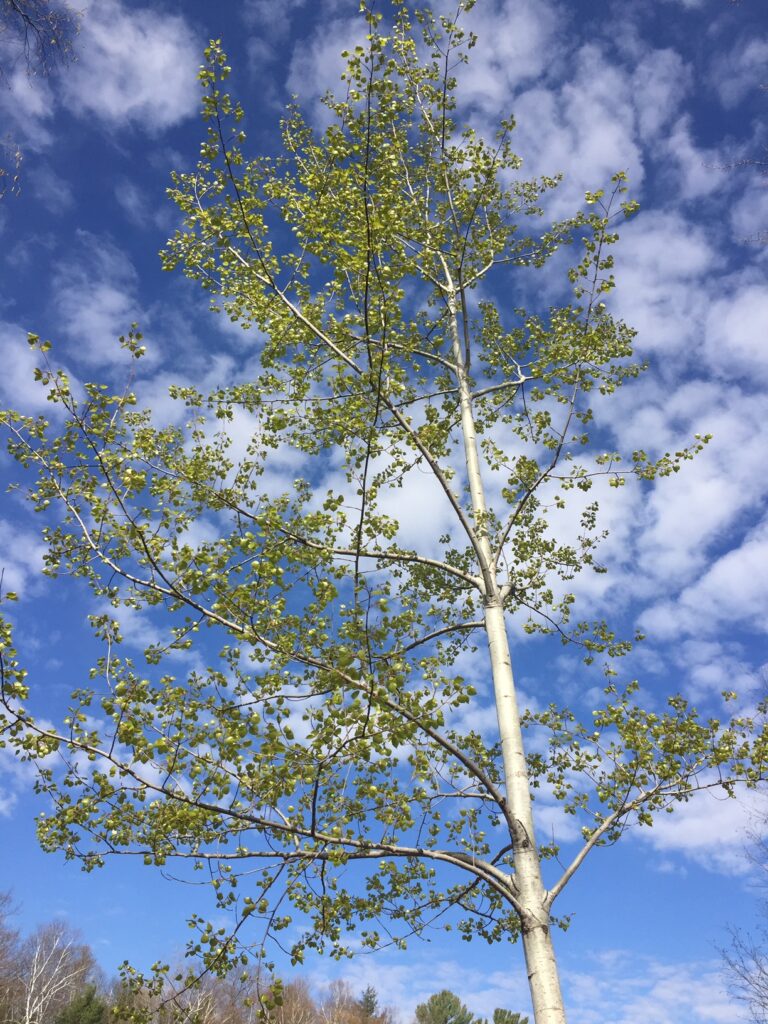
Lakegirlquilts is located in northern Wisconsin, an area rich trees and forests. One of my favorite times to be out in nature is when the tender leaves are budding on the trees in springtime! It’s like the forest is waking up from its long winter slumber!!
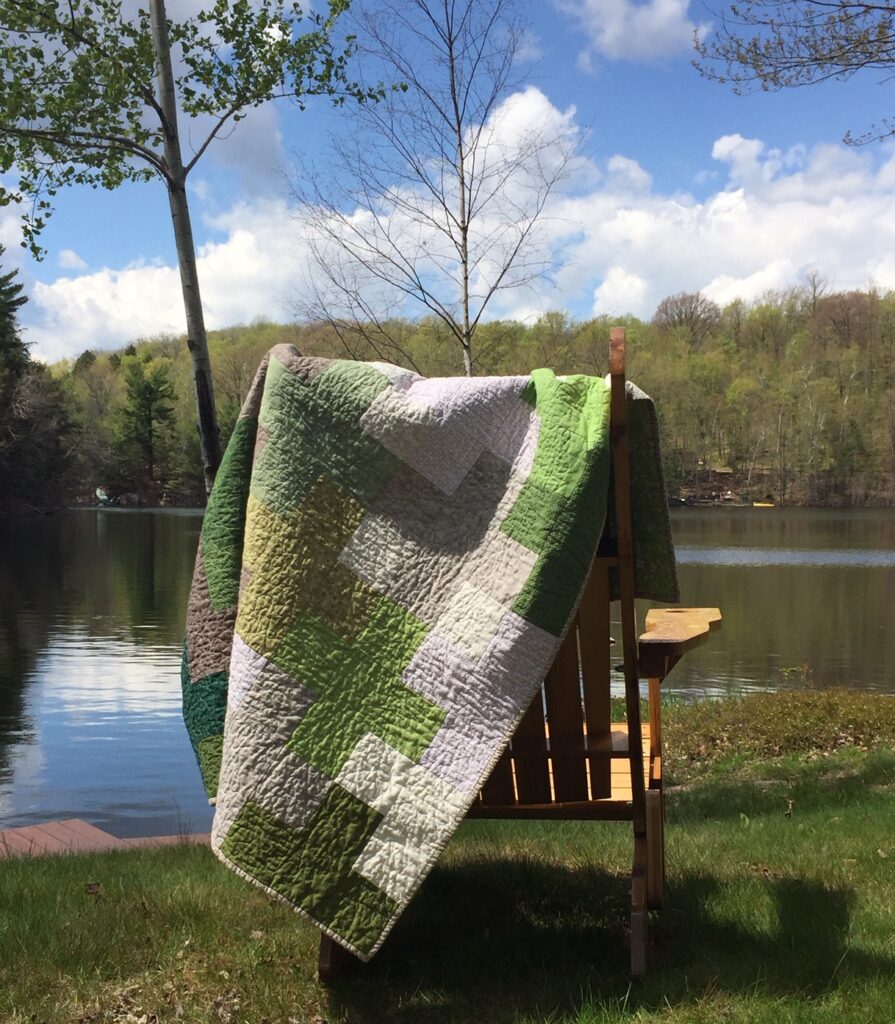

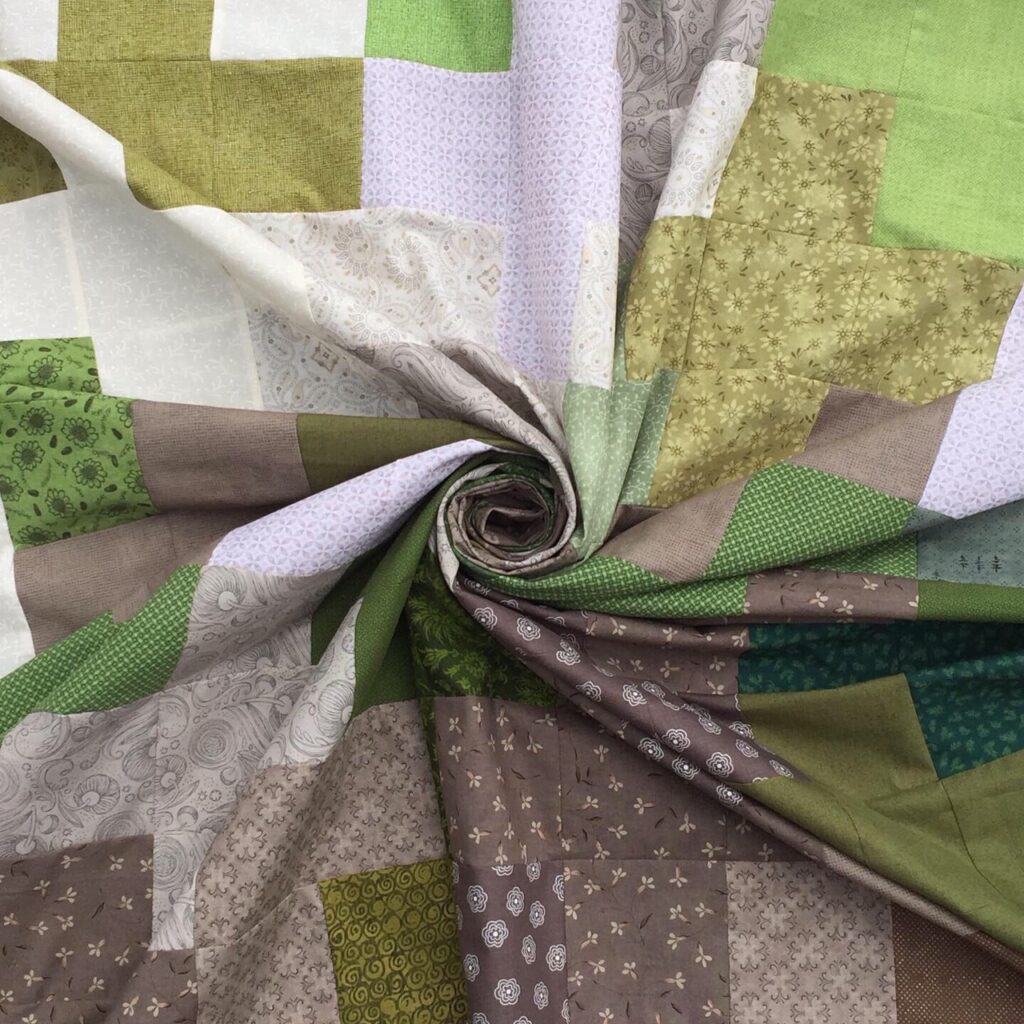
The plus signs sprinkled throughout the design of this quilt represent the positive vibes of springtime!! Positive vibes like fresh beginnings, baby animals, the light at the end of winter’s tunnel, wildflowers, warmth, and the promise of summer days ahead…ahhh, I love spring!!
The color palette of greens and neutrals in this quilt reminds me of the freshly budded leaves on birch, oak, maple, and aspen trees. Also the evergreen pine, balsam, and hemlock trees that dot our lake’s shoreline can be found in the dark greens of this quilt.
All directions for this quilt pattern are included in this post. You can also purchase an ad free pdf of the Springtime Quilt Pattern in my Etsy shop. Just click here!

Post contains affiliate links and we earn commissions if you shop through the links on this page. For more information please read the disclaimer on the Privacy Policy page.
General Sewing Directions for the Springtime Quilt…
The directions for this Springtime quilt are for rotary cutting, machine piecing, machine quilting, and the binding is hand stitched to the quilt back.
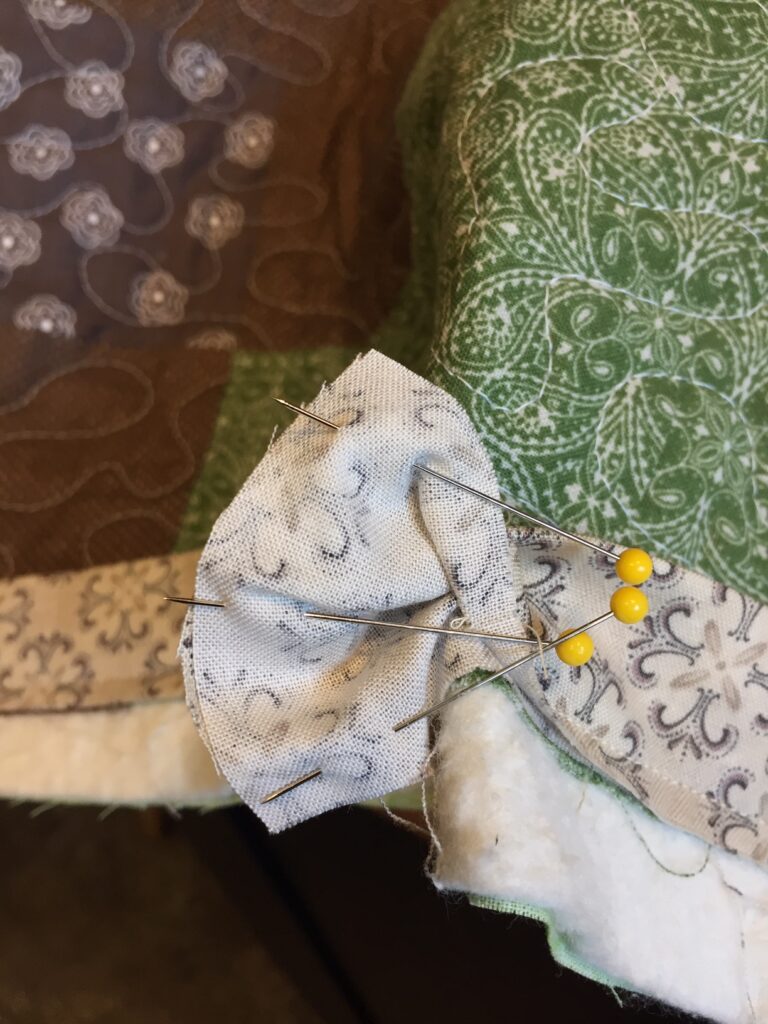
Accurate cutting and sewing enhances your final product. Pin your pieces together before sewing them to ensure proper seam alignment.
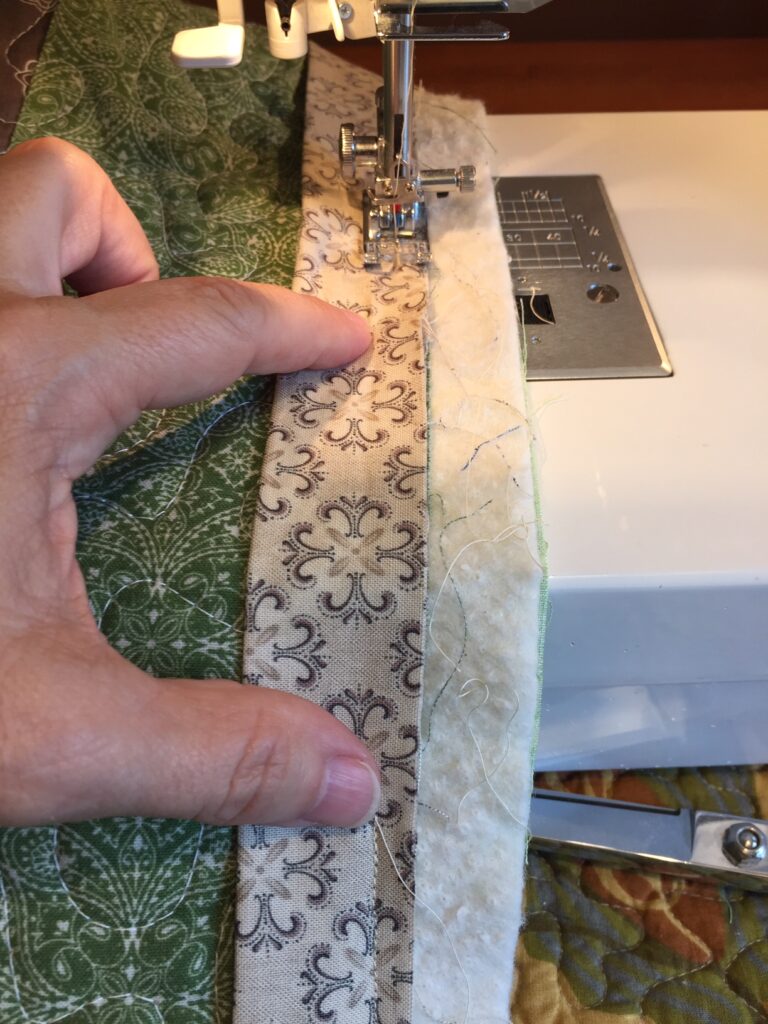
Use a ¼” seam allowance. I recommend using a special presser foot with a ¼” guide if you have one for your machine. This will help you get uniform seams, and matching corners!
Follow the directions described below as you press open the seams. Each individual row is pressed in the opposite direction of the previous row to eliminate bulk and help seams to lay flat. Rows sewn together are then all pressed in one direction for a uniform look.
The pattern calls for machine quilting, but you could also hand quilt it if you choose!
The finished quilt measures 60” x 72”.
Let’s get started…
Fabrics for the Springtime Quilt
I can’t stress the importance of using high quality 100% cotton quilting fabric! There is cheaper cotton fabric on the market, but you will sacrifice the chance of your quilts fading and wearing more quickly if you don’t stick to the good stuff!! Please patronize your local or online quilt shop to purchase the fabric for this project.
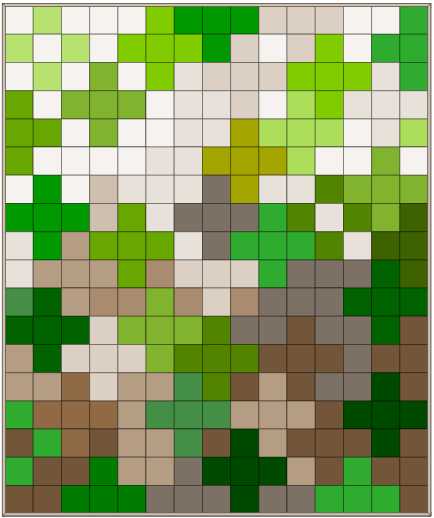
I used a variety of light, medium, and dark green fabric for this quilt. Also, I combined a variety of white, gray, and taupe fabric throughout the quilt top. You can certainly make this quilt in whatever shades of fabric you prefer. Either way, I suggest using a variety of lights, mediums, and darks to accomplish the contrast that makes this quilt special and makes the plus signs “pop”.
Quilt Top
Total fabric needed is about 4 yards. I suggest using fat quarters or fabrics from your stash to get a variety of colors and shades. Use at least 12-15 different light/medium/dark green prints.
As you are planning how you want your quilt to look, know that each full plus sign uses 5 squares. Some of the plus signs are partial designs and fall off the edge of the quilt so those use only 1-4 green squares. Also, a few plus signs have a white/gray/taupe square in the middle of it so those use only 3-4 green squares.
Cut 109 total green squares.
You’ll also use at least 8-10 different neutral colors of white/gray/taupe prints in the quilt design. Some neutral squares will form a plus sign and some are filler squares.
Cut 161 total neutral squares.
There’s no wrong way to lay out the plus signs!!
Quilt Back
For the back of my quilt I used 4 yards of a 42” wide cotton fabric that coordinated with the colors of the quilt top.
You’ll need a 68” x 80” rectangle for the quilt back. This allows for at least 4 inches of fabric to extend all around the edges of the quilt top.
Trim the salvage edges on the quilt back fabric, and cut the 4 yards into two 2-yard pieces. Place the two 2-yard pieces right sides together, and sew along the long sides to make one large back. Trim the quilt back to measure 68” x 80”. Press the seam open to reduce bulk when quilting.
Binding
You’ll need ½ yard of contrasting fabric for the binding. You can make the binding whatever color you choose to contrast with the quilt top.
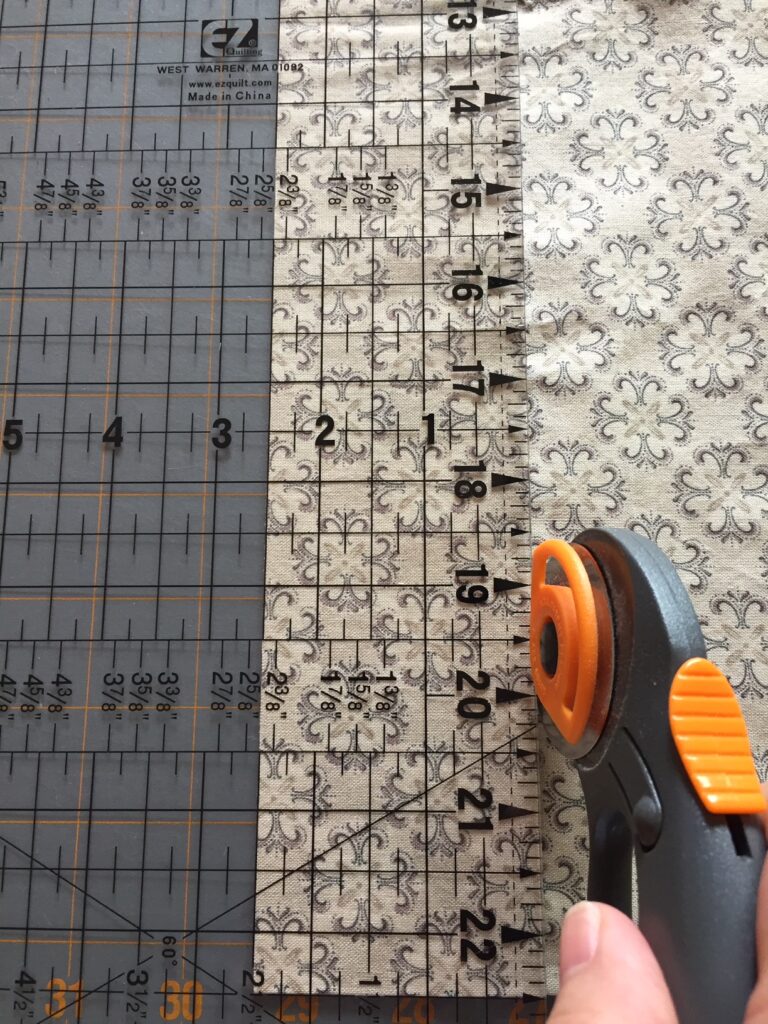
You’ll need ½ yard of contrasting fabric for the binding. Cut seven 2 ½” x 44” strips, trim the ends of each strip at opposing 45-degree angles as shown.

Batting
You’ll need a twin size 72” x 90” thin cotton batting to make this quilt. Trim the batting to measure 68” x 80”, the same as the quilt back. This allows the batting to also extend 4” beyond the edges of the quilt top. You’ll trim the batting and backing once the binding is attached to the quilted layers.
I like to use Warm & Natural needled cotton batting, but there are other similar types of cotton batting on the market.
Assemble the Quilt Top
Now that you have all your 4 ½” squares cut, you want to plan how they’ll be arranged to make up the quilt top. If you have a design wall to arrange the fabrics that’s great! I don’t have a design wall, so I lay all my cut squares on the floor in my sewing room and play with arranging them until I get the look I want. The layout will be 15 squares across and 18 squares down.
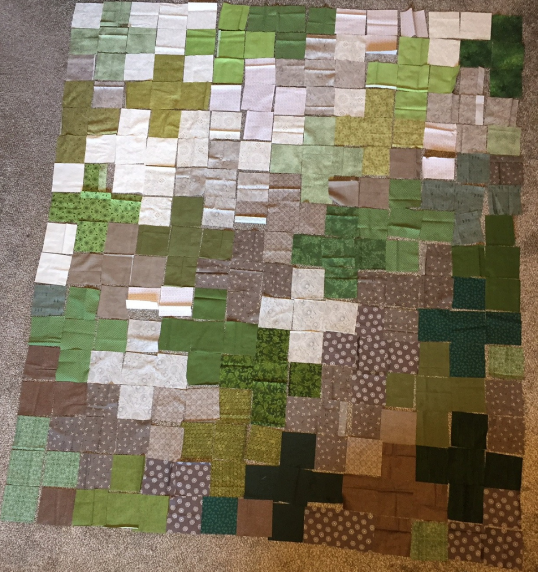
As I planned how I wanted my quilt top to look I decided on a bit of an ombre design. The colors of my quilt top move across diagonally from lighter prints in the upper left corner to darker prints in the lower right corner. If you like this look you can certainly emulate it. Otherwise, arrange the prints in a way that you like.
I made sure that all of my green prints formed a full or partial plus sign. Some of the neutral prints also formed a full or partial plus sign, but some of them are just filler squares. Putting the squares together is fun, just like putting together a puzzle!!
I take a picture of this so I have the layout in case I mess up when sewing the rows together! Then I carefully stack each row in preparation for sewing the rows together.
Sew the Rows
The quilt top has 18 rows. Begin stitching squares together (right sides facing) to complete each row. I always have to make sure to sew the squares together in the order I had arranged them, referring to my picture if I mess up.
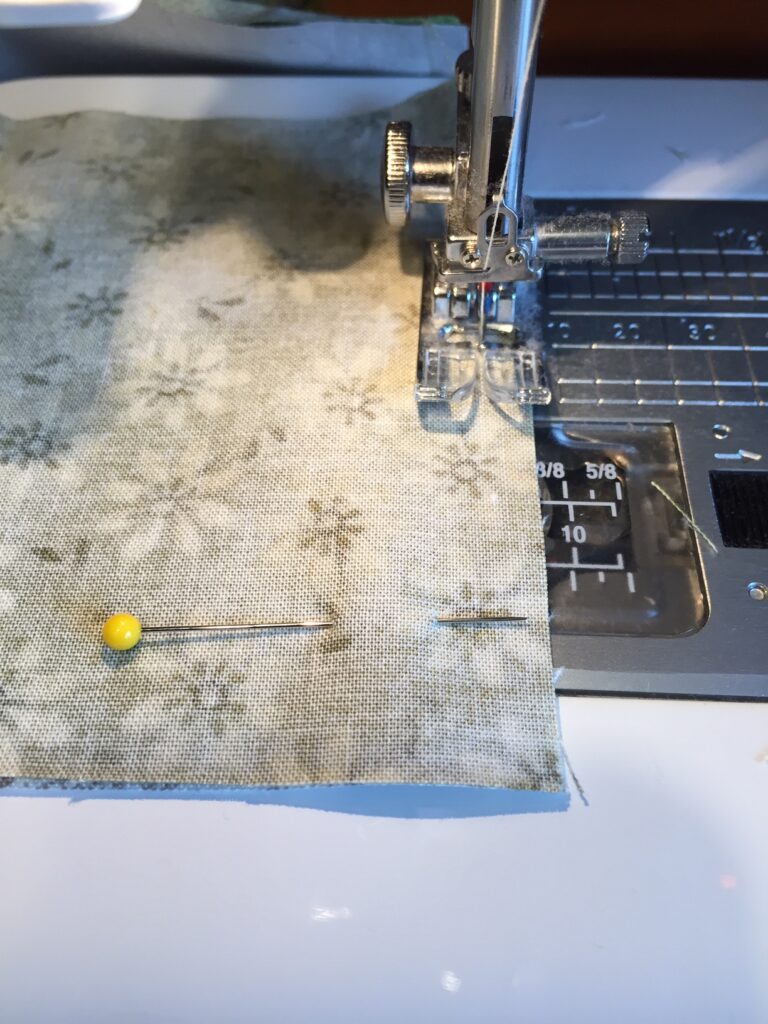
Remember to use a ¼” seam allowance for all seams. I really like to use my ¼” seam foot to make sure all my seams are exactly ¼”. If you don’t have this type of foot, make sure you know where your ¼” sewing line is on your machine, and be careful to follow it!
As you complete a row, lay it back down on the floor or over your ironing board in the right placement to make sure you don’t mess up your arrangement of rows.
Pressing the Blocks and Rows
I wait to press the 15-square rows until I have each of the 18 rows sewn together. Be careful to just “press” and NOT “iron” the seams in a back and forth motion, or your quilt will stretch out of shape.
Begin by pressing the seams of the first row all in one direction. Press the seams of the second row in the opposite direction. Continue to rotate the pressing direction of each row until you have the seams of all rows pressed. Think…odd rows 1, 3, 5, etc. press the seams to the right. Even rows 2, 4, 6, etc. press the seams to the left.
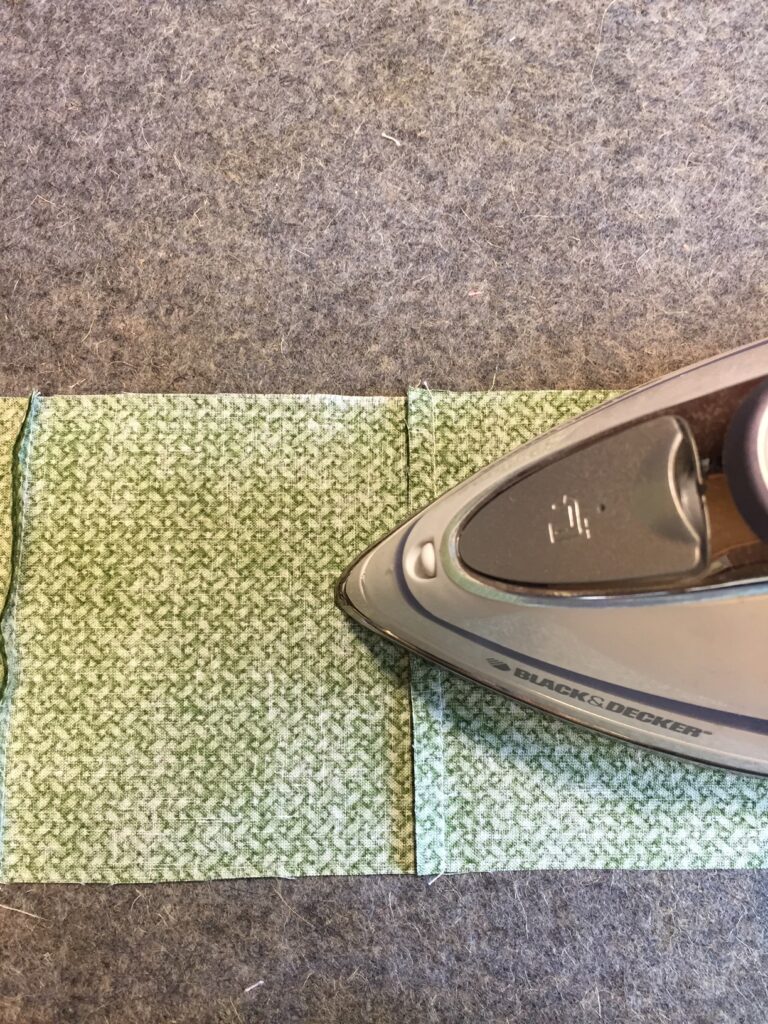
By using this rotating direction of pressed seams, you will have less bulk when you sew the rows to each other. This will allow your corners to match nicely! This method of pressing also distributes the bulk, which will make you happy when you machine quilt your project! Bulky seams can lead to bumpy quilting patterns, broken thread, and overall unevenness of your machine-quilted quilt top.
Now that you have the pieced rows pressed, sew them together! Pin rows 1 and 2 together, right sides together. Make sure to line up and “nest” the seams, and pin to hold them in place. Remove the pins as you come to them when you’re stitching the ¼” seam.
I like to press each set of rows as I sew them together. The rows all get pressed in one direction, either towards the top or towards the bottom. By pressing them all in one direction it will make for a more uniform, smooth quilt top. Repeat until you have all 18 rows sewn to each other and pressed.
Finishing the Quilt
Now that you have your quilt top sewn together, it’s time to finish it! Some people call the completed quilt top a flimsy, and I really like this term. It’s a flimsy because you haven’t yet added the 3 B’s to your quilt – batting, backing, and binding!
Layering the Top, Batting, and Back
I refer to layering the quilt as “sandwiching”. You need to sandwich the top and back with the batting in the middle.
Some people prefer to use basting spray to sandwich their quilts together. This allows them to eliminate the need to pin the quilt layers to hold them together. Personally, I don’t prefer basting spray. I’ve never had good luck with it, and I usually end up with wrinkles in my quilt back, not fun!! I have better luck basting my quilts together using 1 ½” safety pins.
On a large floor area or with two tables pushed together, use masking or painter’s tape to tape down the backing fabric. As you tape the back to the surface, you’ll want to make sure the fabric is smooth, without wrinkles. Make sure the back it taped taut, but not stretched. Also, make sure the right side of the fabric is facing down!
Lay the batting on top of the taped-down quilt back, and move your hands across it to smooth it all over. This will get rid of any wrinkles in the batting, and help to adhere it to the backing fabric.
Once you have the batting placed on top of the quilt back, center the top of the quilt (the flimsy!) over the two bottom layers. Right side facing up, of course! The two bottom layers of the quilt (the back and the batting) should extend about 2-3” all around the outside edges of the quilt top.
Move your hands across the quilt top to smooth it all over, and help remove any wrinkles. This will also help adhere the quilt top to the batting a little bit. Once you have the top of the quilt all smoothed out, use 1 ½” stainless pins to baste your quilt layers together. You’ll want to start basting on one side of the quilt, and work your way across. You should place a pin about every 4 inches or so. I’ve read that a pin should be placed about the size of your fist apart from each other, so that is a good visual to help guide your pin placements.
“Quilting” the Quilt
I chose a meandering machine quilting design to permanently stitch all three layers of the Springtime quilt together. Using a darning foot and dropping the feed dogs on your sewing machine allows you to free motion stitch the quilt layers together. If you’re new to machine quilting you might want to search for online videos that can demonstrate the process for you.
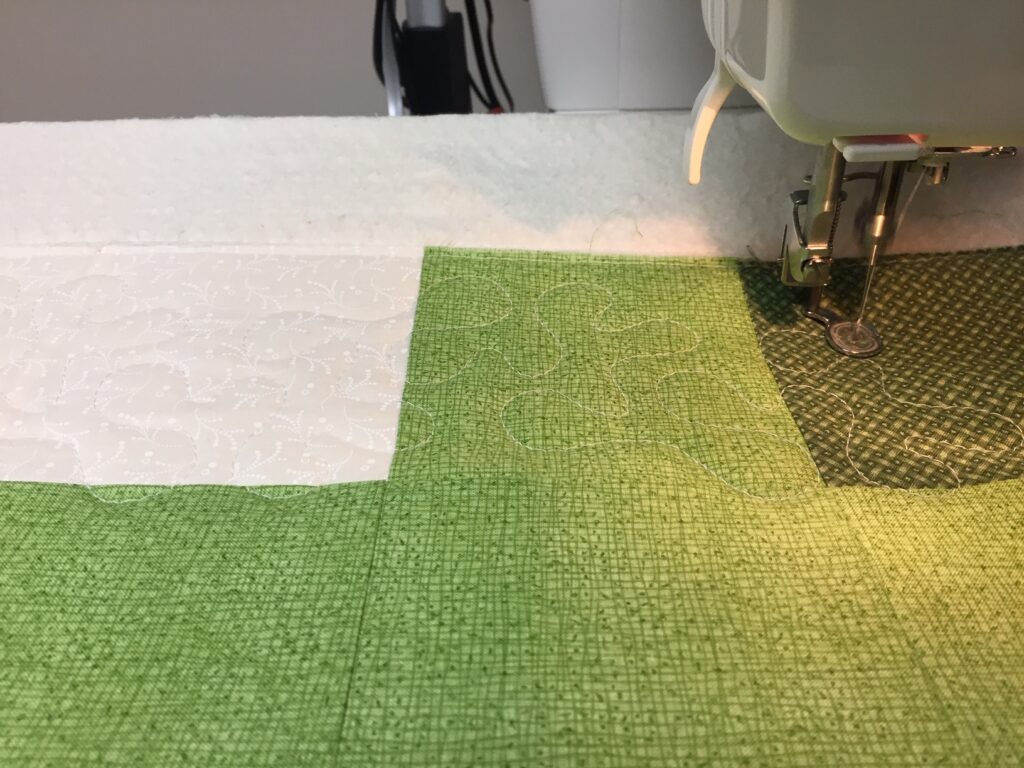
I actually quilted my Springtime quilt on a newly purchased “used” mid-arm quilting machine and frame, using a Q-Bot.
But you can certainly quilt your finished project on your regular sewing machine!! I even quilted a king size quilt on my little $150 Singer once!! If I can do it, you can too!!
Binding the Quilt
When you’ve finished quilting the layers together, it’s time to bind the edges of your quilt! This could be a lesson in itself!! I’ll do my best to describe the binding process below, but if you’re confused by my directions there are lots of videos online that will demonstrate the process for you.
Prepare Binding Strip
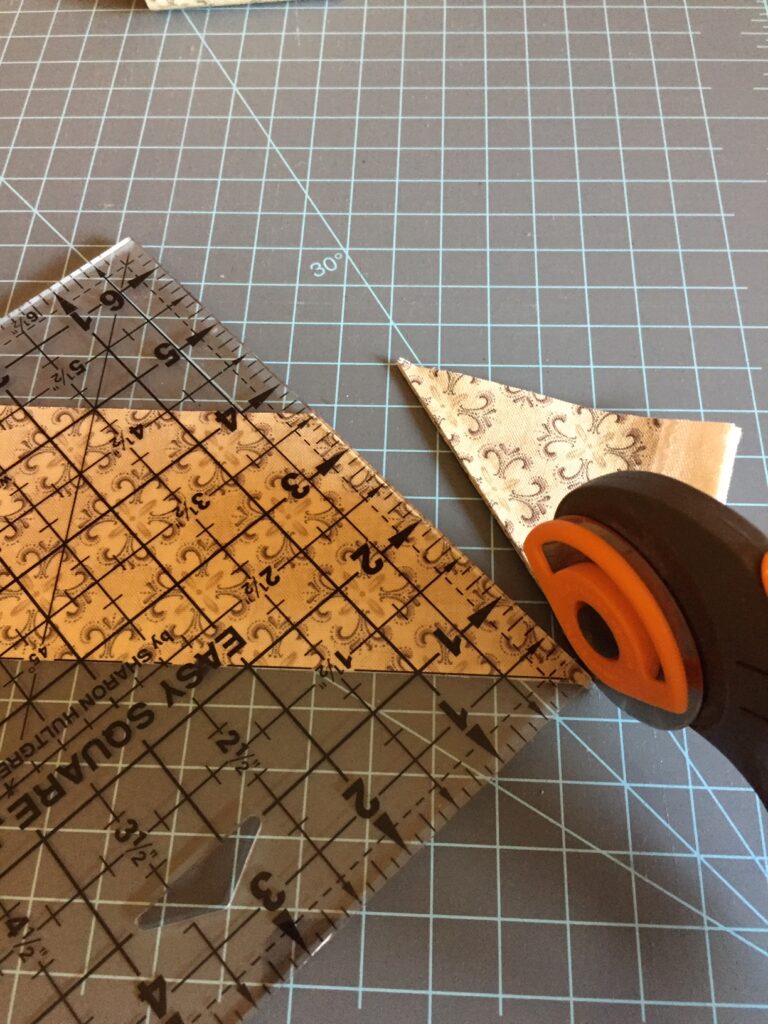
Take your 2 ½” binding strips that you previously cut and prepare to sew them together. To do this, fold the strip in half. Using your ruler, find the 45-degree line and lay is along the bottom of the folded strip. Now, you can cut a 45-degree angle through both layers. When you open up the strip each end will have the angle facing in the opposite direction.
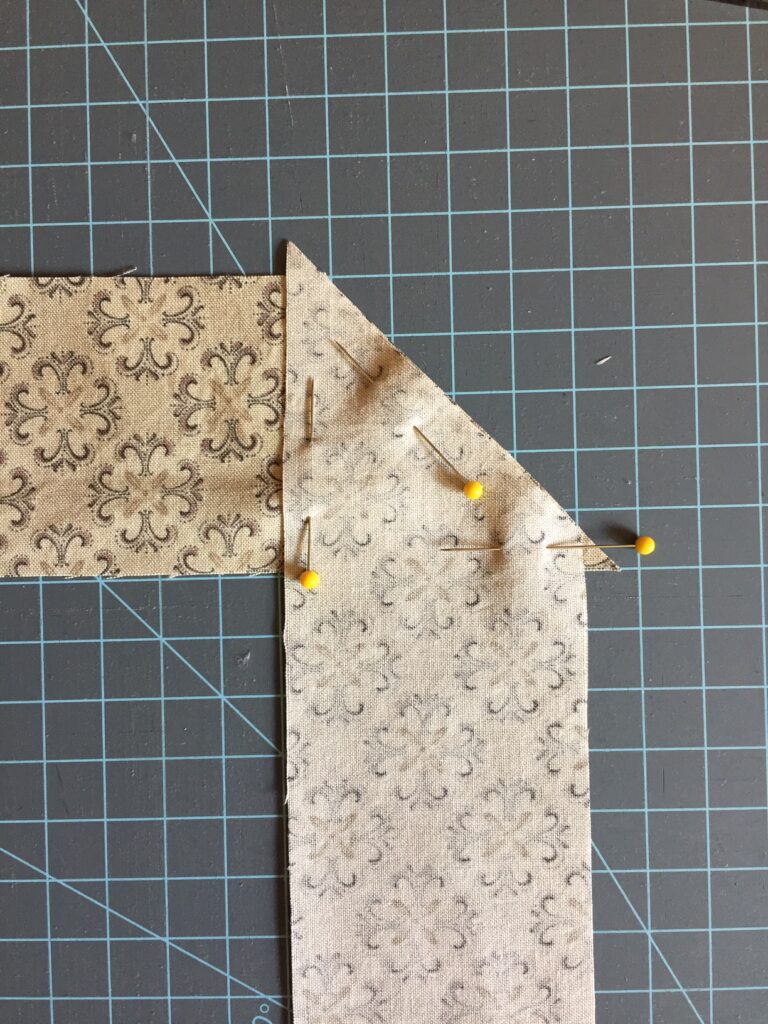
Align two strips together perpendicularly along the 45-degree ends. Who ever thought you’d use those 4th grade geometry skills again, lol! Pin the ends and sew them together.
Press the Binding
Press the seams open. You’ll need a finished strip that is about 270” in total length.
Then, fold the binding strip in half (wrong sides together), and press.
Sew the Binding Strip to the Quilt
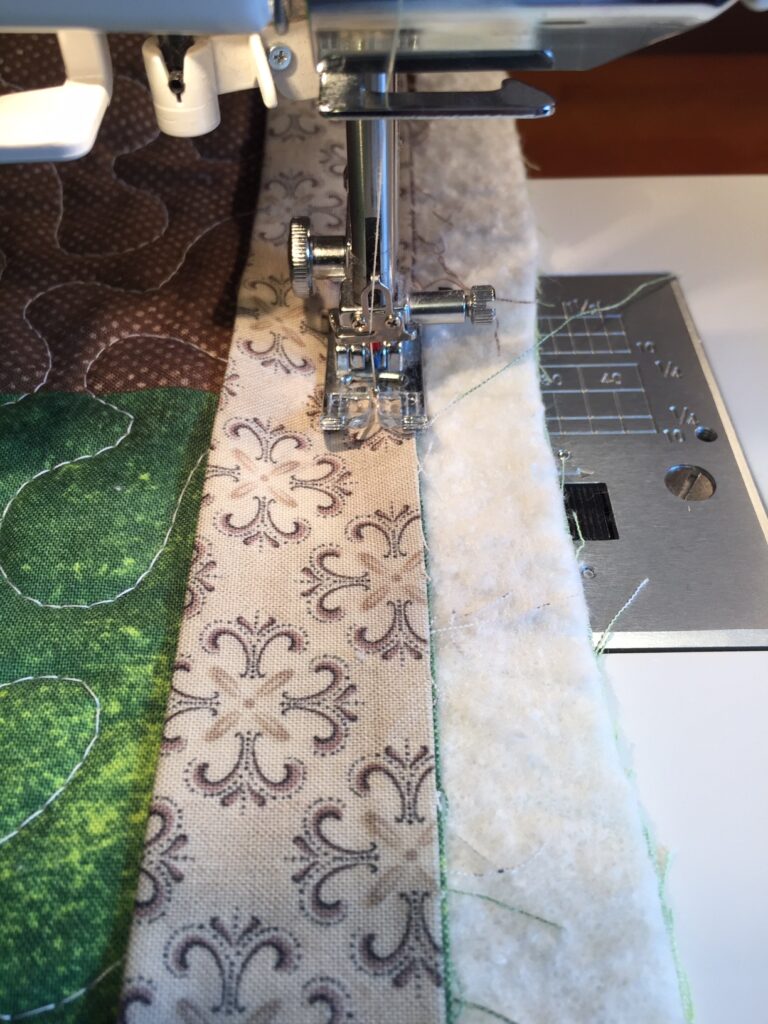
Begin to sew the raw edge of the binding to the quilt by pinning it along one side. Be careful to sew the raw edge of the binding strip to the quilt, not the folded edge!
I usually start sewing the binding strip in the middle of the quilt side that I’m starting with. Start sewing about 5” in from the end of the binding strip, leaving a hanging “tail” on the binding. You’ll sew this to the end of the binding strip when you finish sewing all along the sides of the quilt.
Stop sewing on the first side ¼” from the corner, use a pin to mark this location and sew right up to it. Backstitch a bit, and cut your thread but DON’T cut the binding strip.
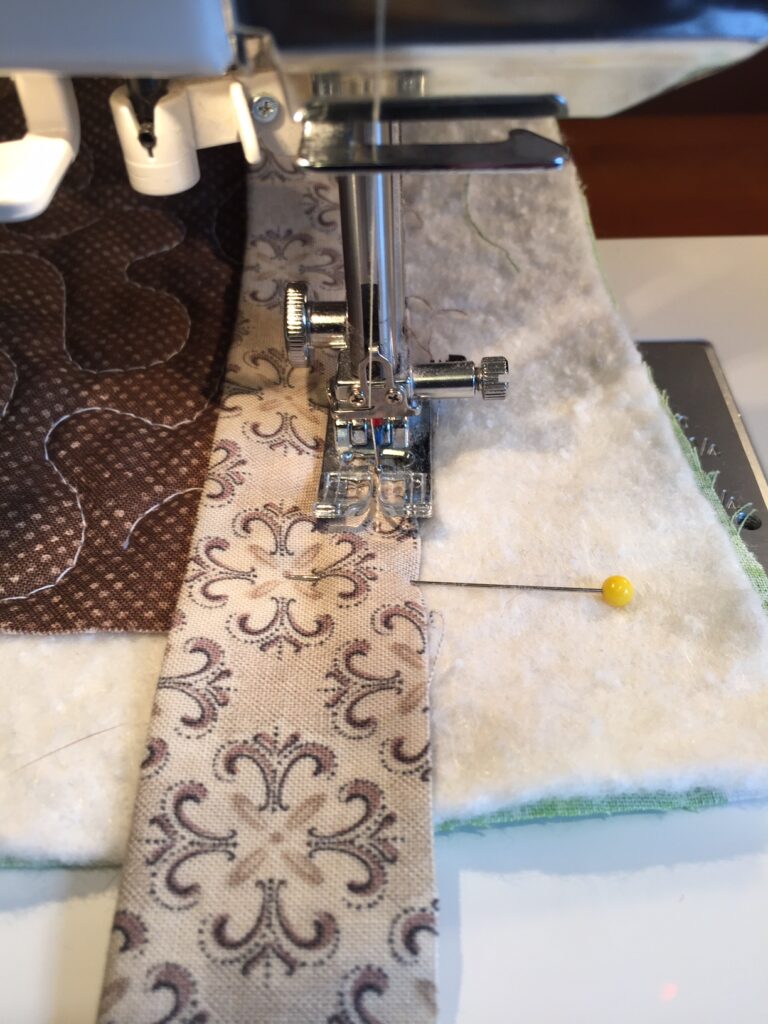
Making the Mitered Corner
Now, remove the quilt and binding strip from your machine and fold the binding strip straight up so it’s perpendicular from the side you were just sewing on.
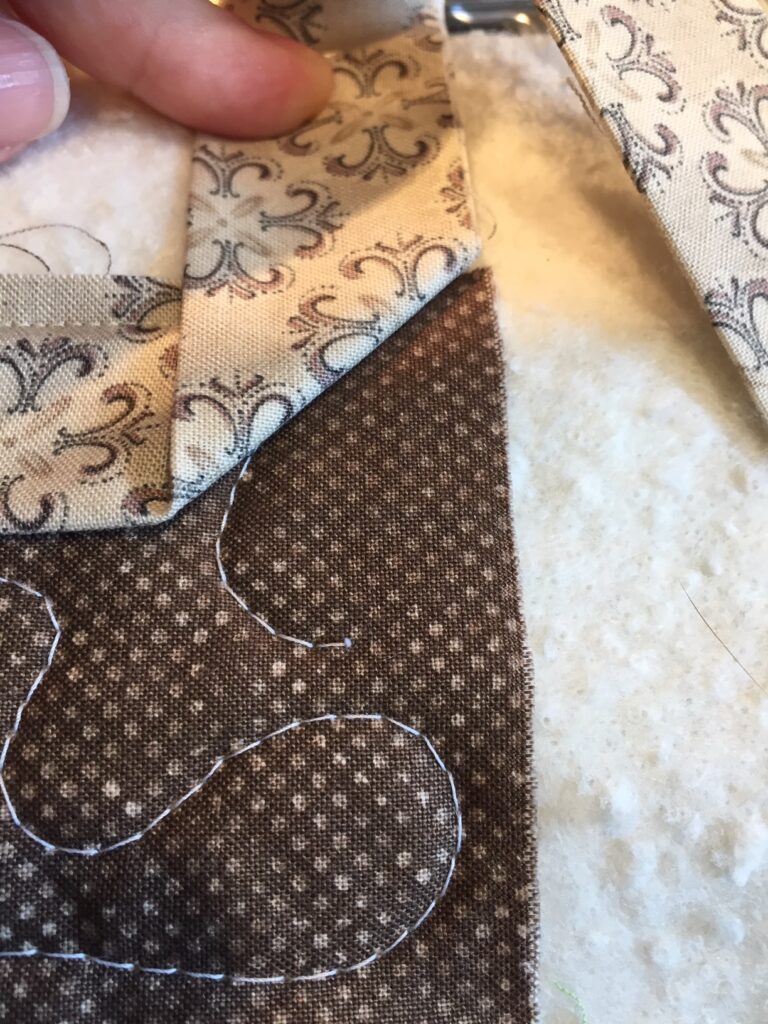
Fold the binding strip back down on itself and match it to the edge of the quilt you just sewed it to, and the next edge of the quilt you’re about to sew it to. Pin this fold in place, and pin the binding strip to this edge of the quilt and continue to sew it, again stopping ¼” from the next corner and repeating the folding process described above.
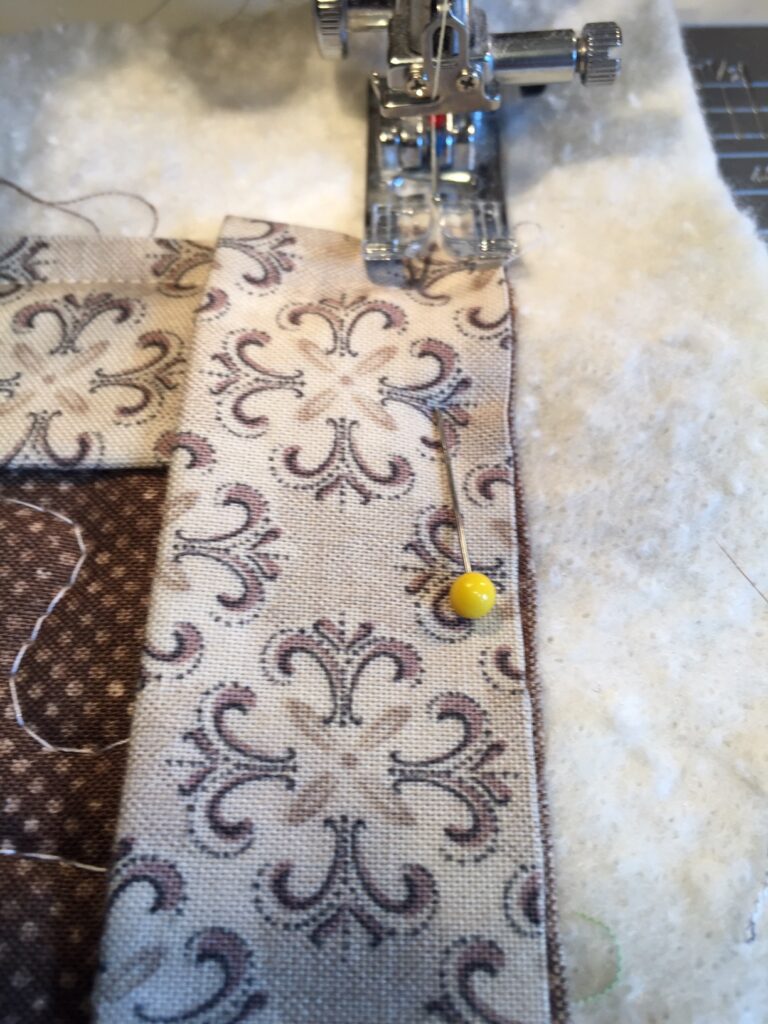
Continue in this manner until you are on the last side of the quilt, the side you started on.
Connecting the Ends of the Binding
Stop stitching about 4” from where you started. Backstitch and cut the thread (but not the binding strip, not yet!), remove the quilt and binding strip from the machine.
You now have two “tails” of the binding strip, one from where you started stitching it to the quilt and one from where you just stopped. You’ll need to join these tails together so that you have a continuous binding strip to finish sewing down to the quilt. This can be tricky!
I don’t worry now about cutting 45-degree angles on each end of the binding strip to sew it together to make a continuous strip. If you can master this technique, my hat is off to you!! What I do is measure how much more binding strip I’ll need to finish sewing it to the edge of the quilt. I then cut a straight line along each end of the binding strip, adding ¼” to each end so I can sew the ends together with a ¼” seam (right sides together). Continue to sew the now continuous binding strip to the quilt.
Trim the Batting and Back
Trim the batting and quilt back to ¼” from the edge of the quilt top. I use a ruler and a rotary cutter to accomplish this task. Work carefully, so you don’t cut into your quilted project.
Hand-Stitch the Folded Binding Edge to the Quilt Back
Here is my FAVORITE part of the process, hand-sew the folded edge of the binding strip to the back of the quilt. When you get to the corner, carefully turn the corner right-side out to make a nice, mitered corner. I tack a few stitches up the corner to hold it in place, and then continue stitching along all sides and corners until…VOILA! Your binding is complete!
As a finishing touch, you can add a label to the back of the Springtime quilt. A quilt label is like the signature on the masterpiece!!
Have fun making your happy Springtime quilt!!!
~Bonnie

I have just come across your Spring Block of the Week and I have printed out the first 10 sessions. I am new to quilting and I am taking a Beginner’s Quilting Class. We have learned 7 blocks in two classes, just getting them copied down and then figured out has been a bit of a challenge but your instructions seem to be quite easy to follow. Also, I like the larger size of the quilt. We are doing 6″ finished squares. They will be pretty when finished but I find that I have made some of the squares more than once because I messed up. Anyway, thank you for these “free” instructions. I look forward to trying to make the squares as you have.
Thank you for the nice comment! I hope you enjoy making these blocks. There will be 13 in the series all together, then I’ll show you how you can put them all together into a quilt!! Happy Quilting!!! ~Bonnie =)