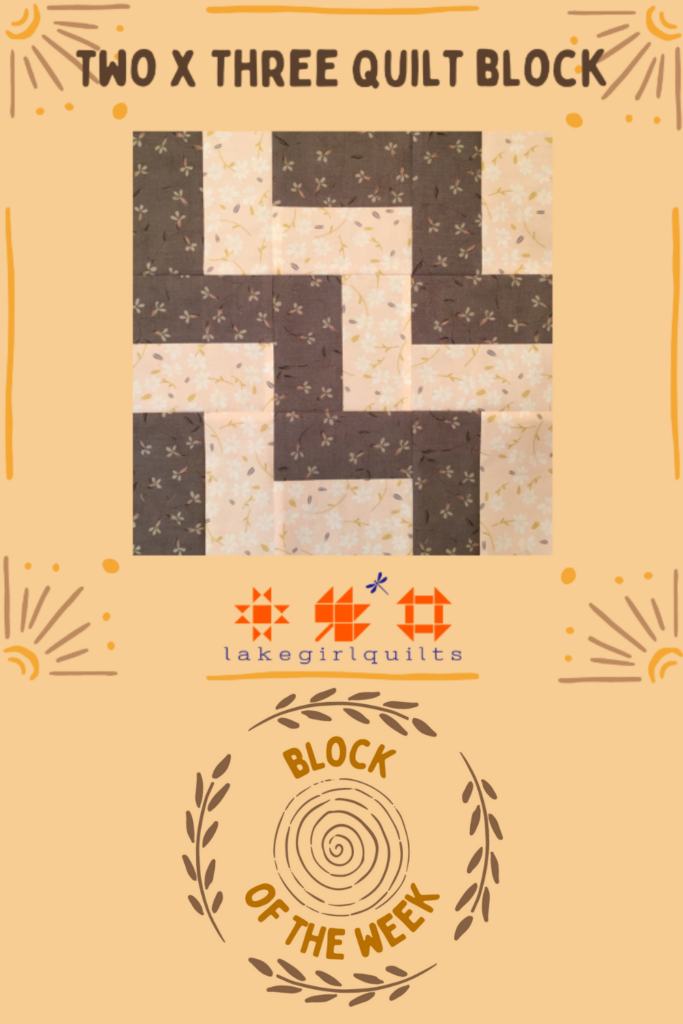
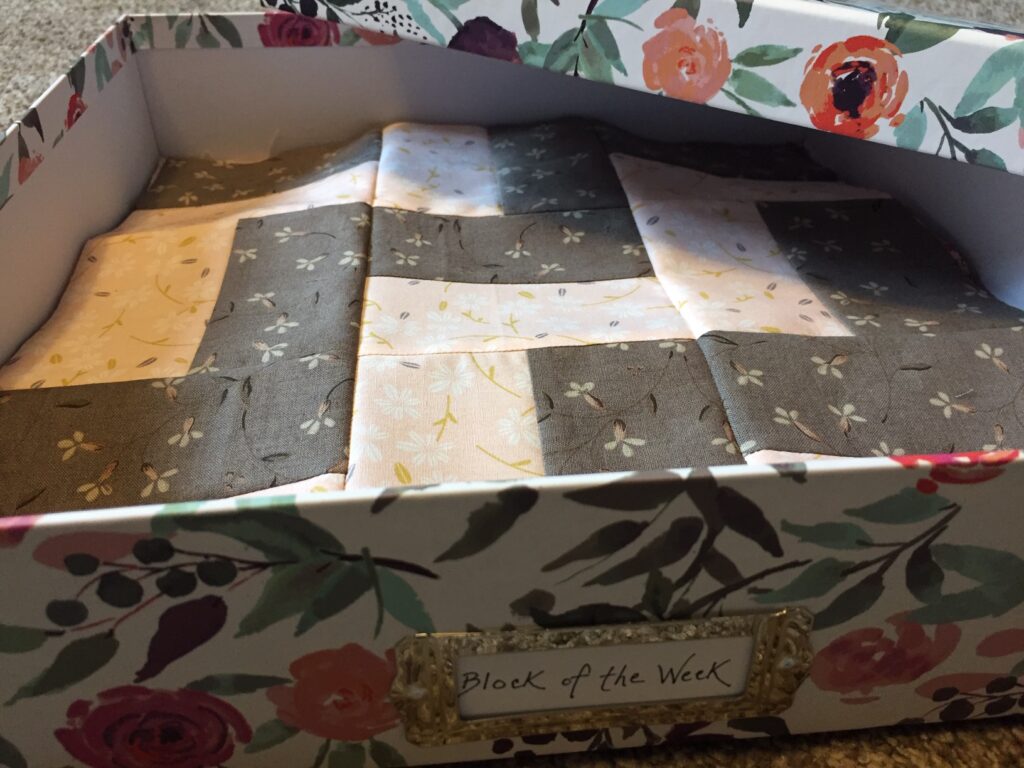
Learn how to sew a Two x Three Quilt Block during Week #10 of our Spring Block of the Week! This easy block is perfect for a beginning quilter!!
In the Two x Three Quilt Block we’ll learn an easy technique for making squares out of strips of fabric!!
During Week 1 of this Spring Block of the Week series I discussed planning the colors for your quilt blocks. If you aren’t sure what color to make your Two x Three Quilt Block take a peek at that previous post!
We also used strips of fabric to make squares for the Greek Cross Quilt Block!
I know I’m a bit early releasing this week’s block, but with the long holiday weekend I wanted to get it out to all of you sooner rather than later!!
Post contains affiliate links and we earn commissions if you shop through the links on this page. For more information please read the disclaimer on the Privacy Policy page.
Week 10 – Two x Three Quilt Block
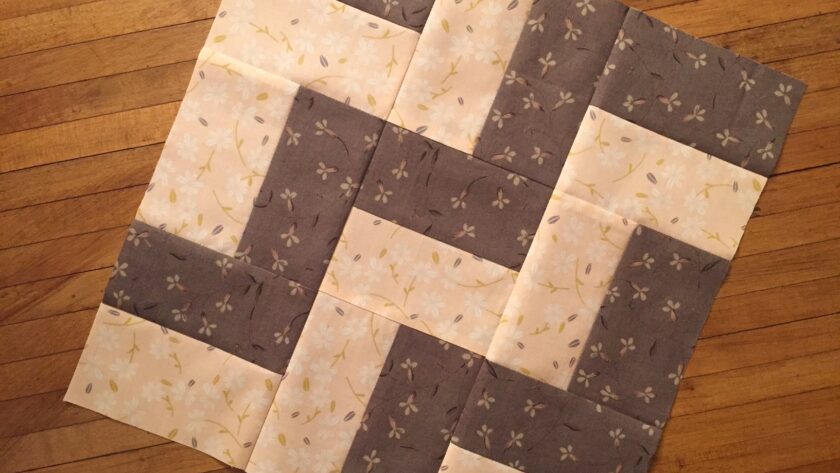
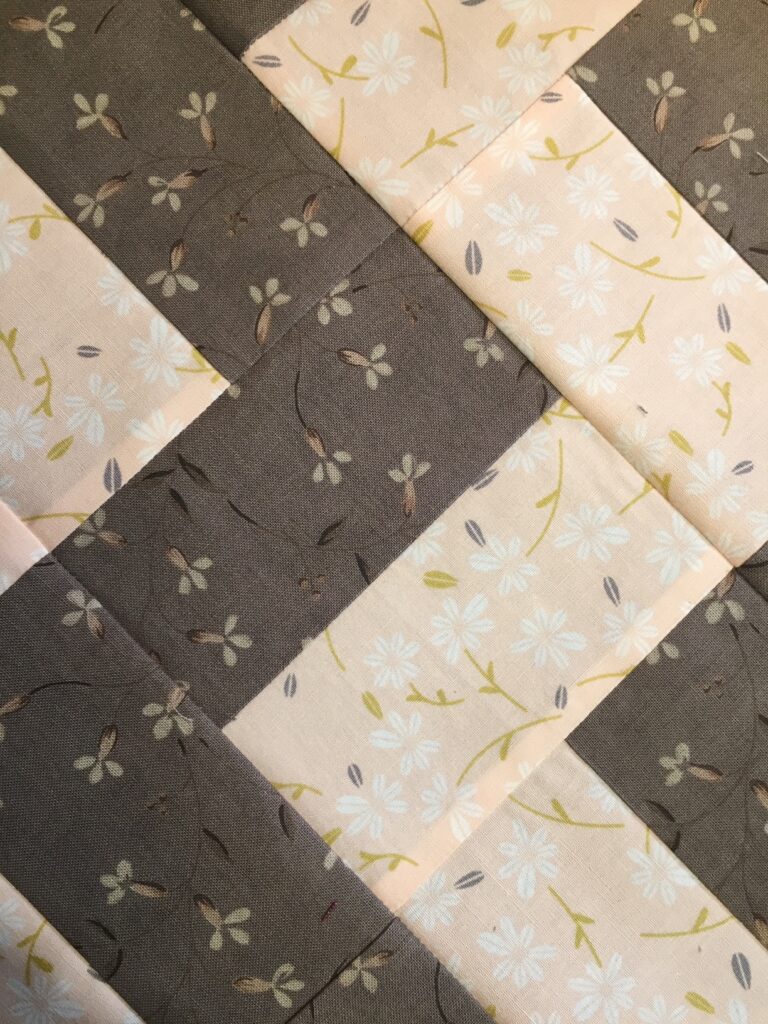
This quilt block has a unique look compared to the others blocks in in the Spring Block of the Week series! Use your imagination to put the squares together to make any design you’d like.
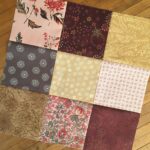
I chose to arrange the squares to have somewhat of a sideways chevron pattern. The taupe and pink is one of my favorite color combinations!!!
The finished block will measure 12 ½” x 12 ½” square.
Sew using a ¼” seam allowance throughout.
Cut the fabric for the block…
Cut one 2 ½” x 42” strip of a one fabric. And cut one 2 ½” x 42” strip of a second fabric.
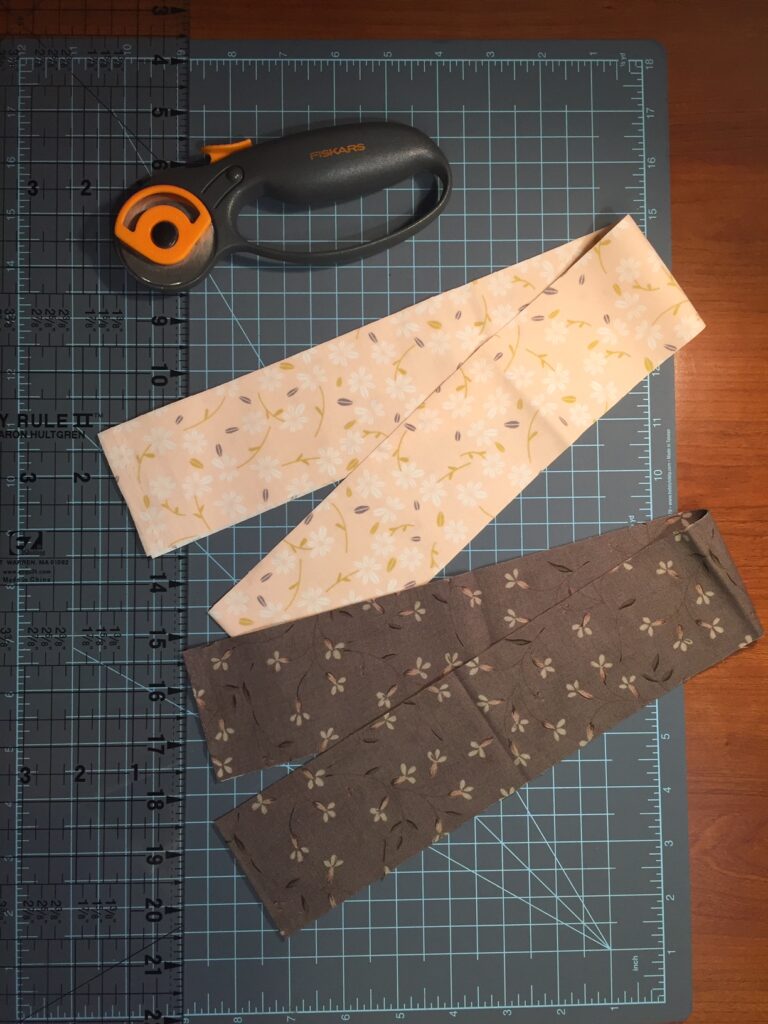
Making the “Striped” Squares…
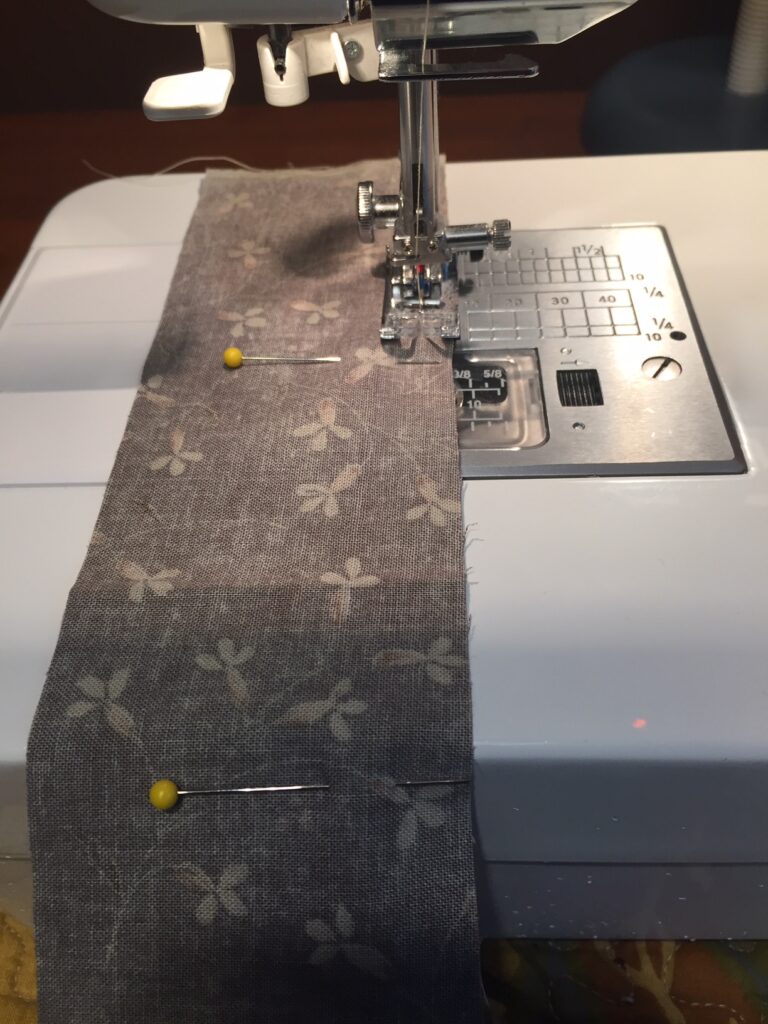
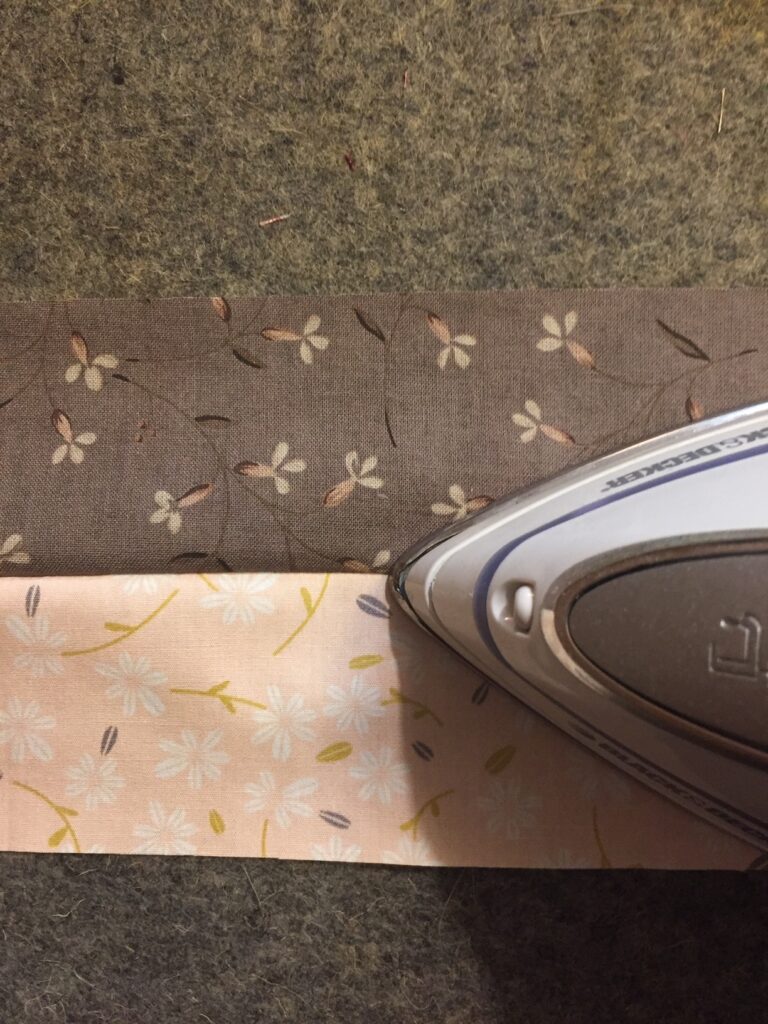
Placing the right sides together, pin along one long edge. Sew along the pinned edge to join the two strips together.
Open up the sewn “striped” strip that now measures 4 ½” x 42”. Press the seam open toward the darker fabric.
Use a ruler like the 6 1/2″ Easy Square, Jr. to square up one side of the strip. Then use this squared side to measure and cut nine 4 ½” squares.

Plan the block layout…
Follow the diagram below to plan the layout of the striped squares, or come up with your own pattern!
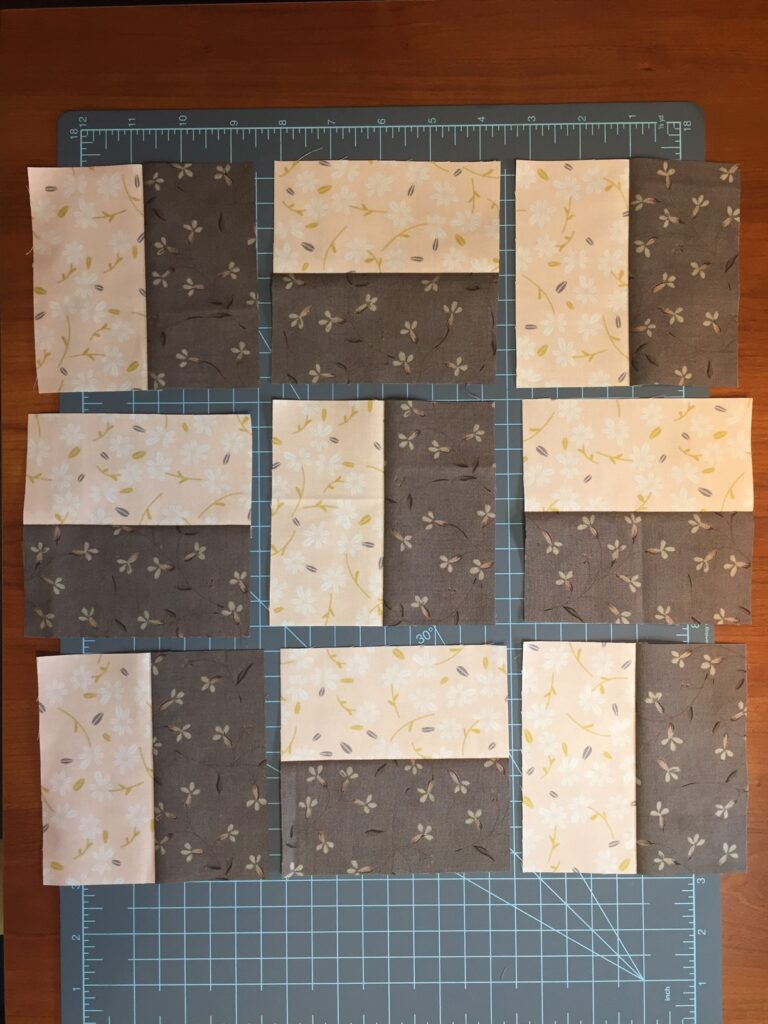
Once decided, sometimes I take a picture of the planned-out blocks so I don’t mess up when I start sewing them together. Then I can refer to the picture to help me get all the blocks in the right order!!
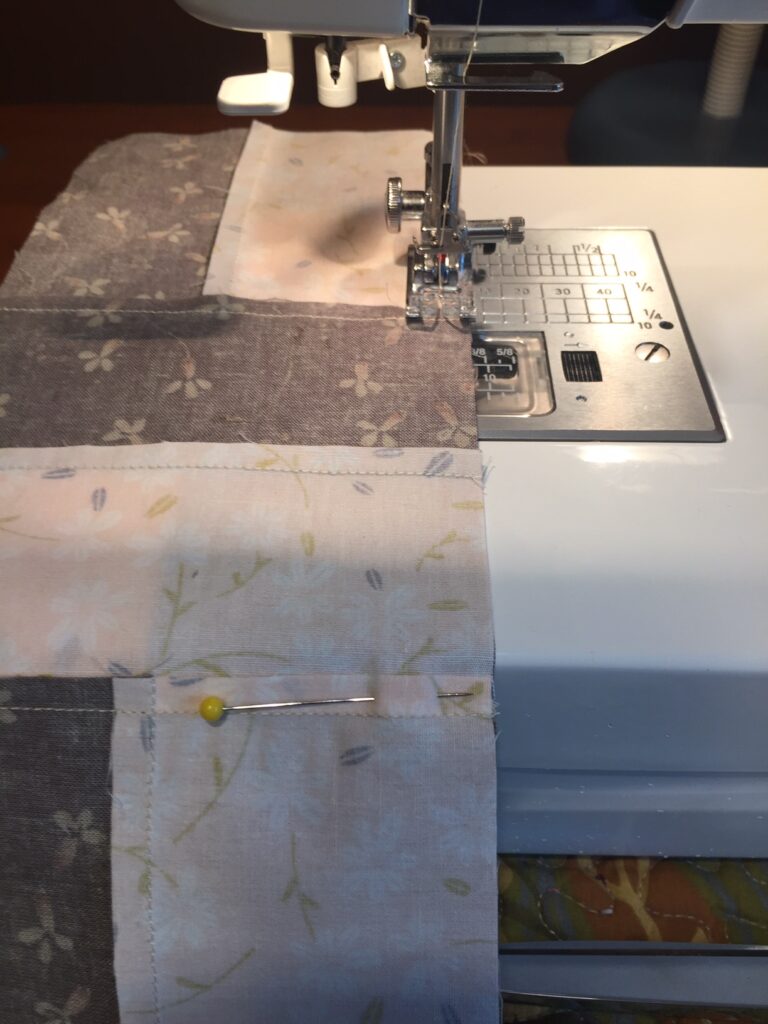
Sew together the squares of each row…
Begin sewing the squares together row by row. I like to pin the first two blocks in each row before I start sewing them. This way I can easily “chain piece” them together. I’ll talk about chain piecing in just a minute!
Starting with row one, place the first two squares right sides together. Place a pin in the middle and on the end.
Using a ¼” seam allowance, stitch the two squares together. Don’t sew over the pins, remove them as you come up to them.
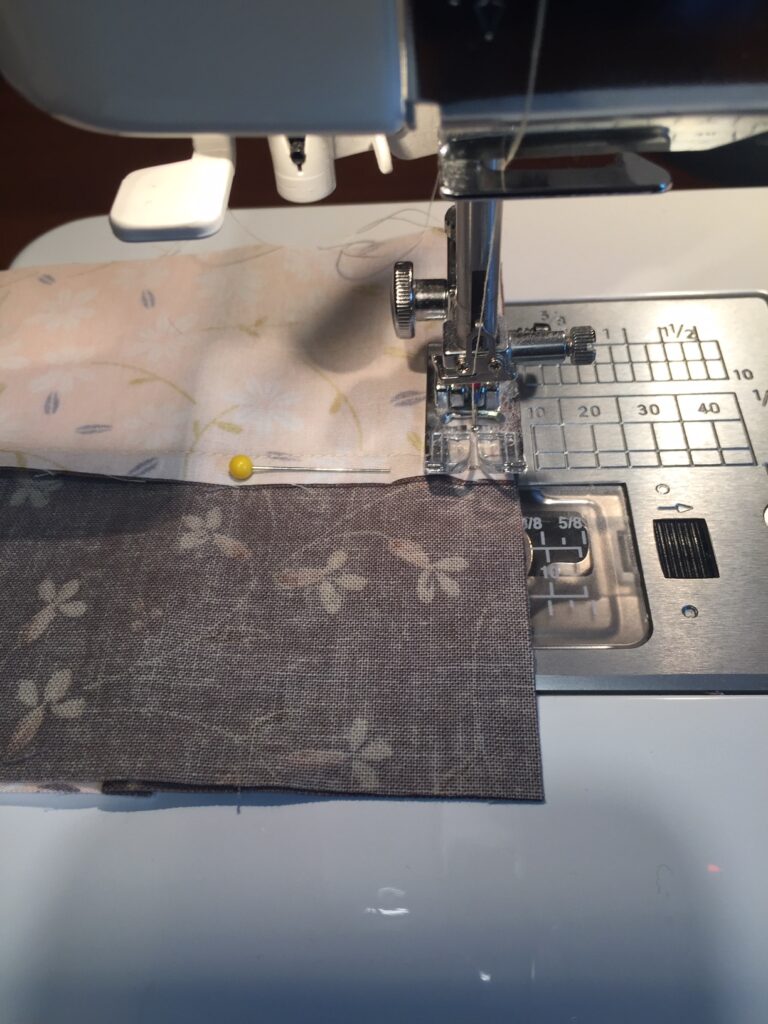
Rather than cutting the thread when you get to the end, you can continue to sew the first two squares in row two together. This is called chain piecing, and it saves a little time and thread.
Place the first two squares of row to right sides together, pin, and stitch. Don’t snip the thread, and repeat to add the first two squares of row three on the “chain”.
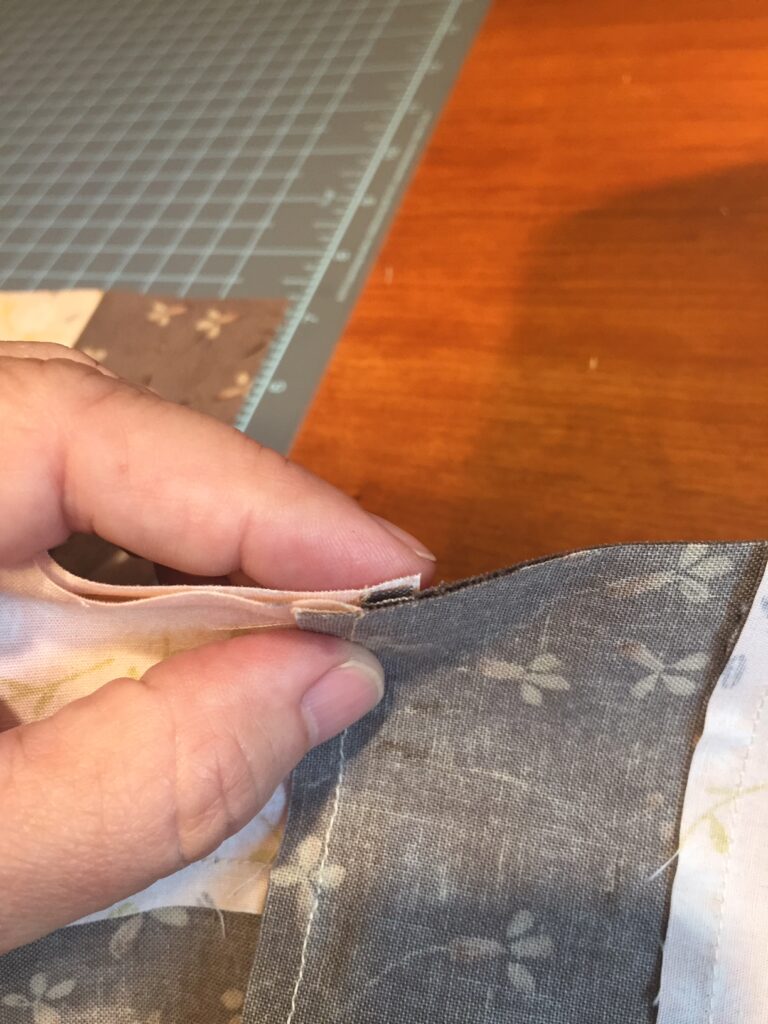
When you have the first two blocks of all three rows sewn together, then snip them apart from each other.
Line them up in their correct row placement again.

Place the last block right sides together to each of the middle squares and pin. Stitch the last block onto row one. Again, rather than snip when you get to the end, you can chain stitch the last square of each row onto the middle square of that row.
Snip them apart when you have all the rows sewn.
I like to use the chain piecing technique to sew quilt squares together. You don’t have to chain piece these squares, you can sew each of them individually if you prefer!!
Pressing the seams…
You’ll want to press the seams, rather than iron them back and forth. Ironing the seams back and forth will stretch the fabric all wonky!
Press the seams of row one to the right. Press the seams of row two to the left. And press the seams of row three to the right again. This way the seams will “nest” together nicely when you sew the rows to each other!
Sewing the rows together…
With rows one and two right sides together, “nest” the seams together and place a pin in these lined up seams. I also like to place a pin at the end of the rows, and a couple in the middle.
When you carefully nest, pin, and sew your seams you’ll get nicely matched up points and corners!
Sew the rows to each other, removing the pins as you come up to them. Be careful not to let the seam from the bottom row fold over the wrong way as you come up to it! This happens sometimes.
Press the seams of each row all in the same direction, either toward the top or toward the bottom. This way your block will lay nice and flat.
Nicely pressed seams look so pretty!!! And they help to create smooth quilting patterns later!
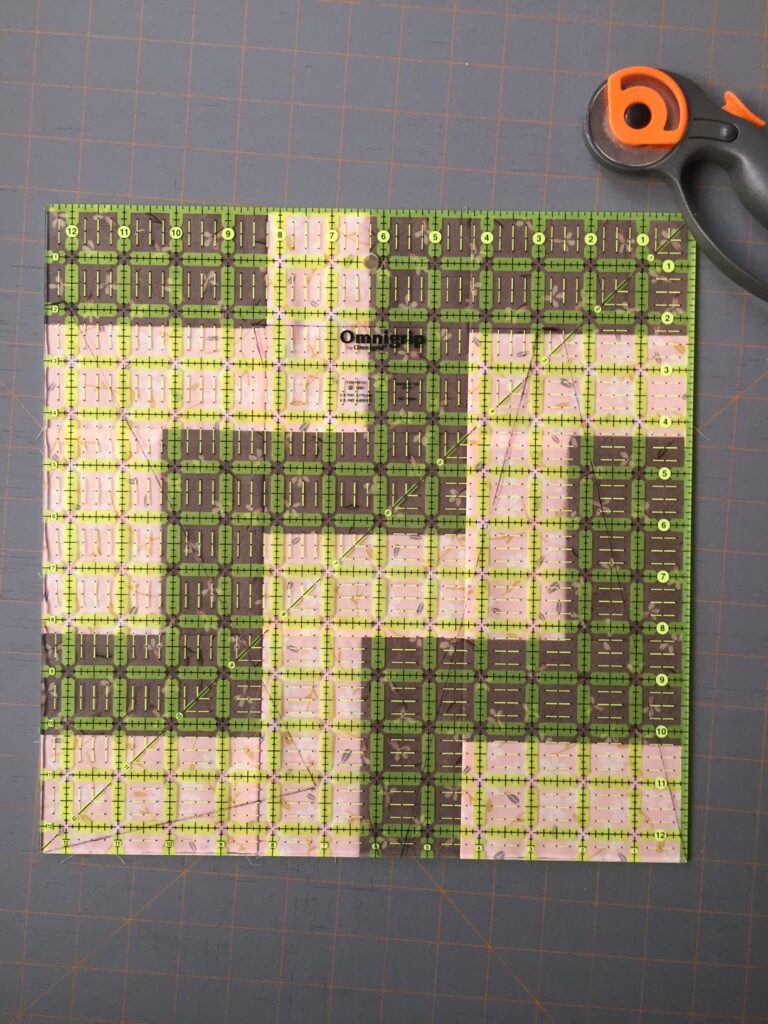
Finishing the block…
Using the measurements for the individuals squares that make up this block, the final quilt block should end up measure 12 ½” x 12 ½”. Once you’ve pressed it, lay it out on your cutting mat and square the block to make sure it’s 12 ½” square.
I have a 12 ½” square Omnigrip plastic “ruler” that works great for squaring up large quilt blocks!
Oh my gosh, only three more blocks to go in this Spring Block of the Week Series!!

Have fun making this Two x Three Quilt Block, and have a great week!!
~Bonnie
This block is so quick and easy to make! I put it into EQ8 to see the possibilities for a quilt an it was amazing how much motion this block creates!!! Lots of energy and possibilities – even a maze for kids to drive cars …
I love this block too! I’m so happy you’ve explored the possibilities of using it in a quilt!!! I’d love to see your finished products =)