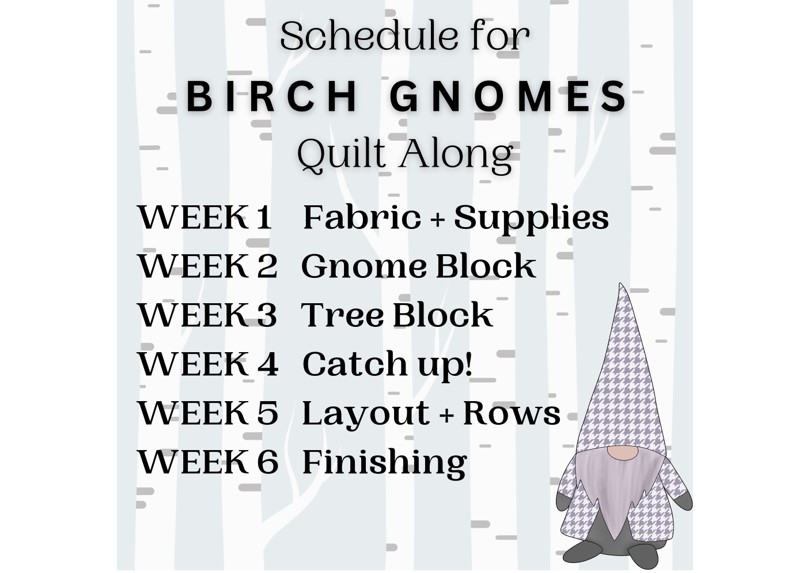
Week 2 of the Birch Gnomes Quilt Along has us making the adorable gnome blocks!!
You’ll need the yardages of gray print fabric, white fabric, peach fabric, and light gray fabric that we went over in Week 1 to make the gnome blocks!
Keep reading to see how you can be eligible to win weekly prizes!!! I’m so excited to be pairing with Fabric Shack for this quilt along! They have donated some really cute Charm Packs for prizes and I’m donating digital quilt patterns! I’ll randomly choose winners at the end of the week!!
Let’s get started!!
Post contains affiliate links and we earn commissions if you shop through the links on this page, including Amazon Associate links. For more information please read the disclaimer on the Privacy Policy page.
Cutting Directions
Spray and press all fabric with starch before cutting it. Because the templates require cutting on the bias the starch will help prevent the fabric from stretching wonky!
Using a self-healing cutting mat and your favorite rotary cutter, follow the directions below to cut all of the pieces to make this simple block.
I shared all my favorite tools in Week 1 with links to purchase them if you need to!!

Gray Print Fabric:

Cut the 24 rectangles and fabric strips as listed in the pattern’s Cutting Directions.
You can cut the patches for the rectangles and strips so they are matched up with the same print fabrics. Or you can mix and match the rectangles and strips from different fabrics for a really scrappy look!

White Fabric:
Cut the 24 rectangles as listed on the pattern.*
*Sew 1 large gray print rectangle to 1 white rectangle along the long sides, press seam toward gray fabric. Repeat for all 24. Then cut 24 triangles from this gray/white unit using Template A. Follow the placement directions on the bottom of the template so the bottom of the rectangle is along the bottom of the white piece of the unit.
Tip: The bias edge of the triangles once they’re cut can be a bit tricky to work with. Just take your time and handle them gently so they don’t stretch out of shape as you sew the pieces together later! Make sure you’ve spray starched your fabric before cutting to help!!

Peach Fabric:
Cut 1 – 4” x 42” strip or cut 1 – 8” x 18” rectangle.**, depending on the type of fabric yardage you purchased.
Fusible Web:
Cut 2 – 4” x 18” strips or cut 1 – 8” x 18” rectangle.**
**Iron fusible web to the back side of the peach fabric according to directions on the packaging, paper side facing up. When cooled, carefully peel off paper backing. Then use a scissors to cut 24 oval noses from the peach fabric using Template D. I like to cut the peach fabric into little rectangles, then cut the noses to make the process easier!
You can trace the noses with a pencil first before cutting them out if you’d like to, but it doesn’t matter if they’re not exact!
Light Gray Solid Fabric:
Cut 24 triangles using Template B and Cut 24 triangles using Template C. If fabric is folded in half, you can just use Template B to cut 2 triangles at a time and you’ll get the “reverse” triangles that Template C would provide.


Sew the Gnome Block:
Sew a light solid gray triangle cut from Template B to the left side of the gray print/white gnome triangle cut from Template A. Press seam toward solid gray triangle.
Sew a light solid gray triangle cut from Template C to the right side of the gray print/white gnome unit. Press seam toward solid gray triangle.

This unit should measure the same size as indicated on the pattern. Carefully trim if needed, but make sure the gray/white triangle is still centered vertically in the block.
Place the peach oval nose cut from Template D on the face of the gnome, right side facing up.
I like the nose to be mostly on the white with a little of the nose sticking above onto the gray print “hat”.
Press to set nose in place via directions for the fusible web. Then carefully stitch 1/8” or so around the edge of the nose, 2-3 times around. Use a wider length of stitch than normally used.

It’s ok if the stitching overlaps and looks a little messy, that adds to the charm of this gnome block and makes each one unique!
Sew the gray print strip to the bottom of the white gnome “beard”. Press seam downward toward the gray strip.
The pattern indicates the size this block needs to be when finished. Carefully trim if needed to achieve the accurate size!
Repeat these steps to make all 24 gnome blocks.

Share Your Progress!!
Follow lakegirlquilts on Instagram! Post a pic of your gnome block to Instagram! Mention @lakegirlquilts and use #birchgnomesqal to be eligible to win prizes for Week 2!
Follow the lakegirlquilts page on Facebook! We can all chat about the Birch Gnomes QAL there!! Folks can post questions and I’ll answer them for everyone. If you’re wondering about something it’s likely someone else is too!! As always, you can also email me a question if you’d prefer.