If you’re looking for a quick and classic quilt block that adds motion and charm to any project, the easy Pinwheel Quilt Block is a must-try!
In this beginner-friendly tutorial, I’ll show you how to make a 6 1/2″ pinwheel block using the four-at-a-time HST method.
This is one of the fastest ways to make four perfect half square triangles—and it’s a great technique to learn for so many quilts.
Post contains affiliate links and we earn commissions if you shop through the links on this page, including Amazon Associate links. For more information please read the disclaimer on the Privacy Policy page.
What is a Pinwheel Quilt Block?
The pinwheel block is made up of four half square triangles (HSTs) arranged to look like a spinning windmill. It’s a fun, playful block that works well in all sorts of projects like baby quilts, table runners, throw pillows, and more.
What You’ll Need
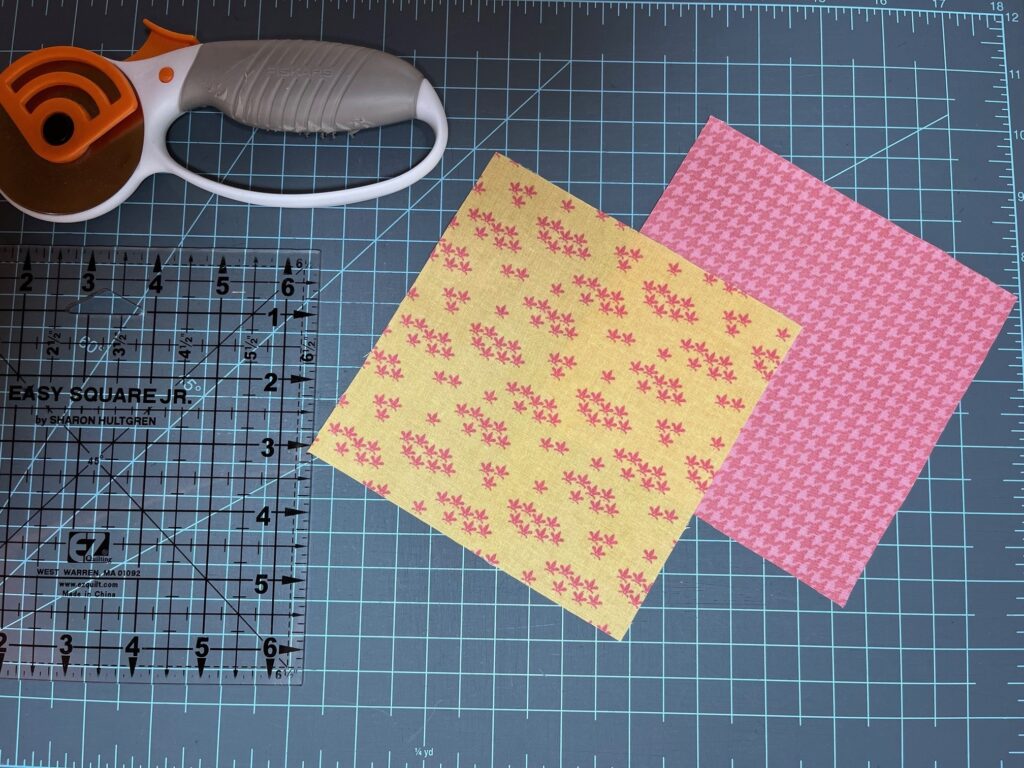
You only need two fabric squares to make a pinwheel block! One light and one dark fabric give the pinwheel its pop. Make sure they’re the same size.
Light fabric square
Dark fabric square
Rotary cutter and mat
Quilting ruler
Marking tool
Iron and pressing surface
Pins
What Size Fabric Squares Should You Start With?
I make my Pinwheel Block to measure 6 1/2″ unfinished, so I used 3 1/2″ half square triangles to construct it. Want to make your pinwheel blocks in different sizes? I’ve created a handy chart for you to use!
Cutting Tip: Keep It Accurate
The key to sharp points in your pinwheel is precise cutting. Use a sharp rotary cutter and take your time lining up the edges. Even a slight wobble can throw off your points later.
How to Make 4-at-a-Time Half Square Triangles (HSTs)
This is one of the fastest and easiest ways to make HSTs. All you’ll need to do is trim off the dog ears!
And all you need are two 5 1/2″ squares of fabric.
Tip: Handle Bias Edges with Care
When you use the 4-at-a-time HST method, each triangle is cut along the bias grain of the fabric. That means the edges are stretchy and more prone to distortion.
Here’s how to keep your blocks crisp and accurate:
Press—don’t iron!
Instead of sliding your iron back and forth, use an up-and-down pressing motion. This prevents stretching those delicate bias edges.
Use steam or starch for stability.
Lightly starch your fabric squares before you start sewing to help reduce stretch. A bit of steam while pressing can also help set the seams—just don’t tug on the fabric.
Sew gently—no pulling!
Let the feed dogs guide your fabric under the needle. Pulling or pushing can stretch the seam and throw off your points.
Trim carefully.
Line up the diagonal seam on your ruler with care, and avoid handling the blocks more than you need to until they’re sewn into rows.
Bias edges can be tricky, but with a little extra care, your HSTs will stay sharp and true!
I have a whole blog post on how to make 4-at-a-time half square triangles! Click here to see that post!!
Step-by-Step Instructions:
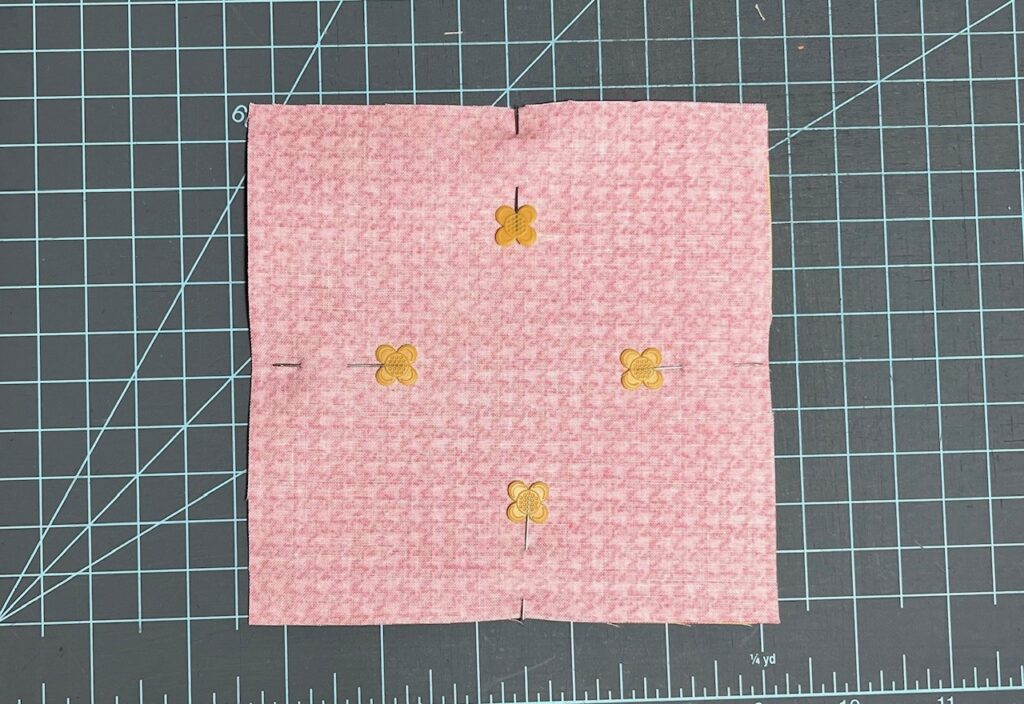
Place your two fabric squares right sides together.
Choose a light and a dark fabric for good contrast.
Sew around all four edges of the square using a 1/4″ seam.
No marking needed! Just pin and stitch along all four sides.

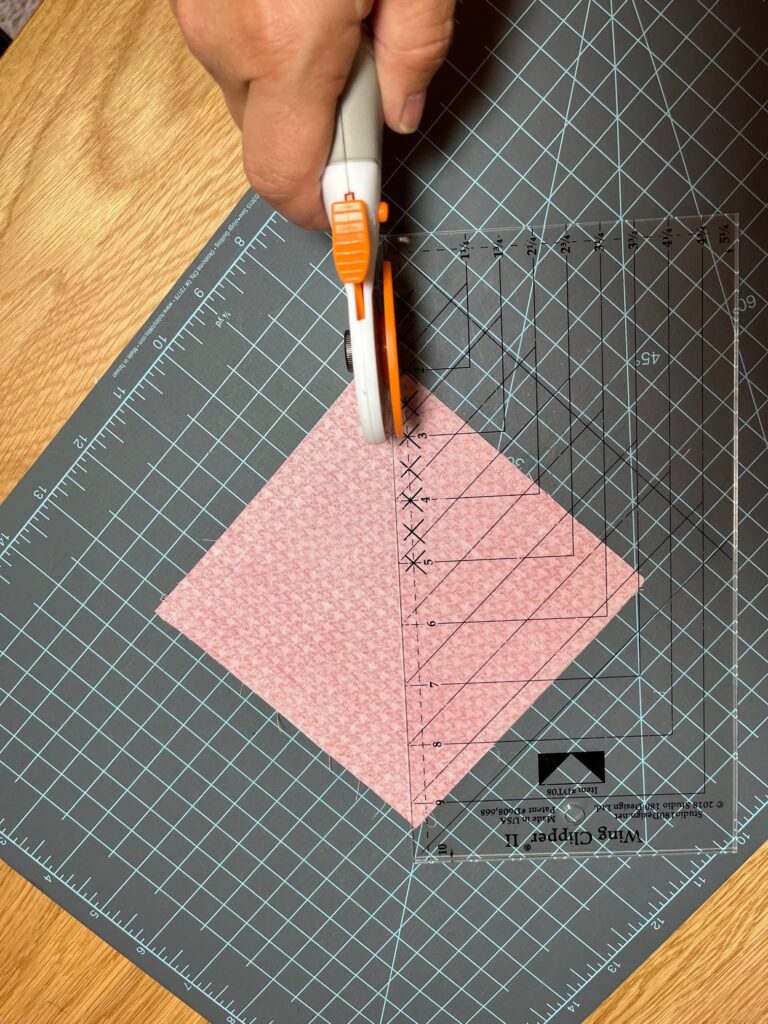
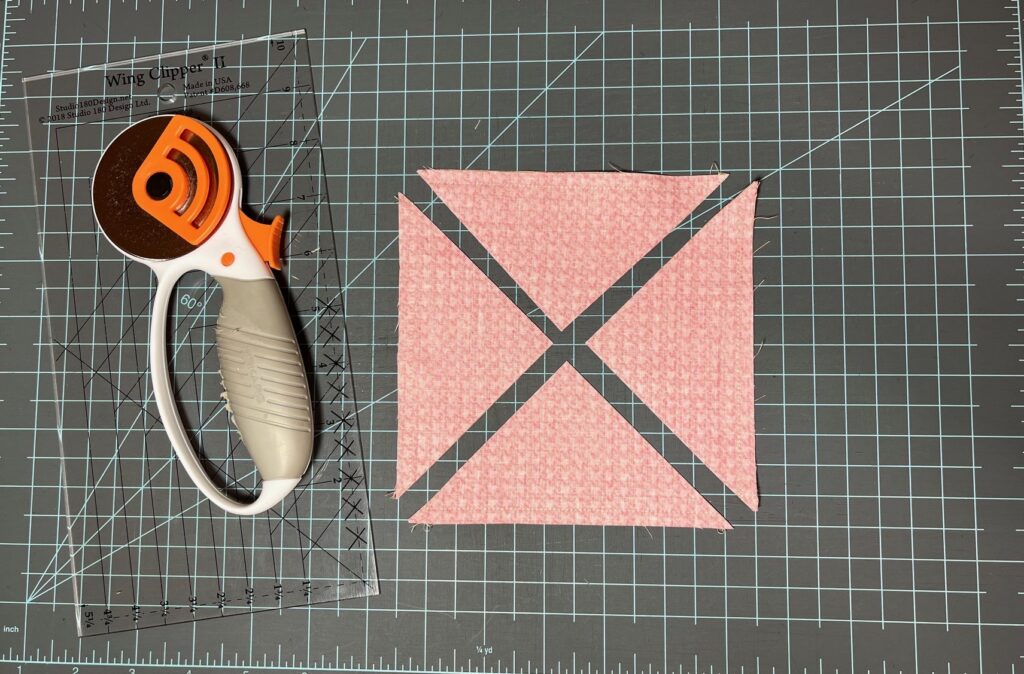
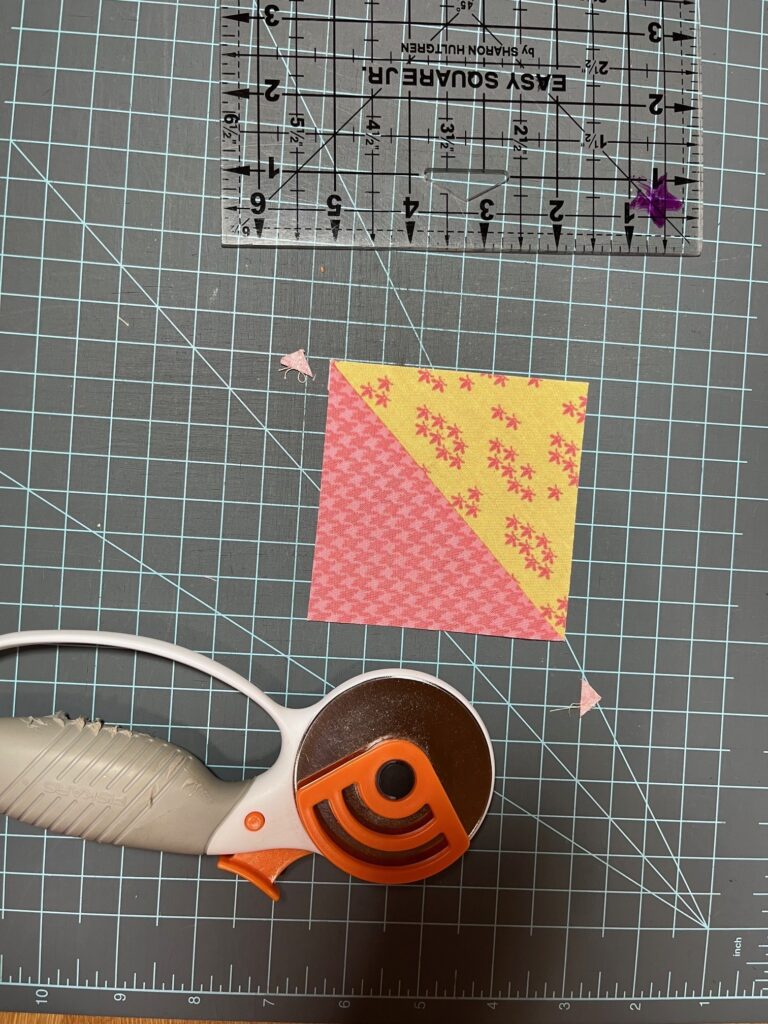
Cut diagonally from corner to corner (once in each direction) making an “X” through the square.
You’ll now have four triangles, each sewn together along the long edge.
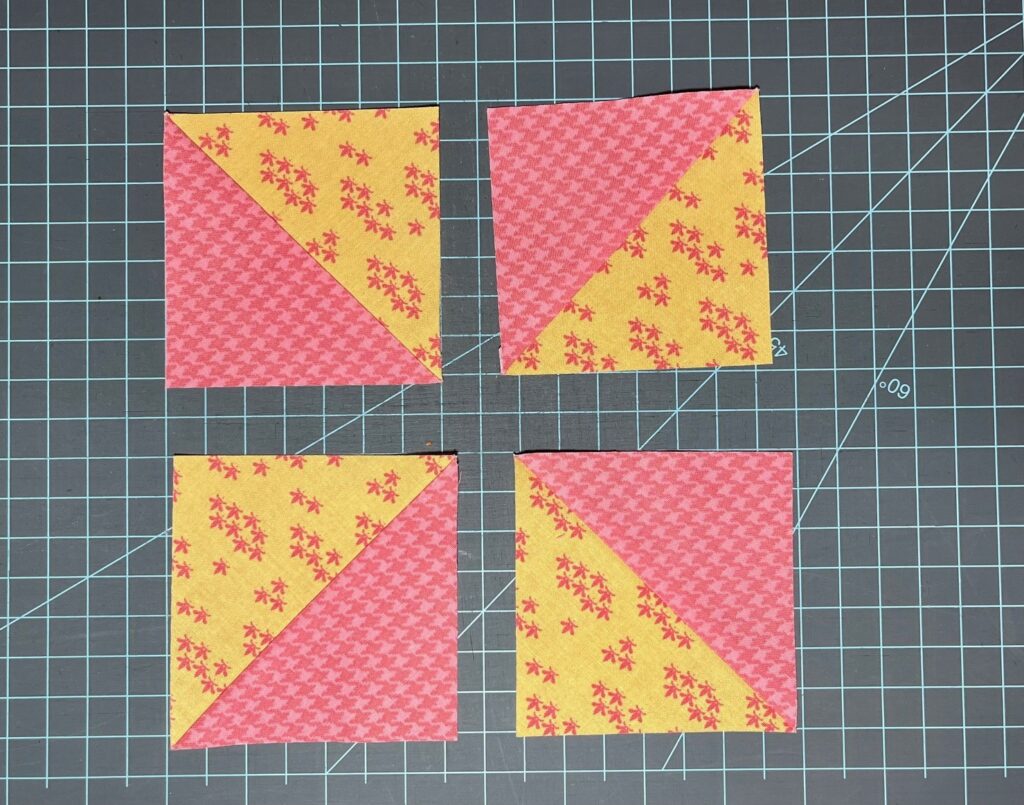
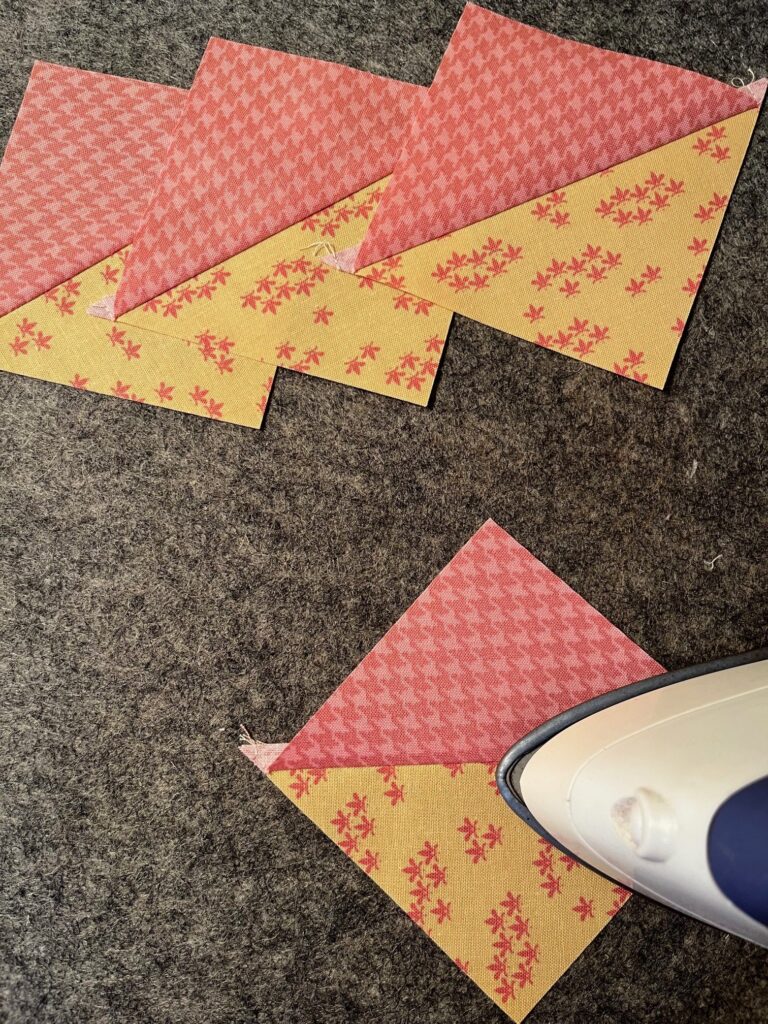
Press open your HSTs.
Press the seam toward the darker fabric or press open if preferred. Use steam or starch for extra flatness.
Trim to size.
Use a square ruler with a diagonal line to center on the seam and trim each HST to the correct unfinished size. For the 6 1/2″ pinwheel block you’ll need 3 1/2″ HSTs!!
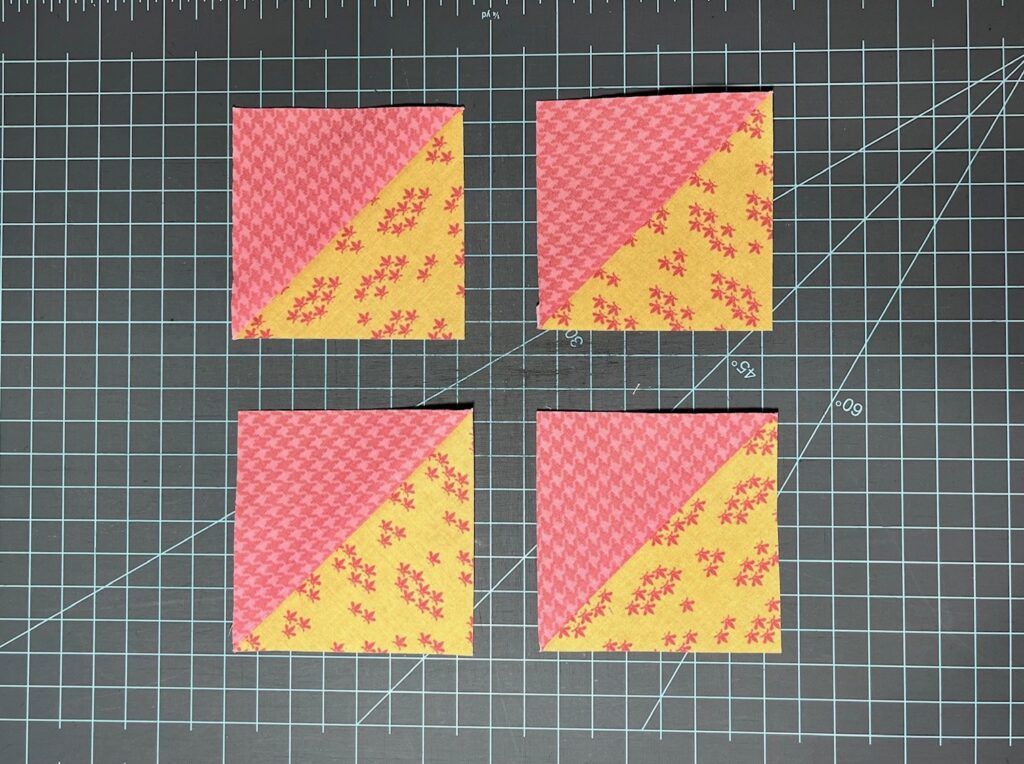
Arranging the Pinwheel
Lay out your four trimmed HSTs so the dark triangles form a spinning pinwheel shape. This step is fun!! Make sure the block “spins” the way you want before sewing it together.
Sew with Perfect Points
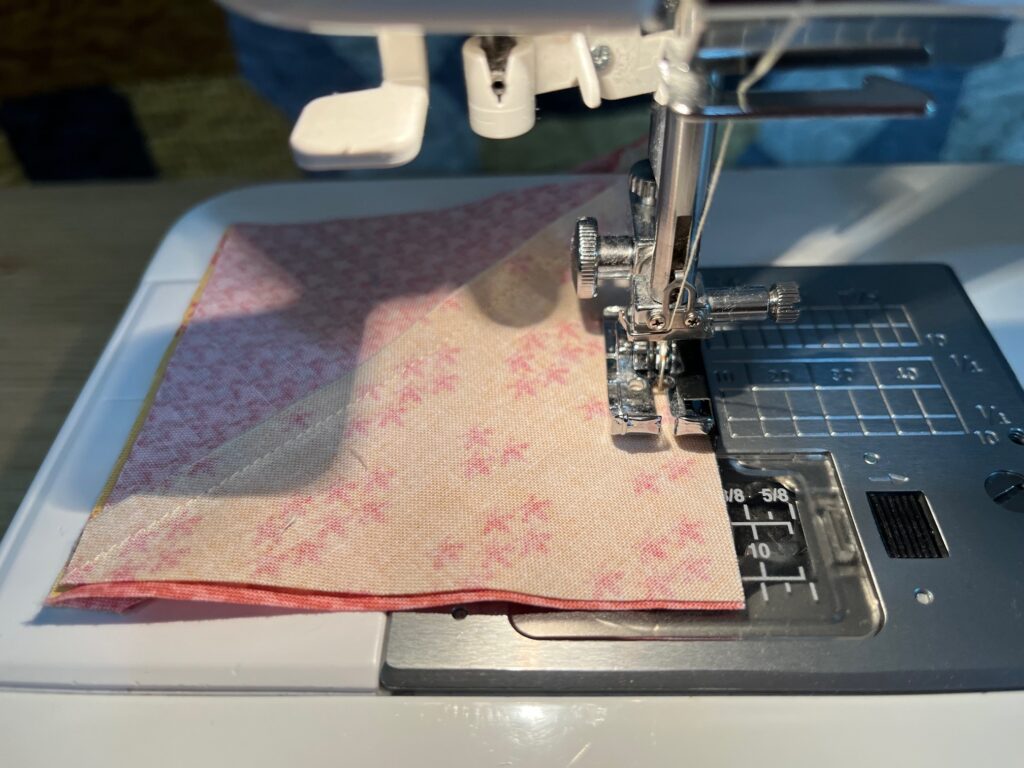
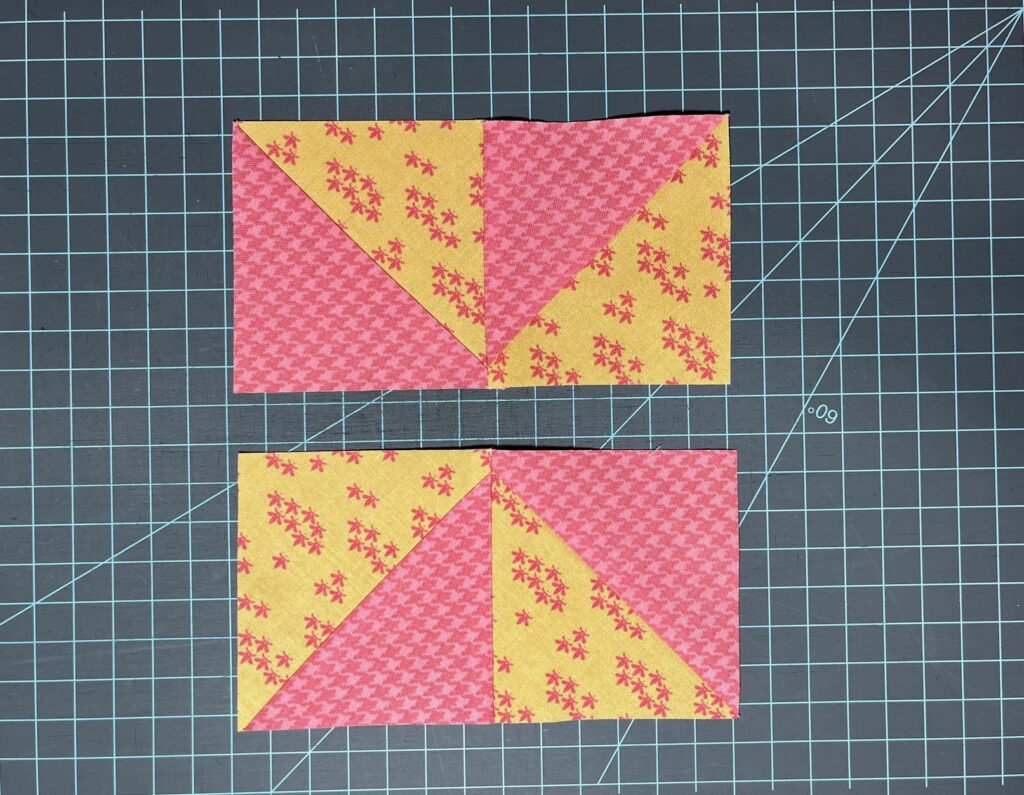
Step 1: Sew Top and Bottom Rows
Sew the top two HSTs together, then the bottom two. Press seams in opposite directions to help them nest.
What Does It Mean to “Nest” Your Seams?
Nesting seams is a technique that helps your patchwork lines match up perfectly. It simply means you press adjoining seams in opposite directions so they “lock” together when you sew them. This creates a flatter block and makes matching points (like the center of your pinwheel!) much easier.
How to Nest Seams
After sewing two rows of your block, press the seams of the top row in one direction, and the seams of the bottom row in the opposite direction.
When placing the rows right sides together, the seam allowances will naturally fit against each other—like puzzle pieces!
Press carefully so your seams don’t flip or twist.
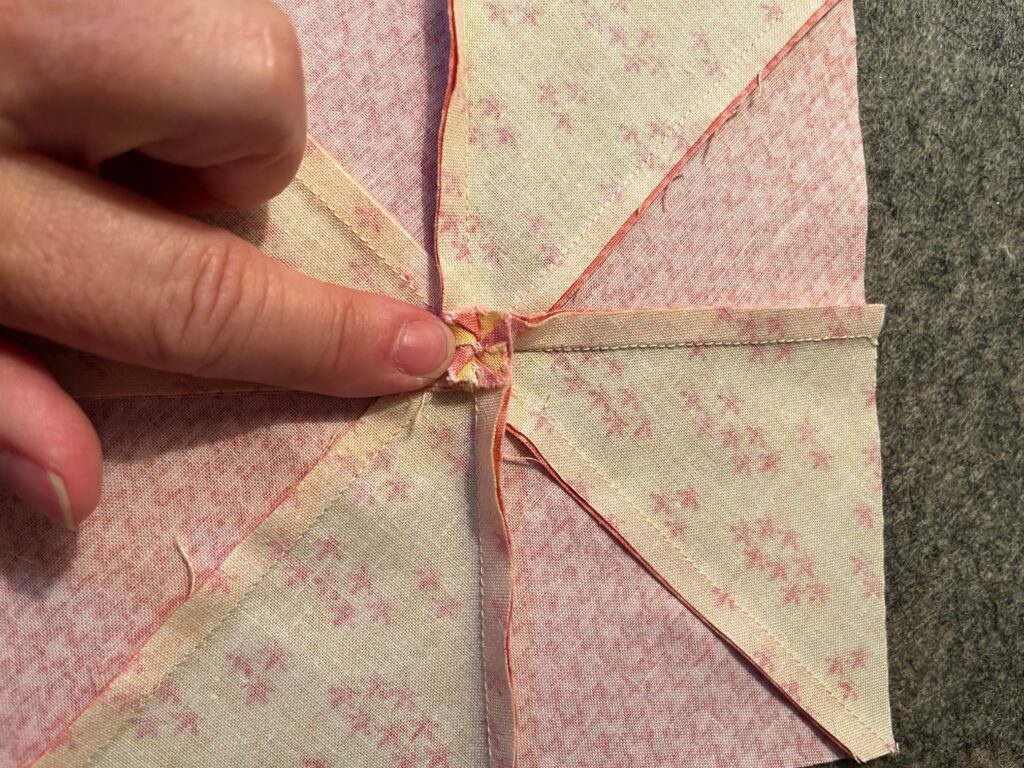
Use a fine pin right through the point where the seams cross to secure them perfectly.
If your block is bulky, try spinning the center seam after sewing (you can loosen a few stitches and press the seams in a circular direction). This reduces bulk and helps your pinwheel lay flat.
Place the two rows right sides together. Nest the center seam carefully. Use a pin to secure it. Match the outer points too.
Tip: Pin through the exact point on both seams to make sure they line up.
Pin right at the seam intersection to hold them in place.

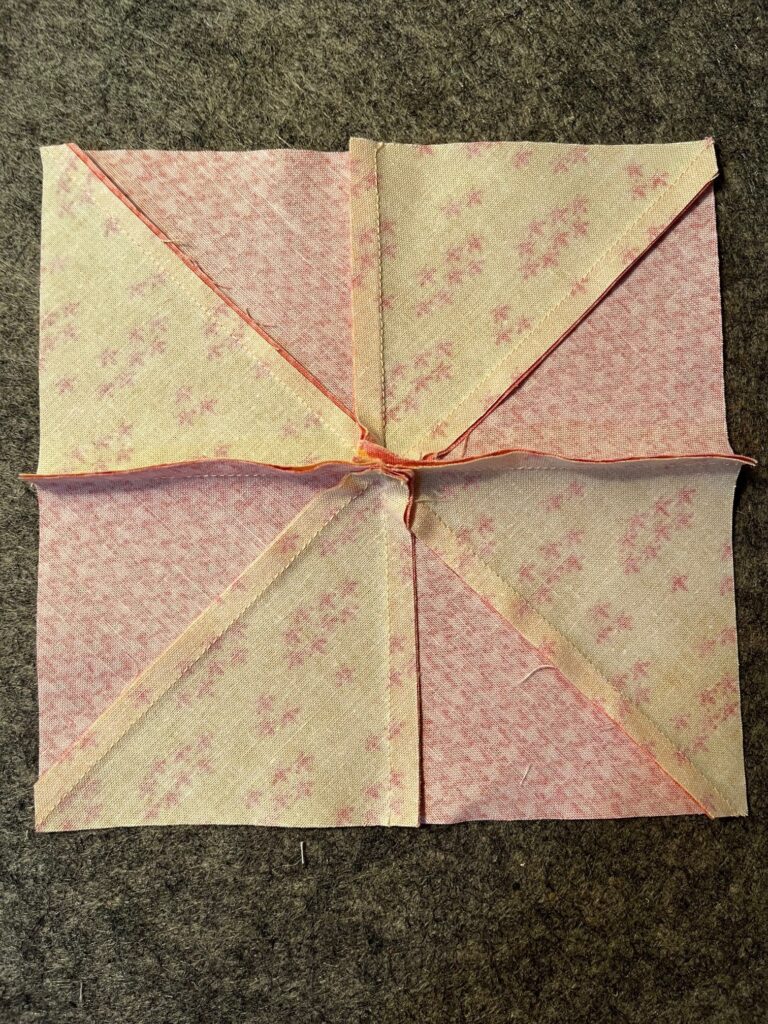
Step 2: Sew the Rows to Each Other
Carefully sew the two rows to each other, removing pins as you come up to them.
When you sew the rows together, you’ll feel that little “bump” where the seams nest! That’s what keeps your points aligned!!

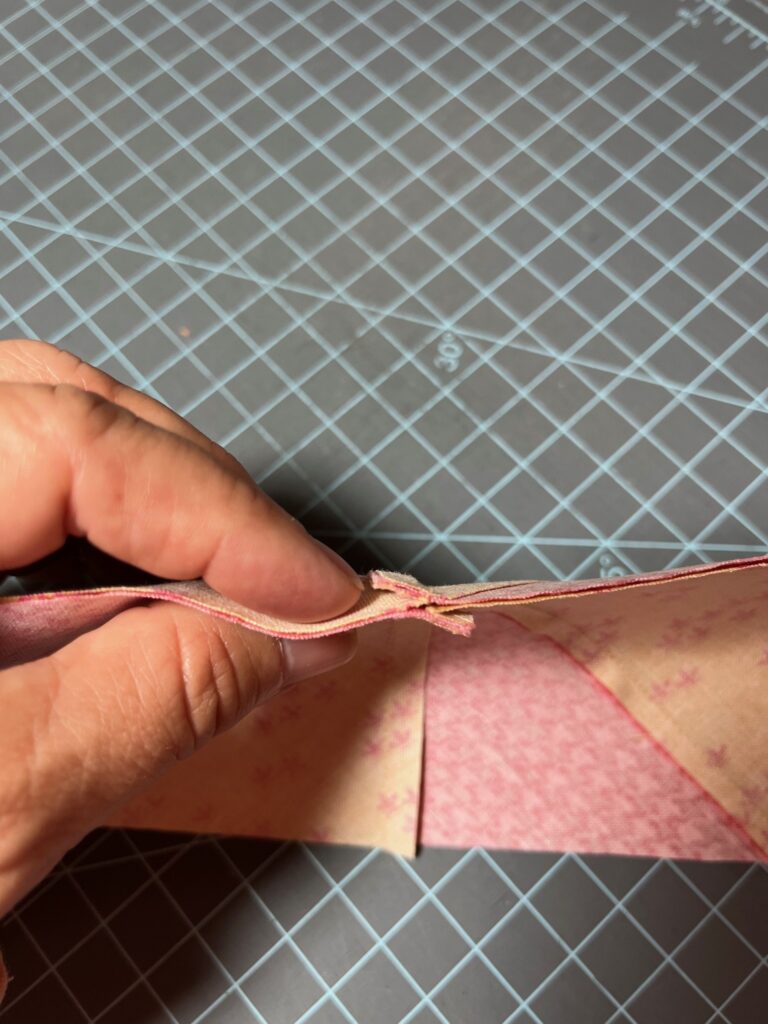
Help Your Seam Lay Flat
When pressing your final pinwheel block, use steam and press gently. You can “spin” the center seam by loosening a few stitches at the intersection and pressing seams in a circular direction. This helps the block lay extra flat and reduces bulk at the center.
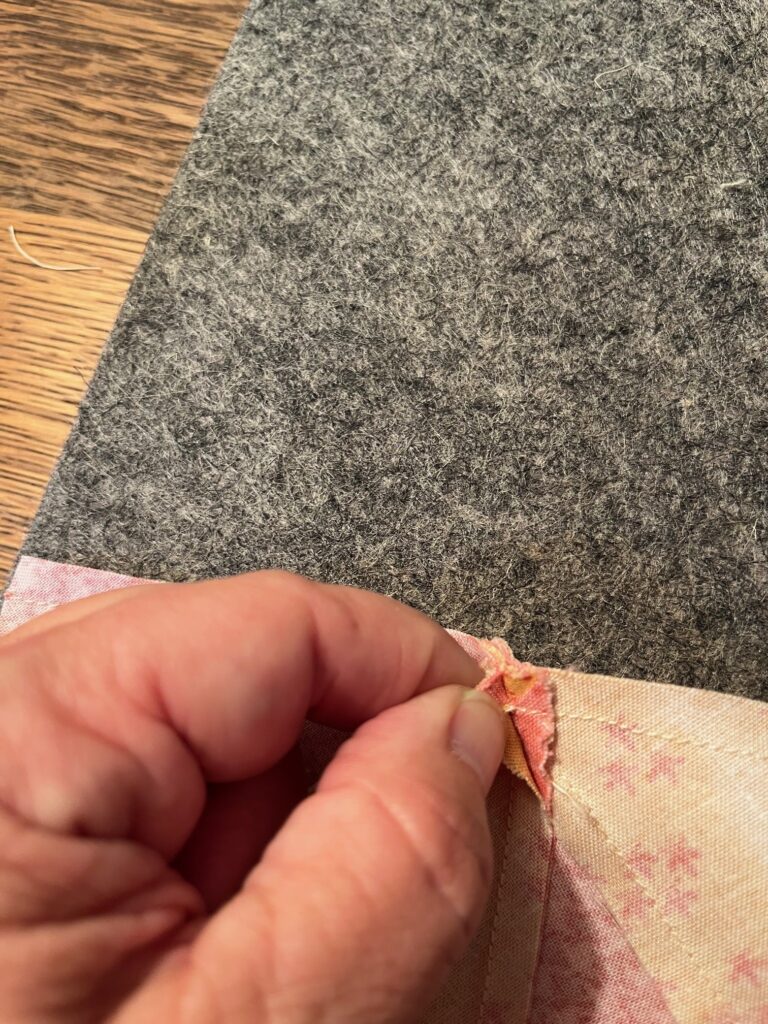
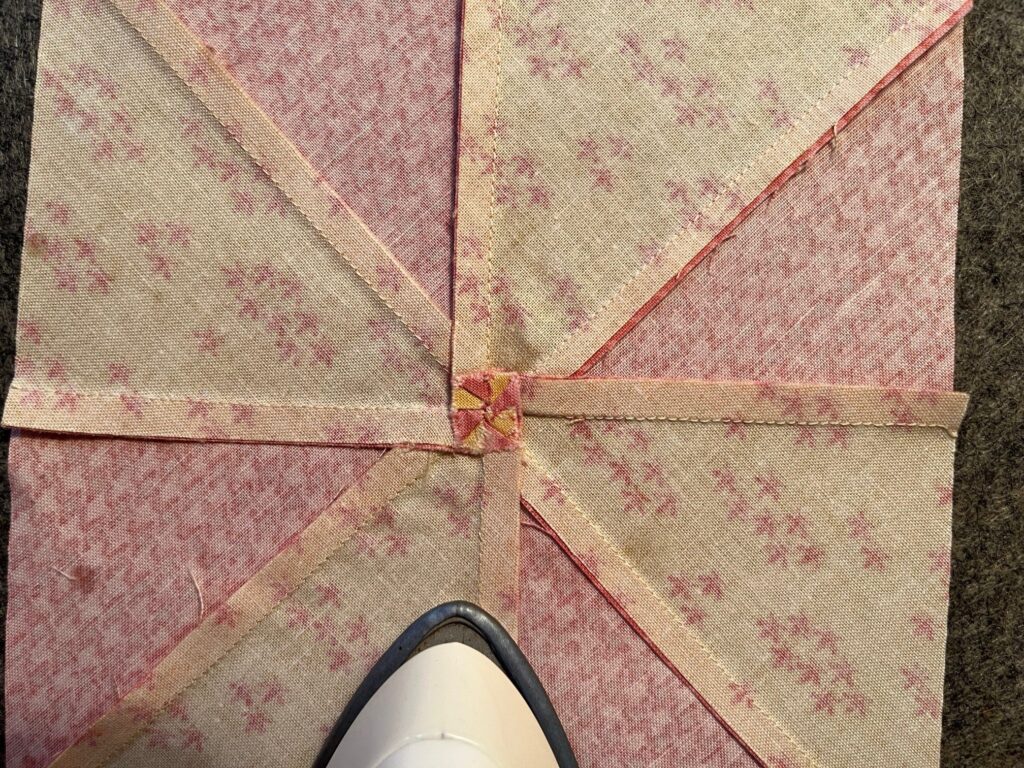
Press each half of the seam in the opposite direction to help distribute the bulk. You’ll end up with a little pinwheel on the back center of the pinwheel block!
Give the front of the block a final press. I love to use FLATTER pressing spray by SOAK to get my final block to lay extra flat. Plus the spray smells so lovely!! My favorite scent is CELEBRATE.
You can order FLATTER spray here!

What Can You Make with Pinwheel Blocks?
Try adding your block to a scrappy baby quilt, a playful table runner, or a throw pillow for your couch! Pinwheels are so versatile and look great in vintage, modern, or seasonal fabric combos.
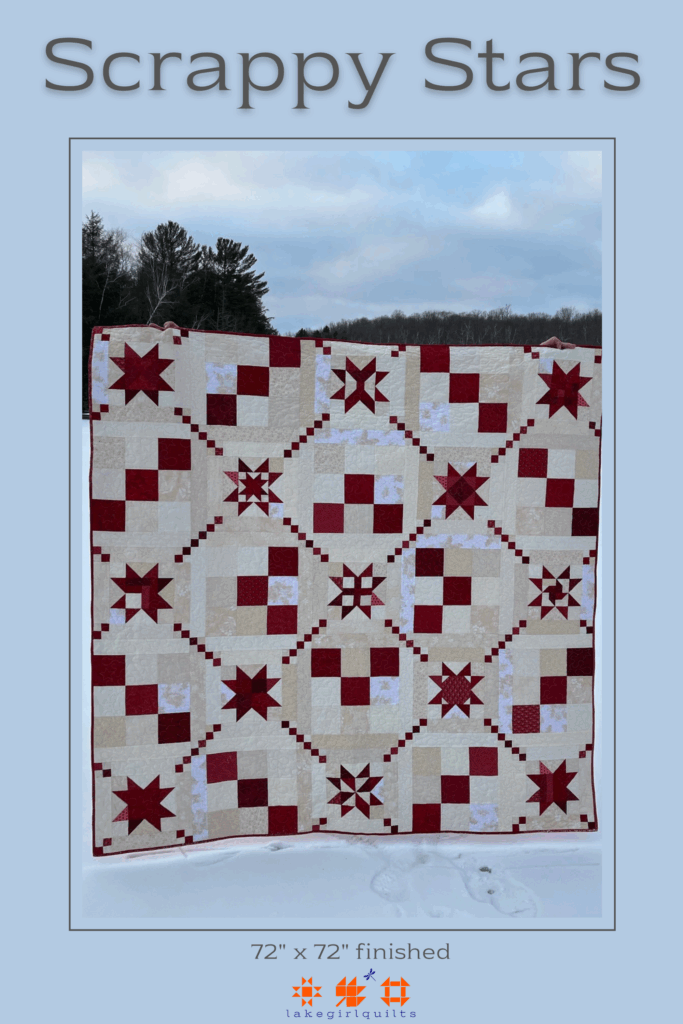
Check out my Scrappy Stars quilt pattern and my Winter Cabins quilt pattern which both use pinwheel blocks in their construction! These patterns are for sale in my Etsy shop!!

Final Tips for Beginners
Chain piece to save time when sewing multiple blocks.
Use starch or pressing spray like FLATTER for crisp seams.
Take your time with matching points, it’s worth it!
Don’t skip trimming! Seriously, it’s the magic step!!
Have fun making this cute little block!!