Looking for a fun and easy sewing project? This colorful zippered pouch is perfect for beginners and makes a cute and useful bag!
Follow along with this step-by-step tutorial (and lots of pictures!) to create your own 14″ x 8″ x 3″ pouch.
Whether you love scrappy, whimsical fabrics or prefer a sleek, modern look, this pouch is fun to customize!
Post contains affiliate links and we earn commissions if you shop through the links on this page, including Amazon Associate links. For more information please read the disclaimer on the Privacy Policy page.
CLICK HERE TO GET THE FREE PDF DIRECTIONS FOR MAKING THIS EASY ZIPPERED POUCH!
CLICK HERE TO GET THE FREE PDF DIRECTIONS FOR MAKING THIS EASY ZIPPERED POUCH!
Materials Needed
100% cotton quilting fabric (front, back, and lining)
14″ nylon zipper
Foam interfacing (Soft and Stable recommended)
Glue stick
Thread
Basic sewing supplies (sewing machine, rotary cutter, ruler, pins)
Cutting Instructions
Front:
(Option 1) One solid piece — 14½” x 8½”
(Option 2) Scrappy style — center panel 6½” wide with side borders 1½” x 6½” and 4½” x 8½”
Back:
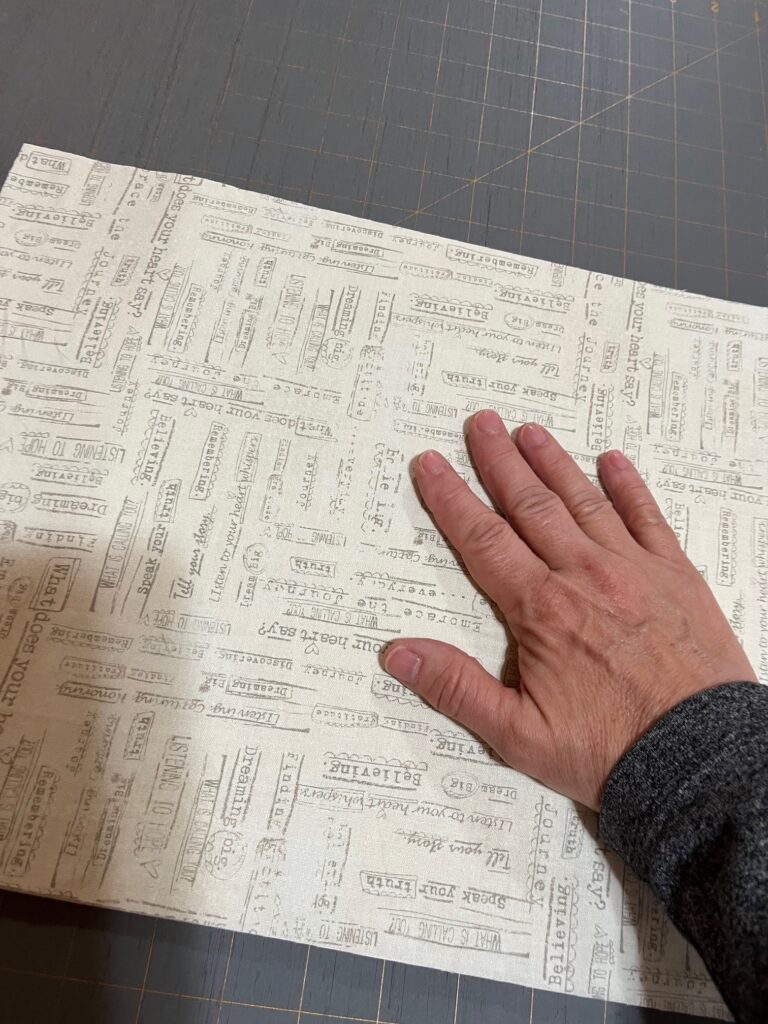
One piece — 14½” x 11½”
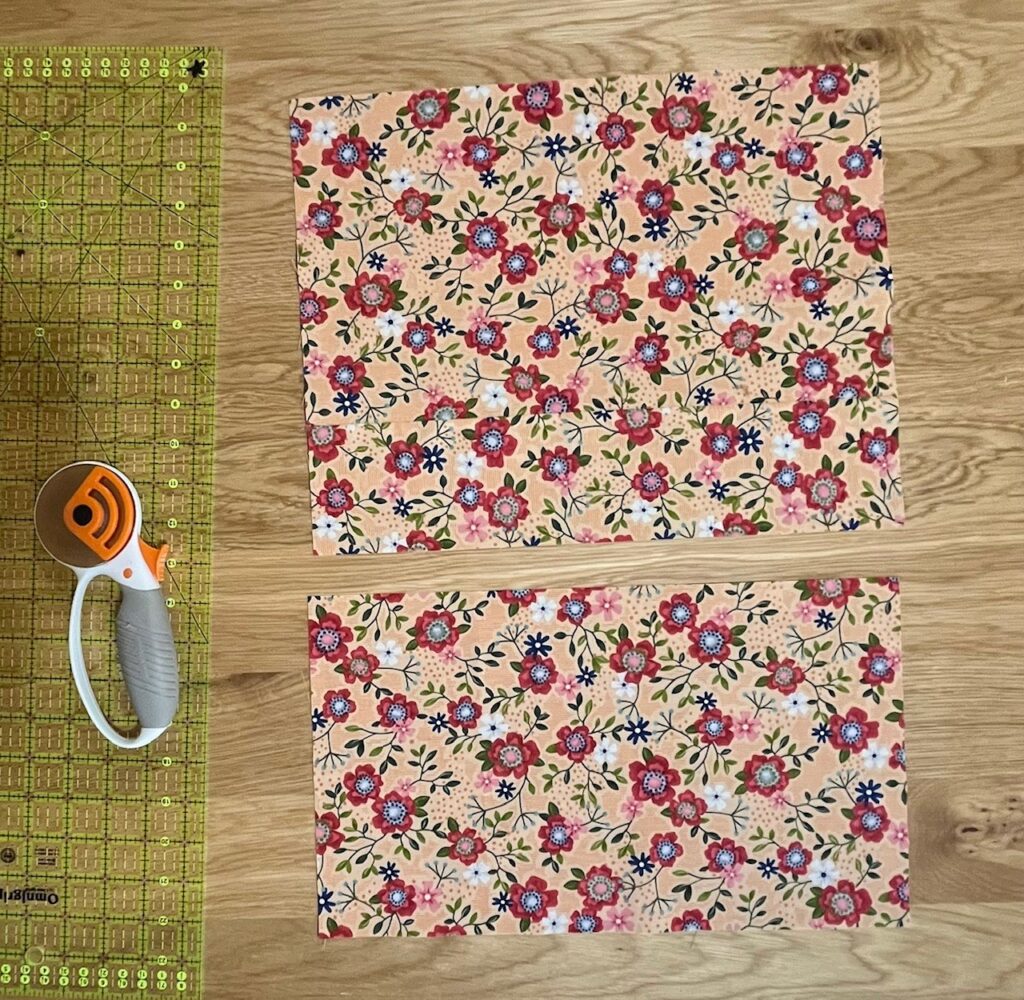
Lining:
Two pieces — same sizes as front and back
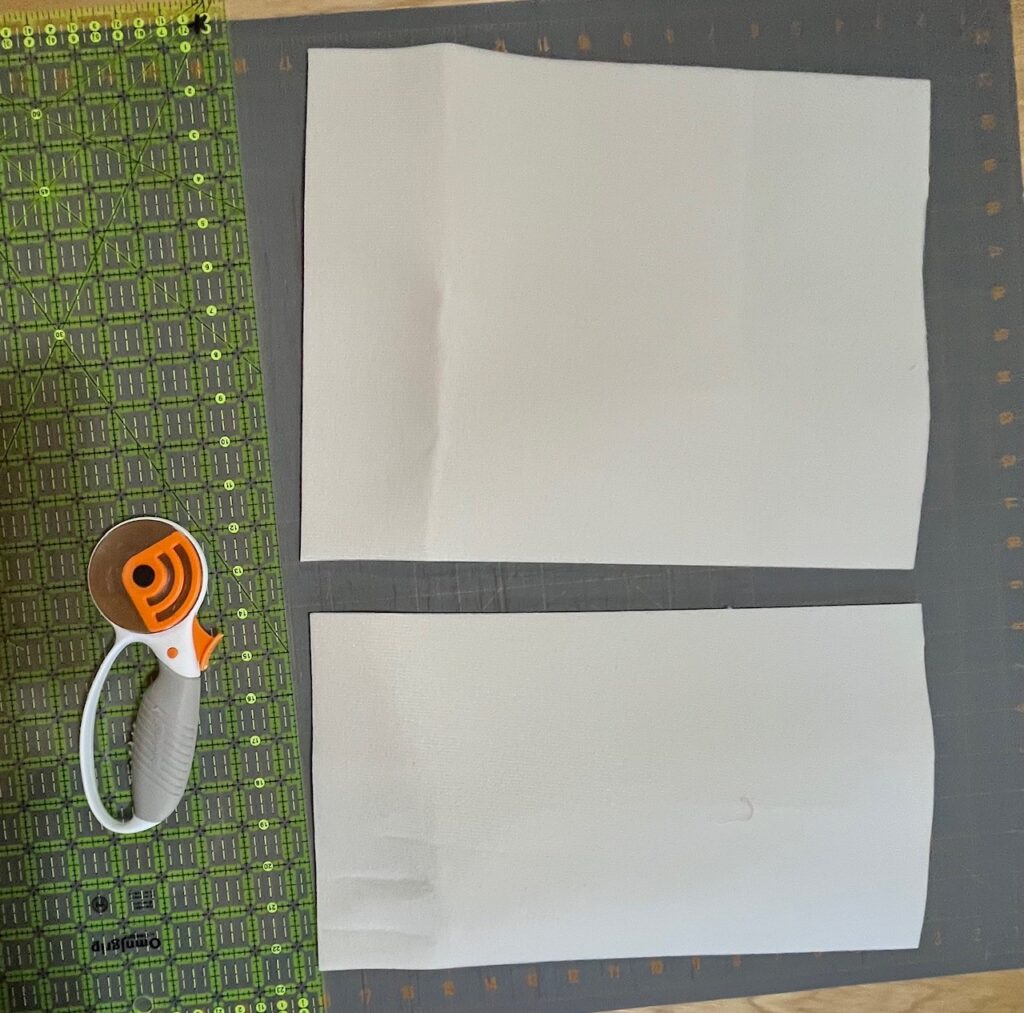
Foam:
Two pieces — 14½” x 8½” and 14½” x 11½”
Zipper Tabs:
Two pieces — 1½” x 2″ each, folded to ½” x 1½”
Step-by-Step Tutorial
Once you’ve got all your pieces cut, let’s get started!
Prepare the Zipper Tabs
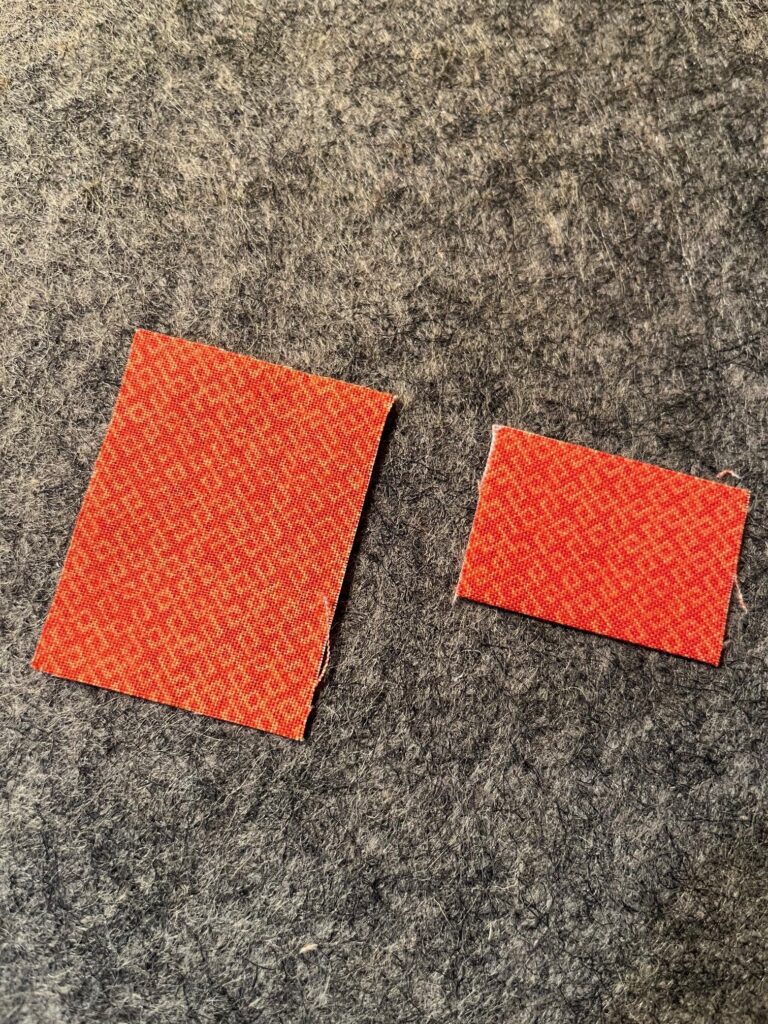
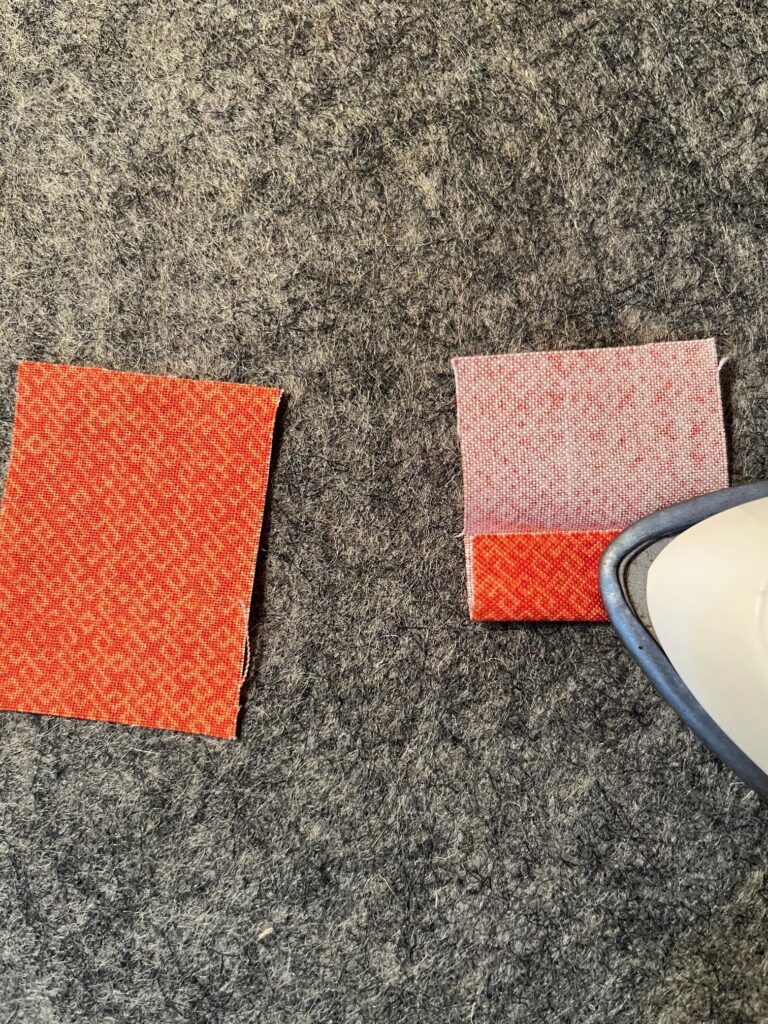
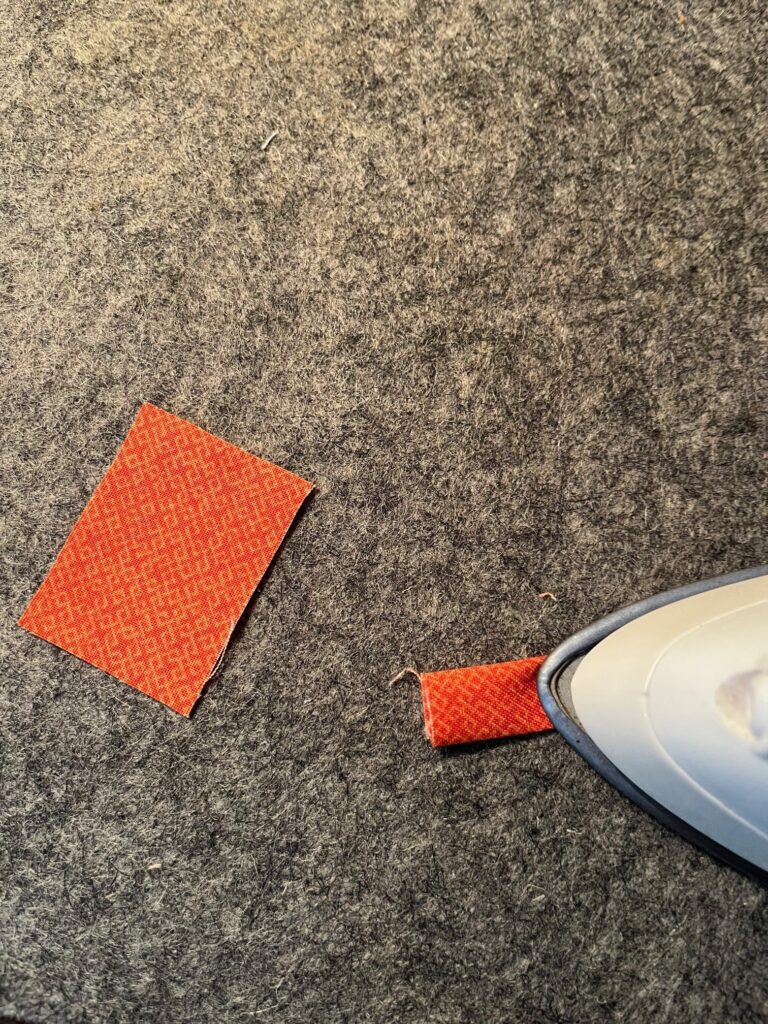

Fold each tab in half, then fold raw edges to center.
Press flat to measure ½” x 1½”.
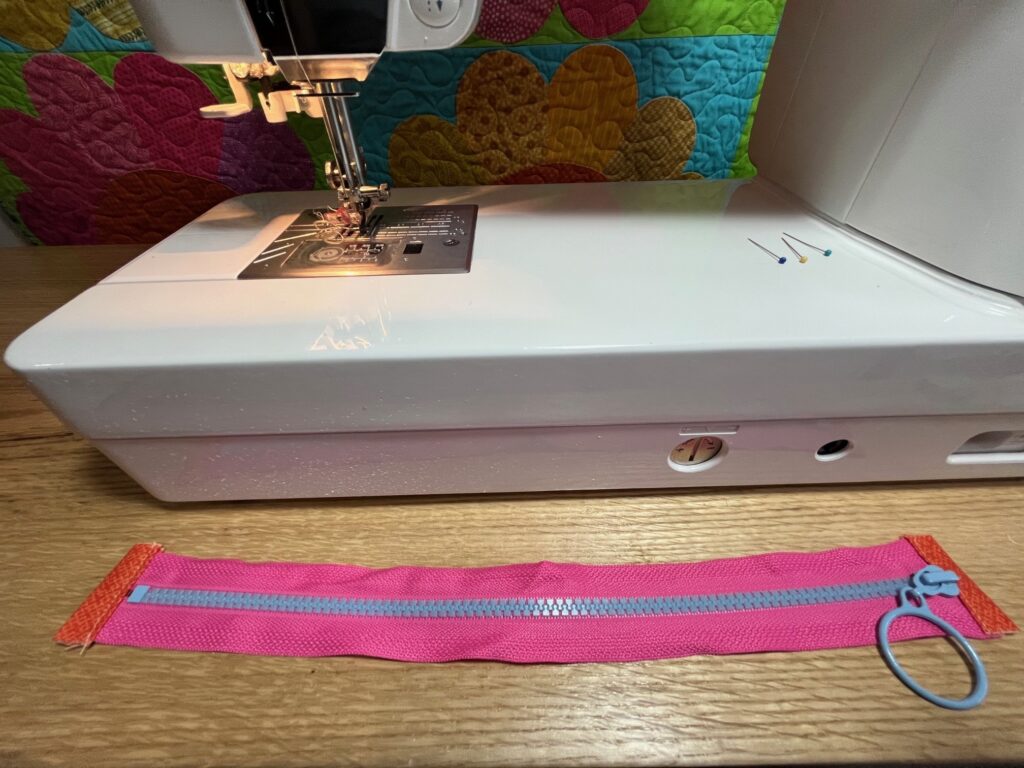
Prepare the Zipper
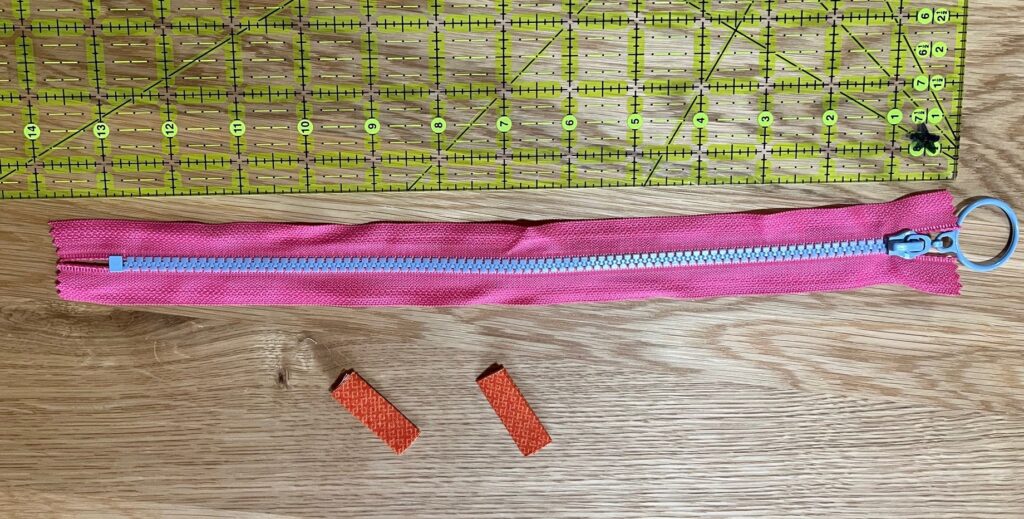
Trim ¼” off each end of the zipper.
Pin the tabs onto each end.


Sew tabs onto zipper ends.

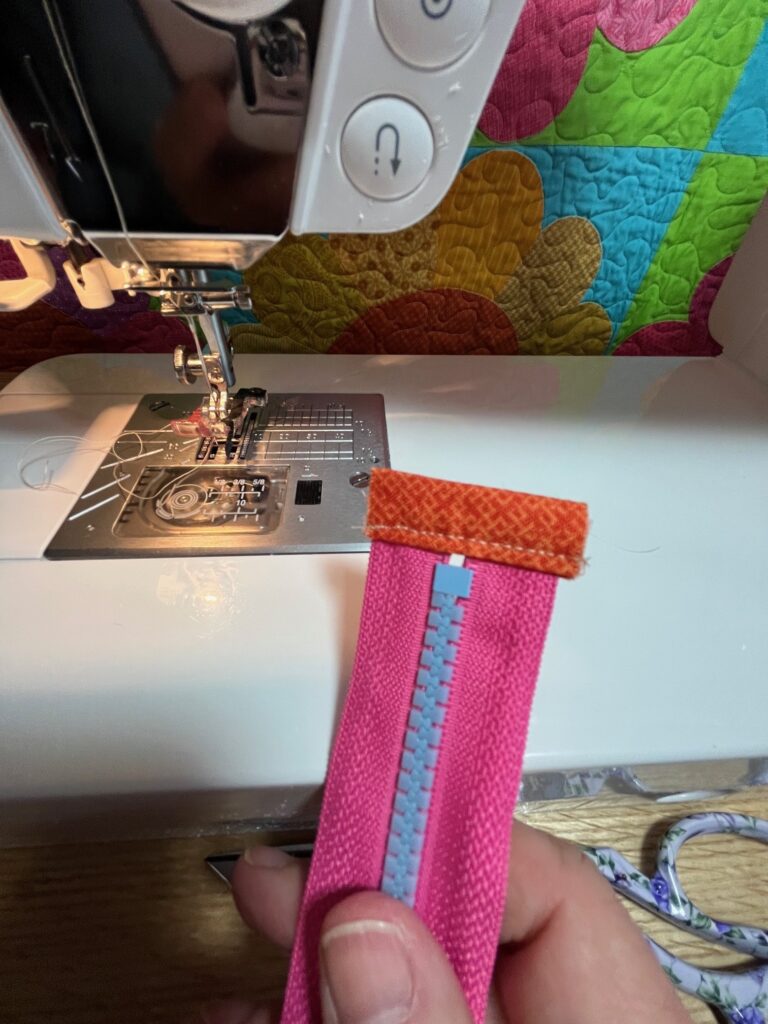
You now have a prepared zipper with neat tabbed ends!
Prepare the Front and Back Pieces
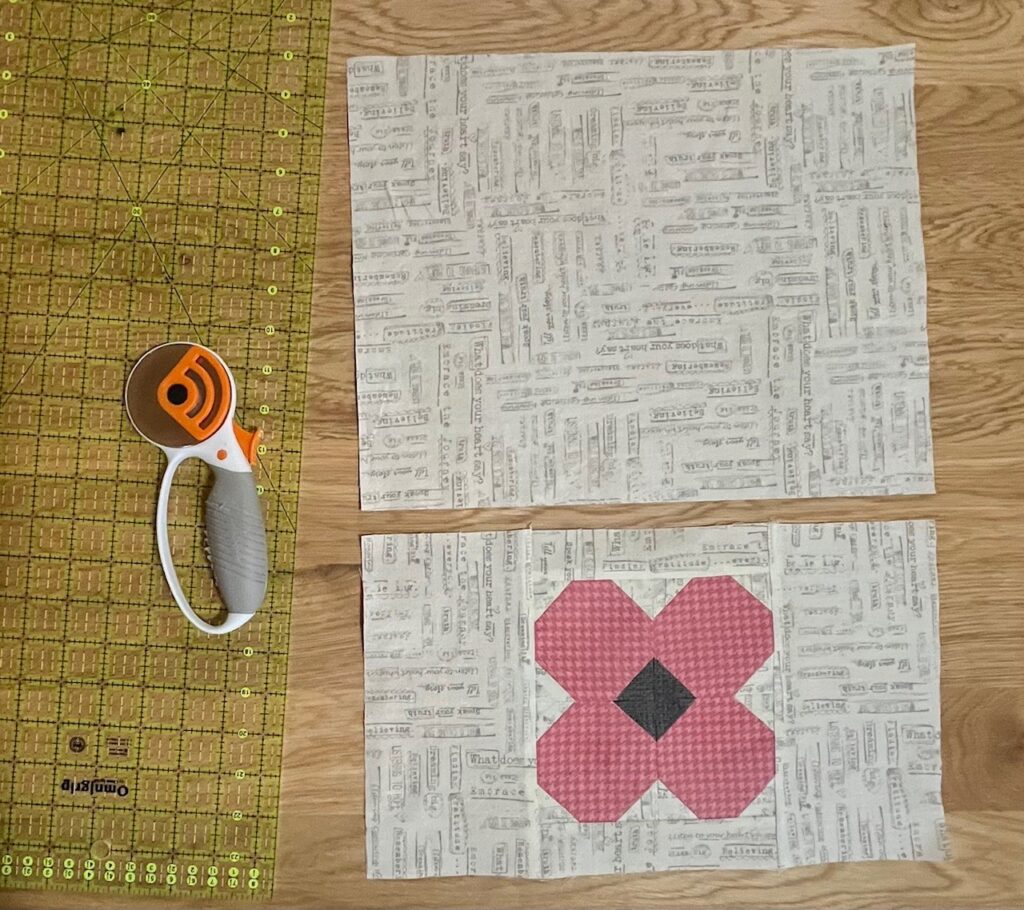
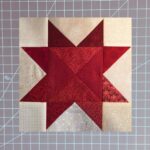
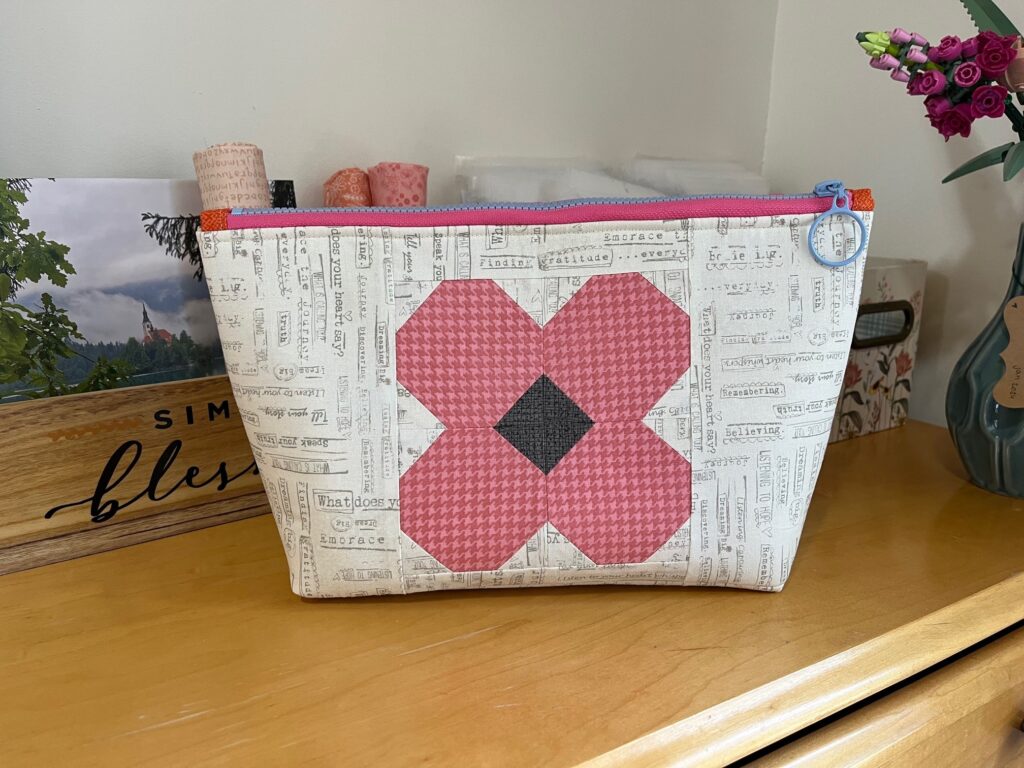
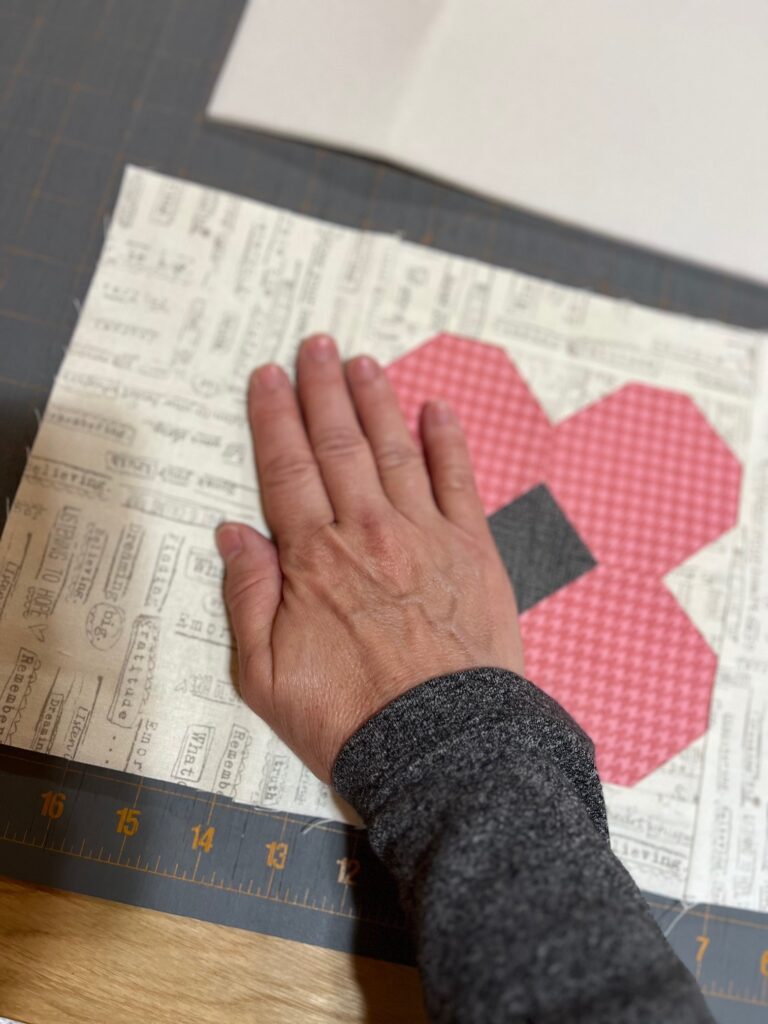
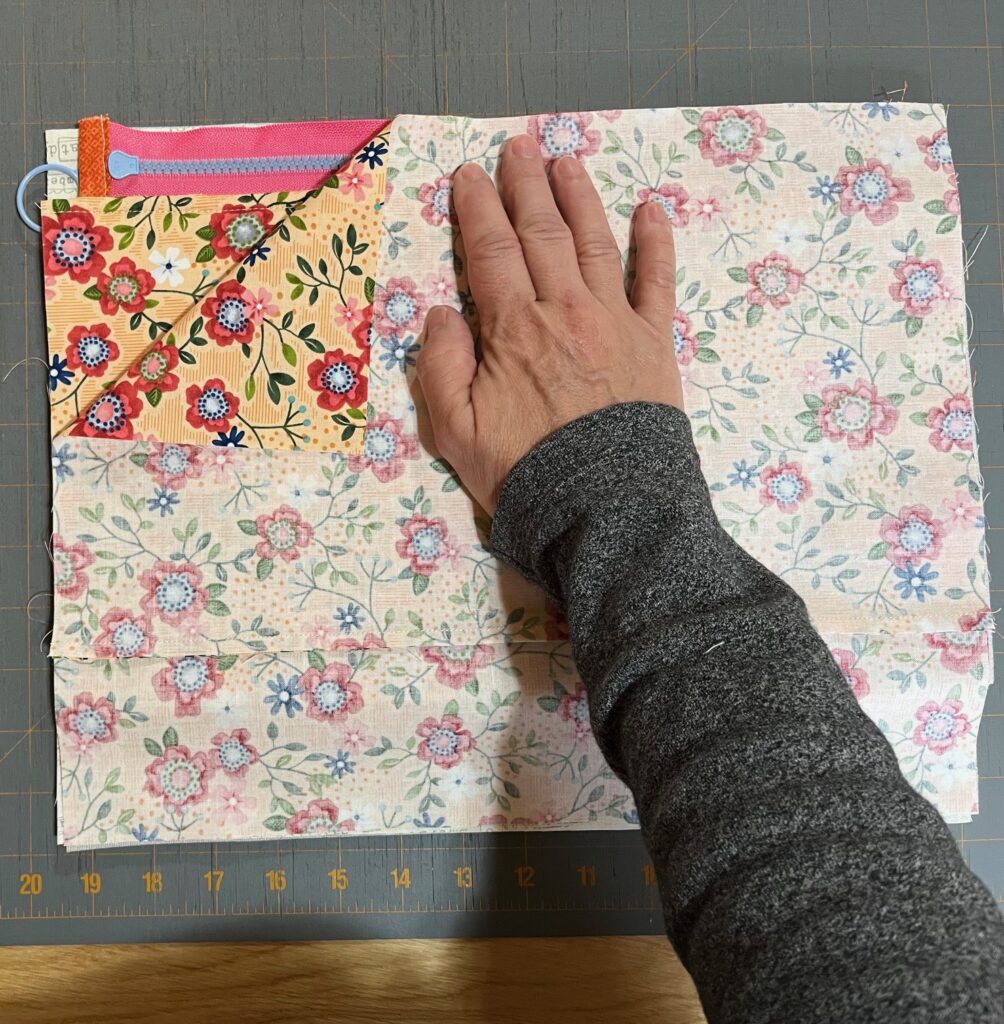
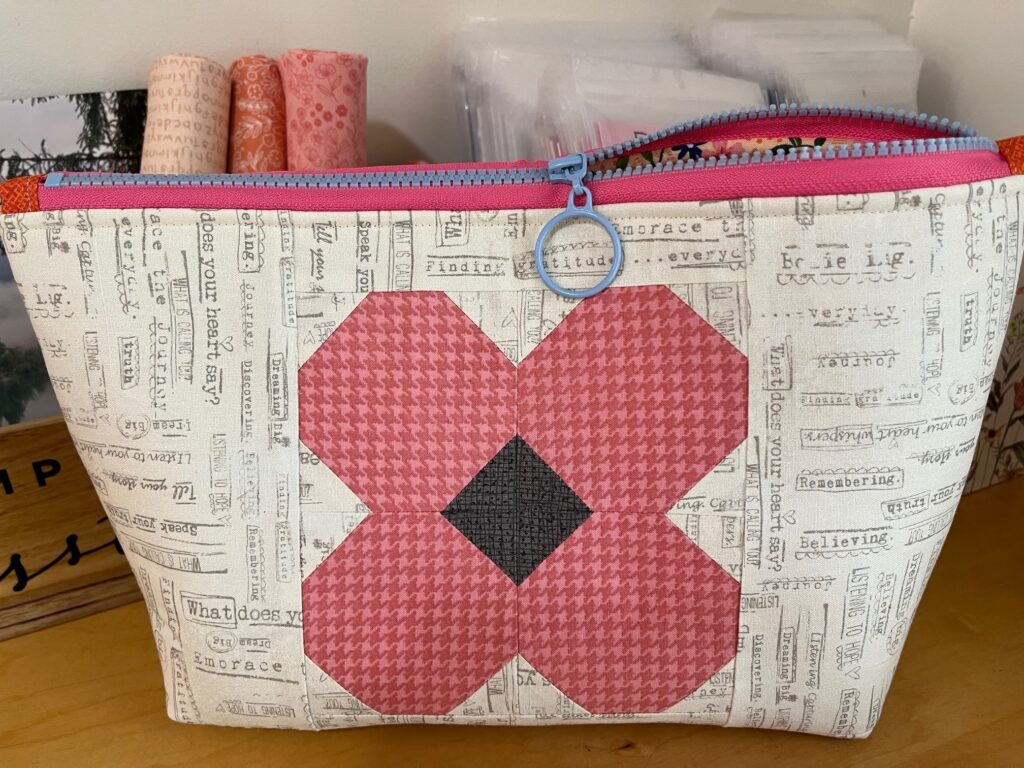
I created my front piece using Option 2. I used a 6 1/2″ unit and sewed borders on it to create the 8 1/2″ x 14 1/2″ front piece.
The flower unit I used in this pouch was the 6 1/2″ unit of Flower Block 2 from my FRESH PICKED Quilt Pattern!

Click here to get the pattern in my Etsy Shop!!
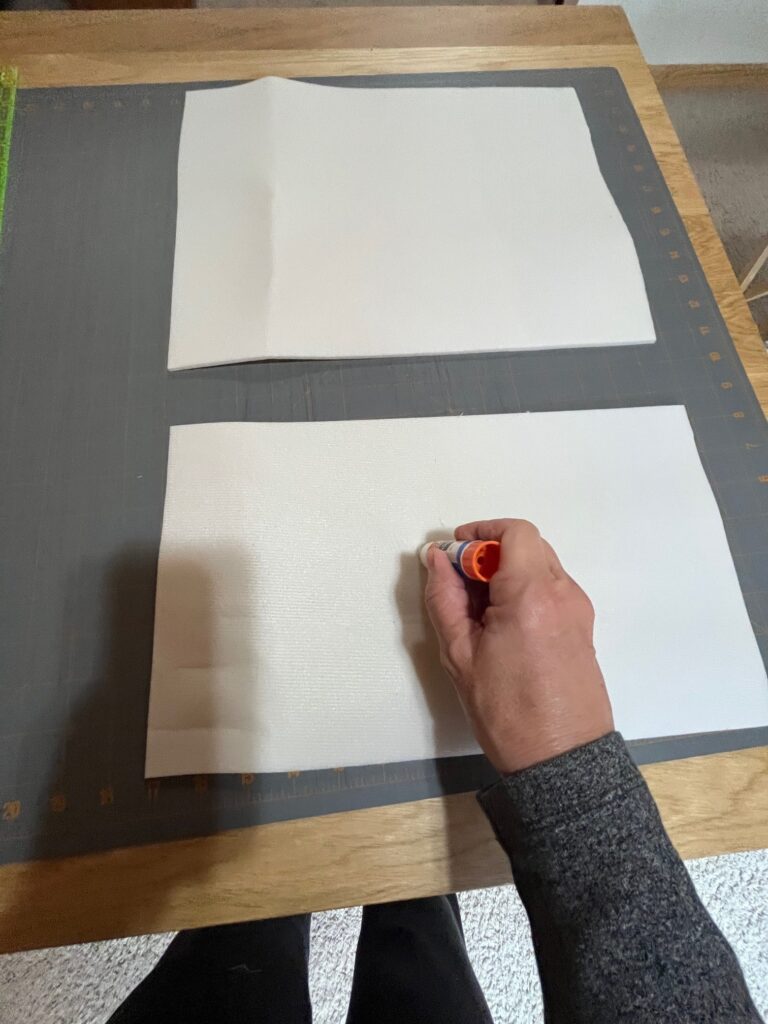
Lightly glue foam pieces to the wrong sides of the front and back fabric.
Attach the Zipper to the Front
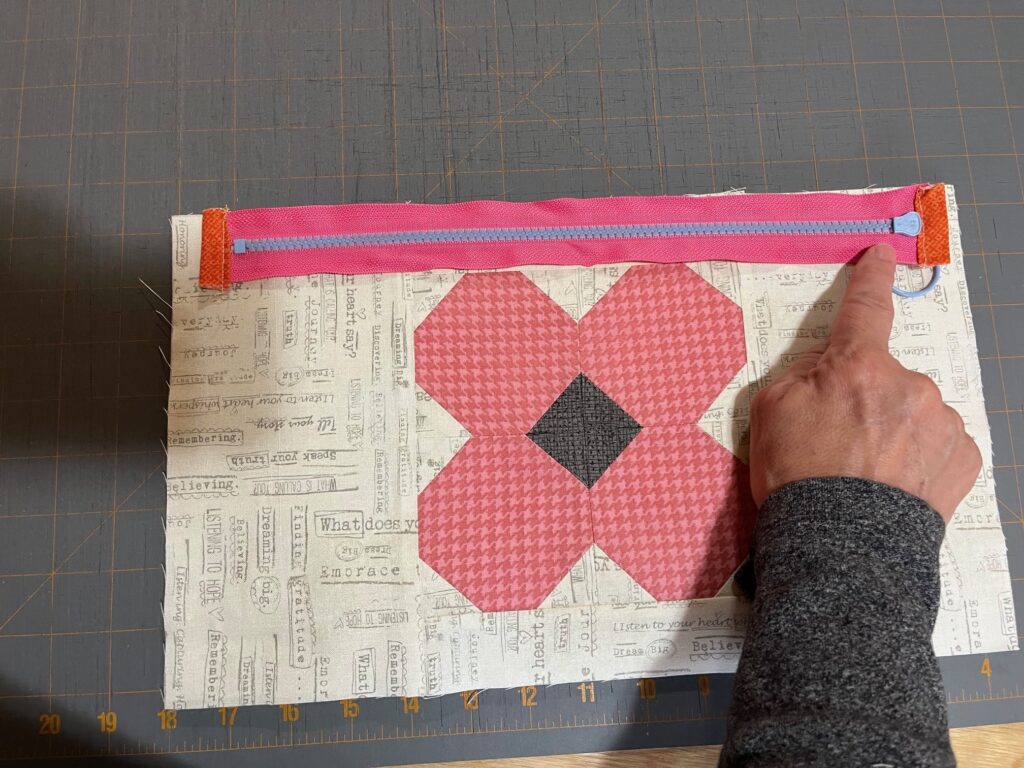
Place the zipper face down along the top edge of the front fabric.
Lay the front lining piece right side down over the zipper.
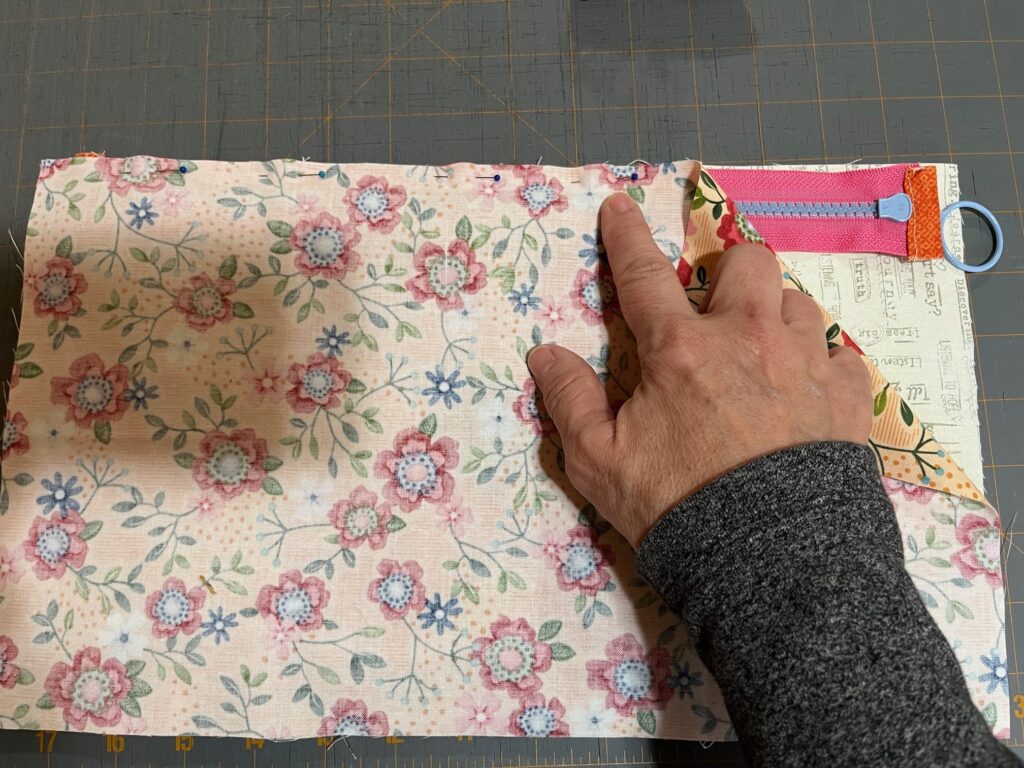
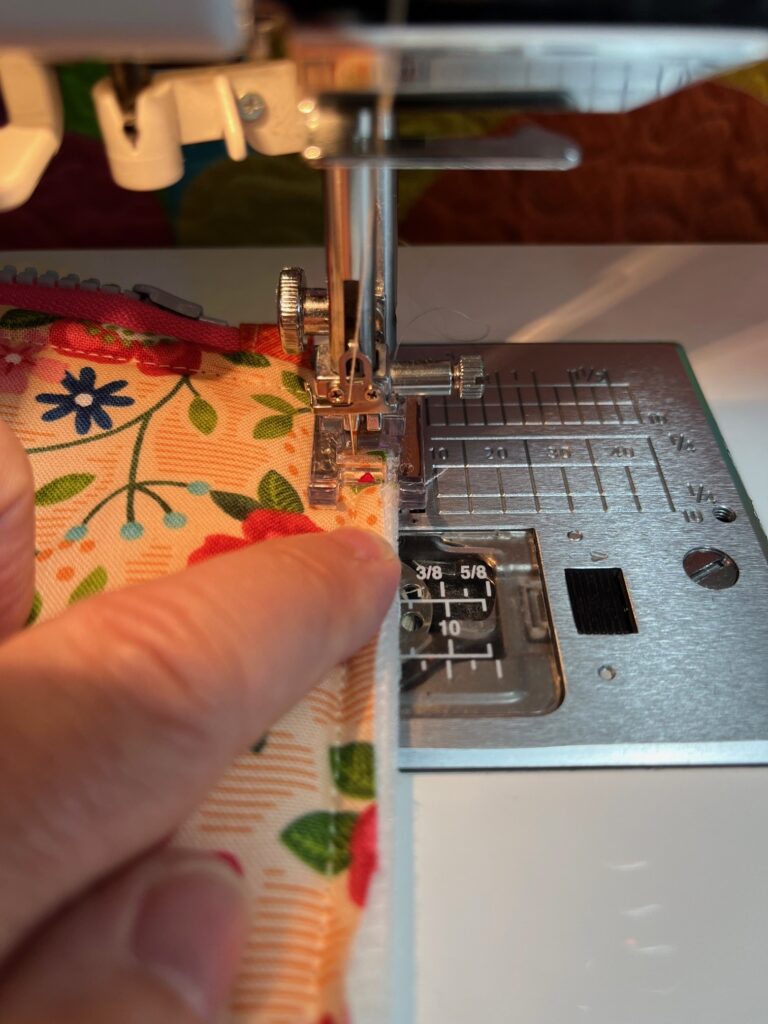
Pin well and sew a ¼” seam along the edge.
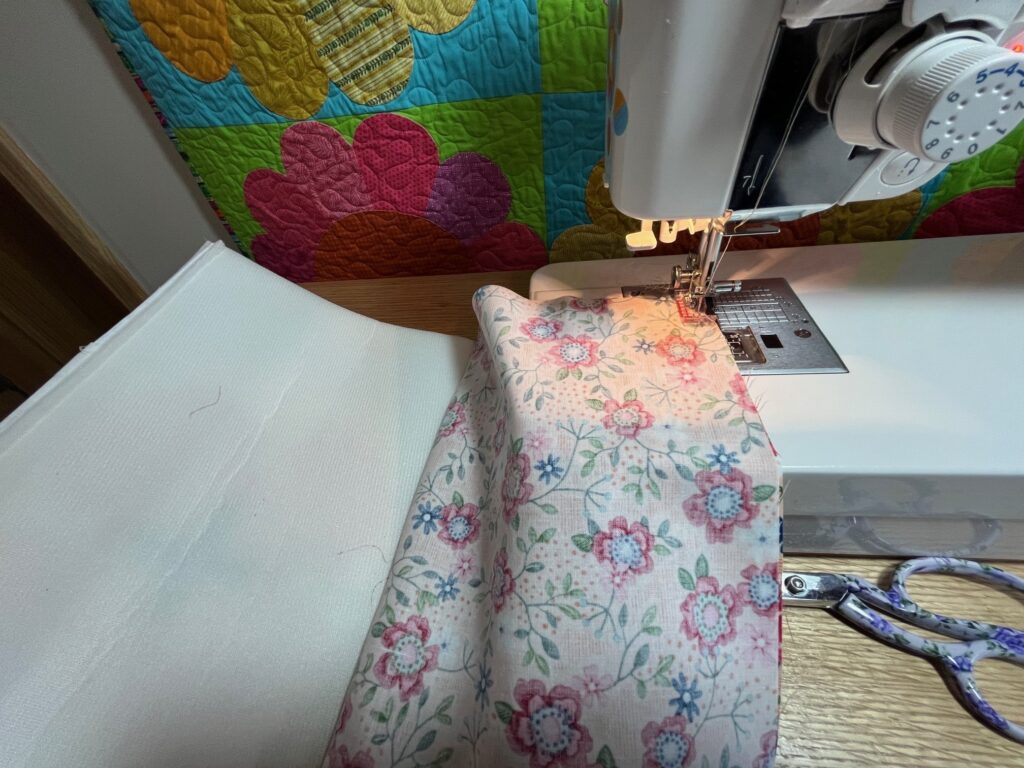
When you are almost to the end of the seam, within 3″ or so, stop with the needle down. Raise the presser foot and open up the zipper to continue the seam.

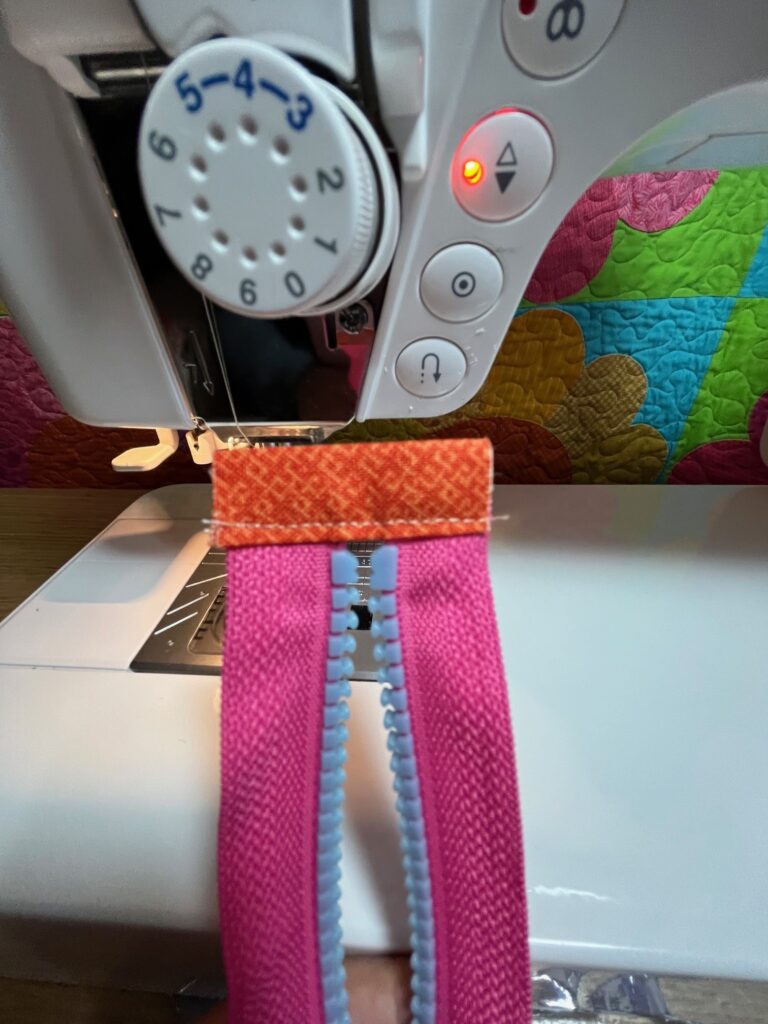
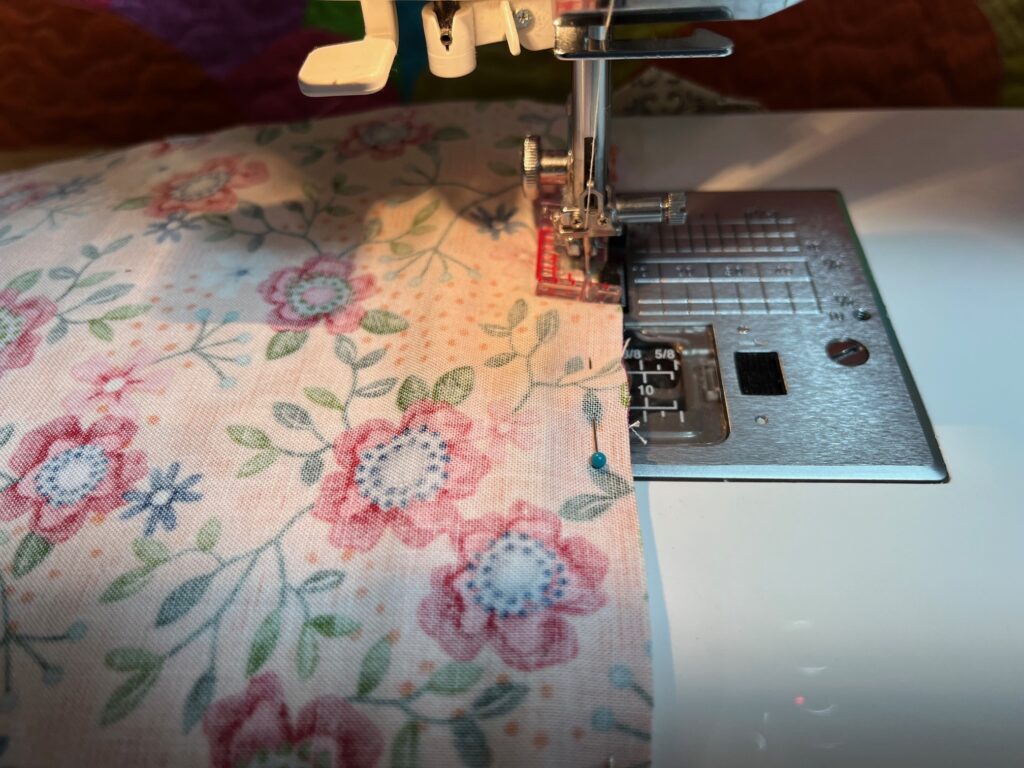
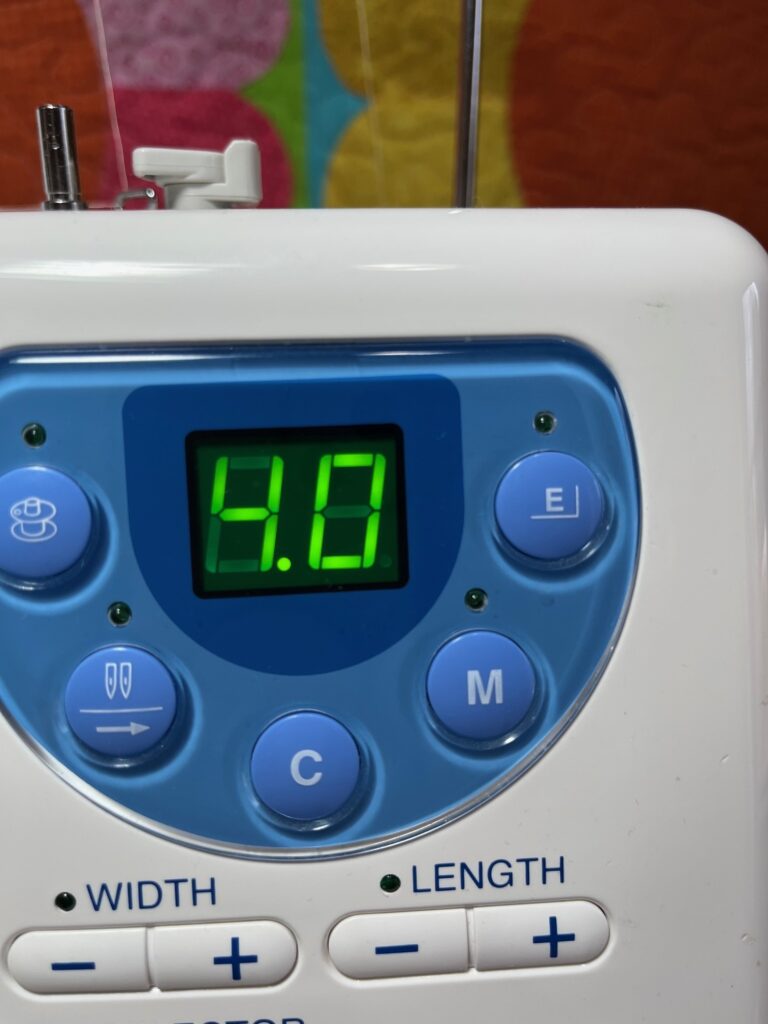
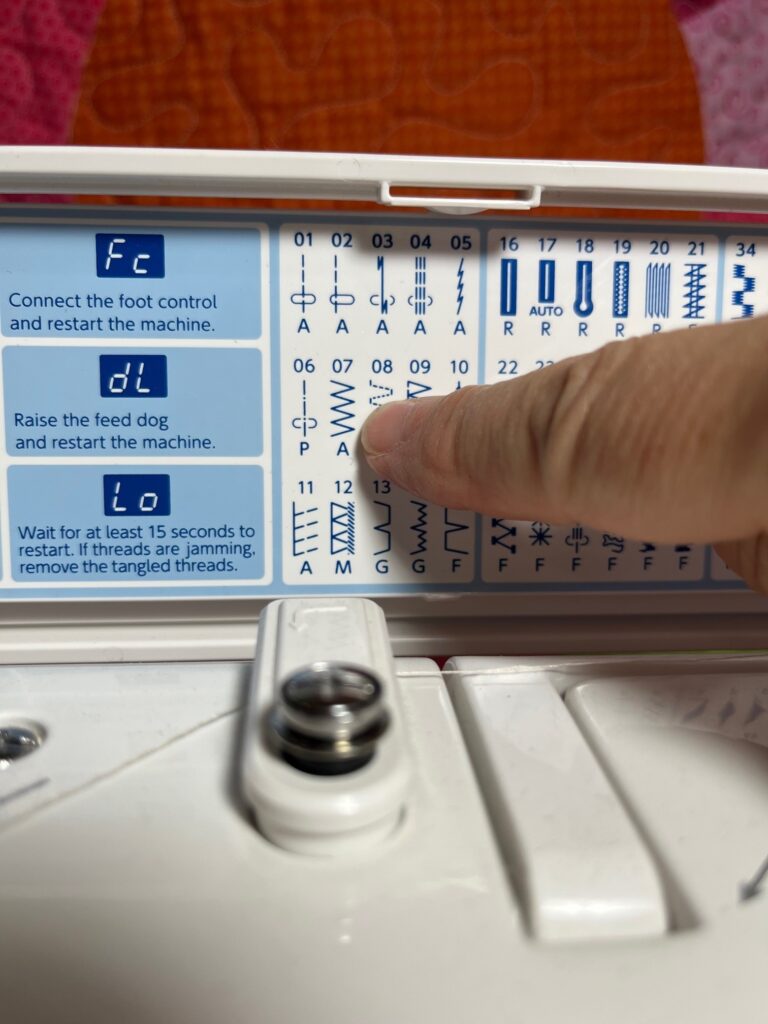
Finger press fabric and lining away from zipper. Set your stitch length to “4”. Topstitch close to zipper edge.

Attach the Zipper to the Back
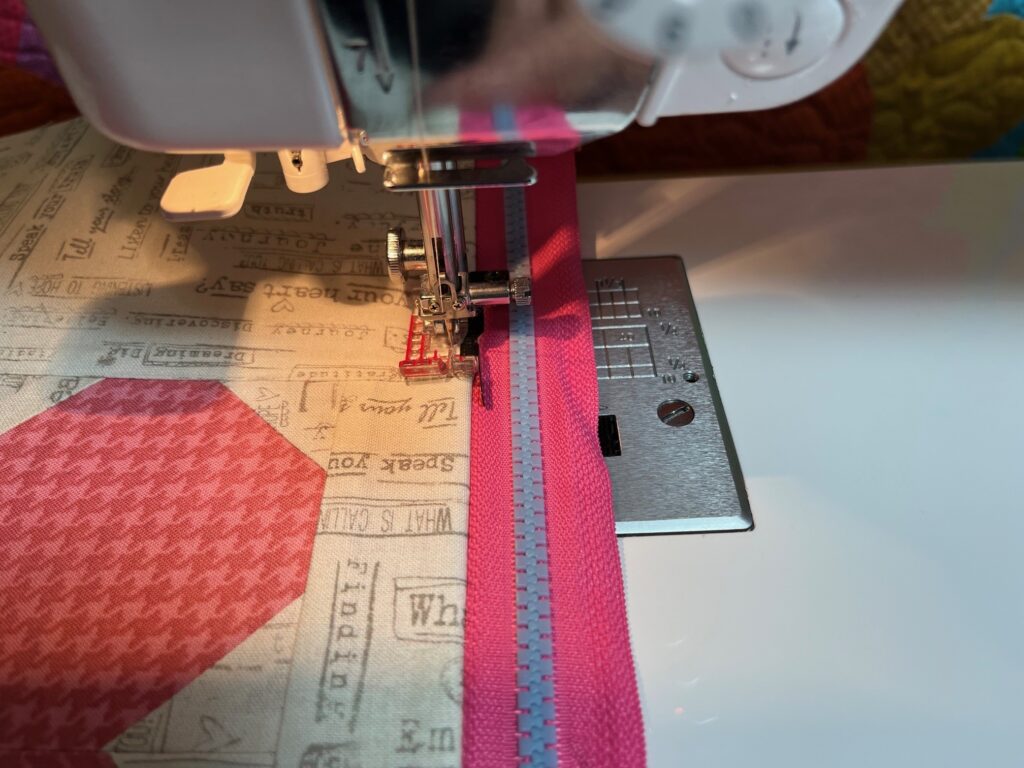
Repeat by placing the back fabric and lining along the other side of the closed zipper. Pin in place. Open the zipper about 3″ and sew a ¼” seam along the edge. When you’ve sewn about 2″ stop with the needle down and raise the presser foot to close the zipper. Continue.


Set the stitch length to “4” again. Topstitch again along the back side of the zipper.

Sew the Bottom Seams
Sew the front and back main fabrics together along the bottom.


Then sew the front and back linings together along the bottom.
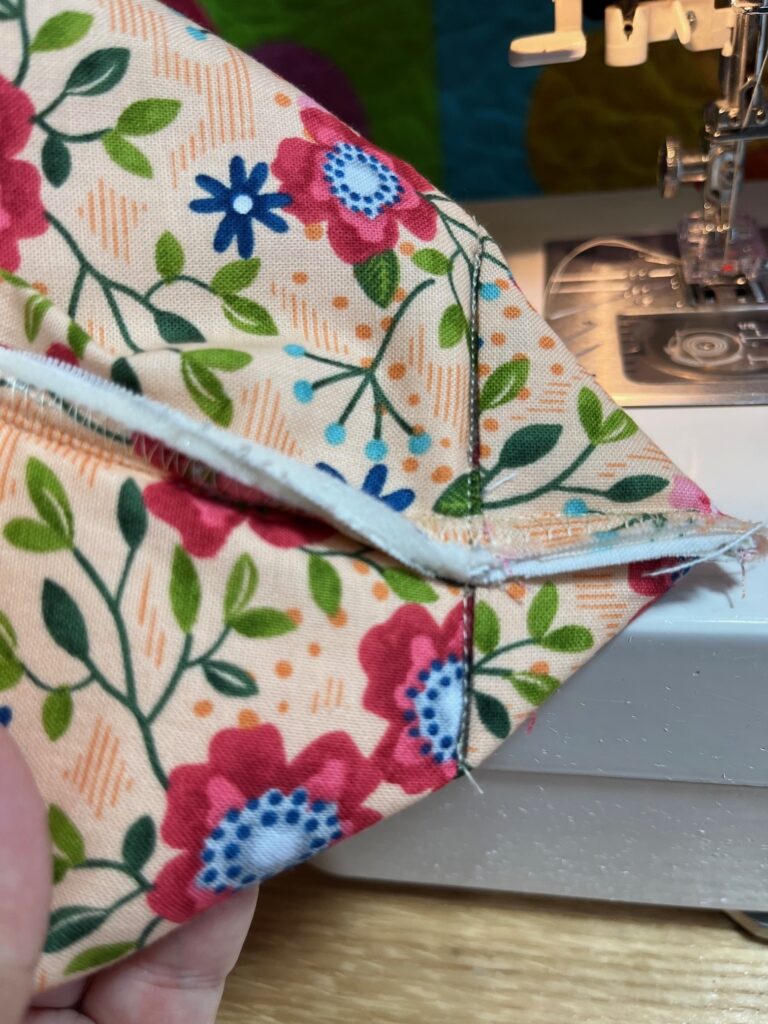
Prep for Side Seams
Turn pouch so the lining is facing out.
Line up the sides carefully. Pin in place.
Sew up one side of the bag.


Use a zigzag stitch to finish the raw edges neatly.
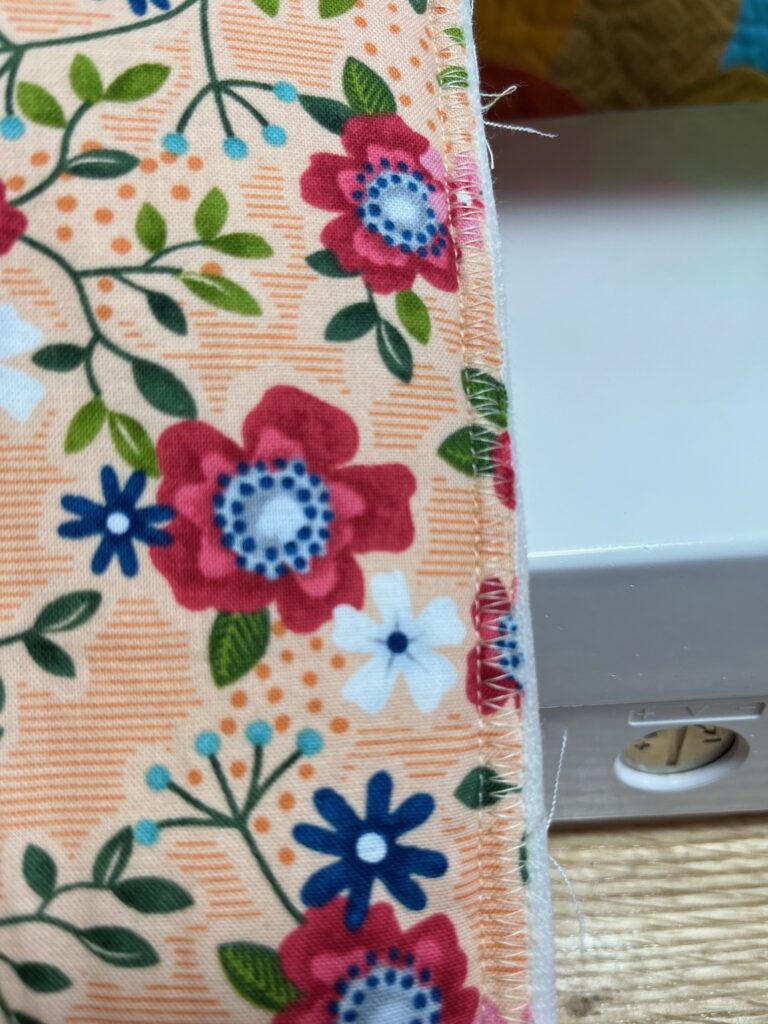
Repeat for the other side.


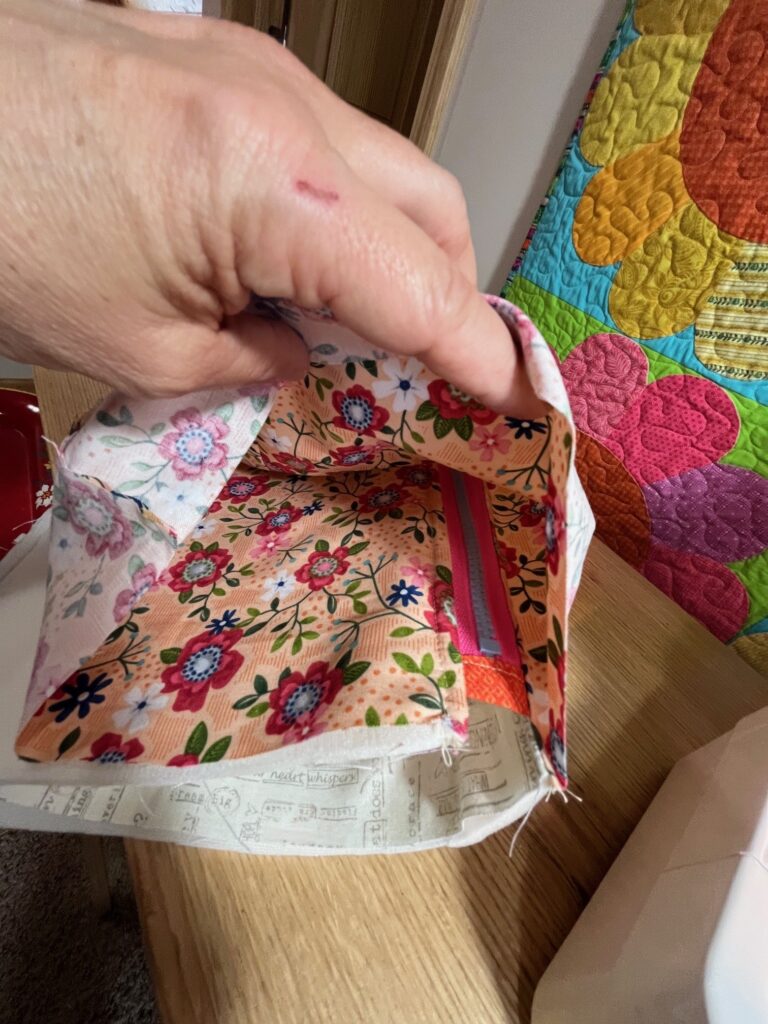
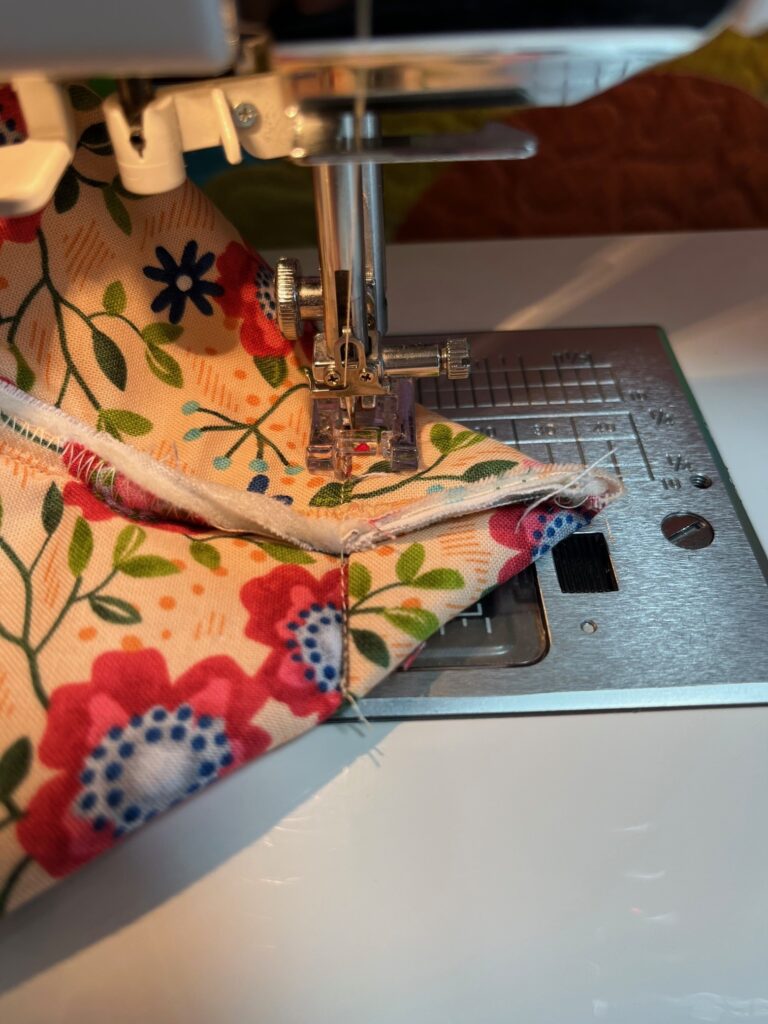
Box the Bottom Corners
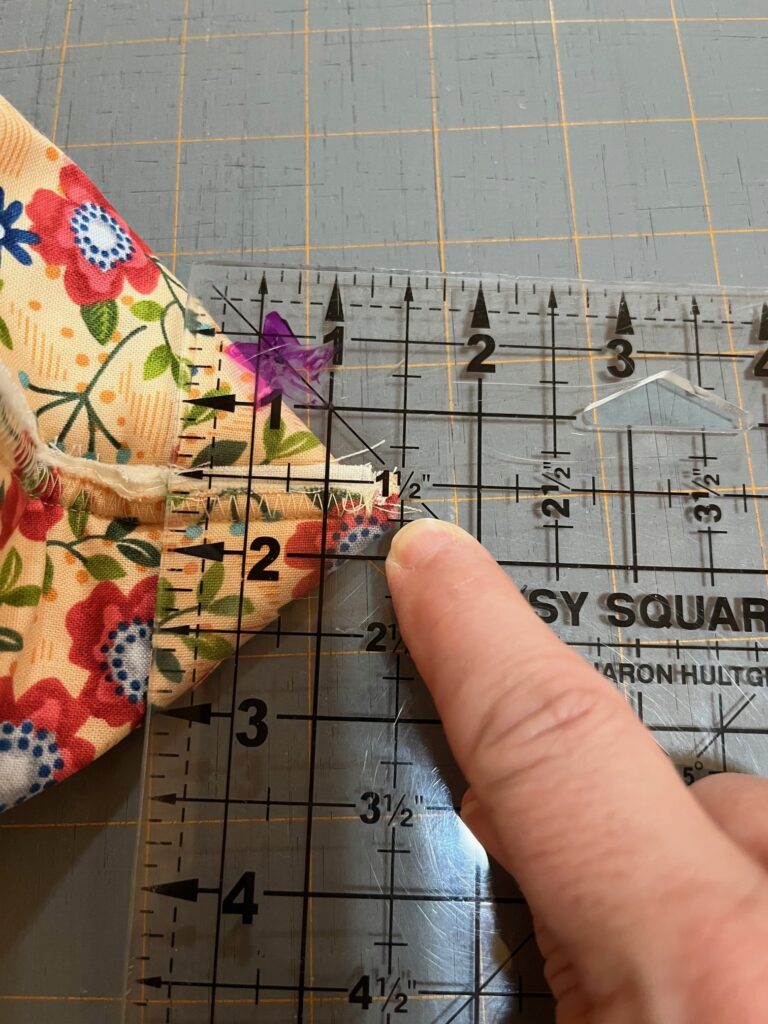
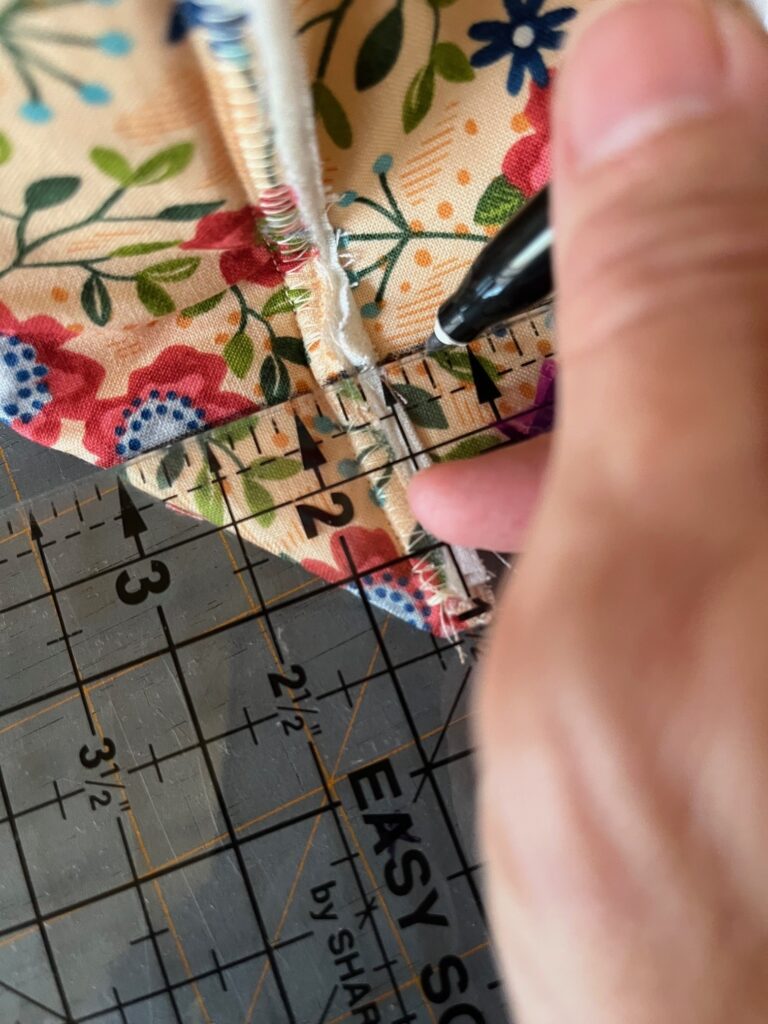
Flatten one bottom corner so the side seam lines up with the bottom seam.
Measure and mark a line across the corner about 1½” down.
Sew along the drawn line.

Finish with a zigzag stitch.
Trim the corner off, leaving a ¼” seam allowance.
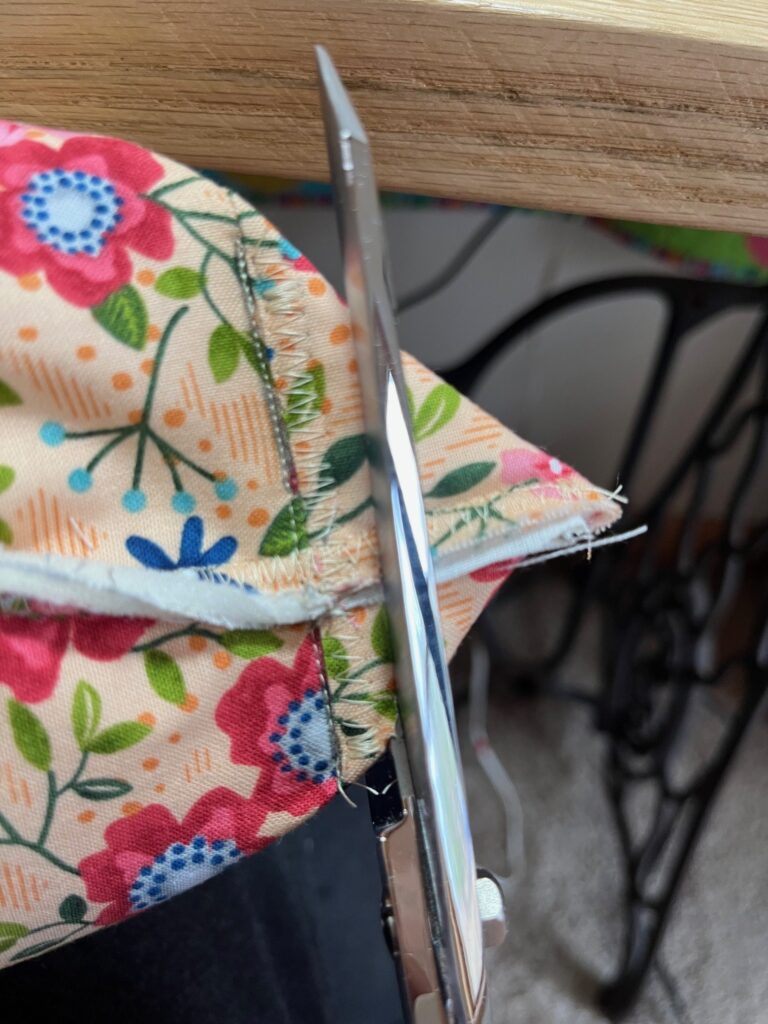
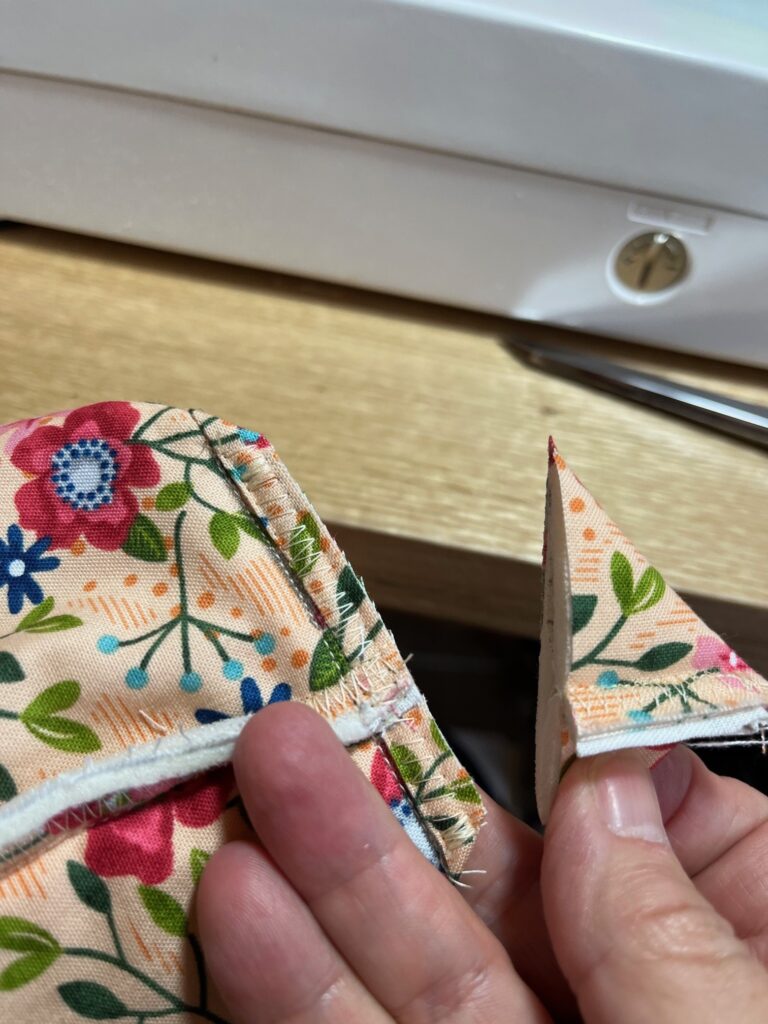
Repeat for the other corner.
Turn the Pouch Right Side Out
Carefully turn your zippered pouch right side out.

Push out the corners nicely.
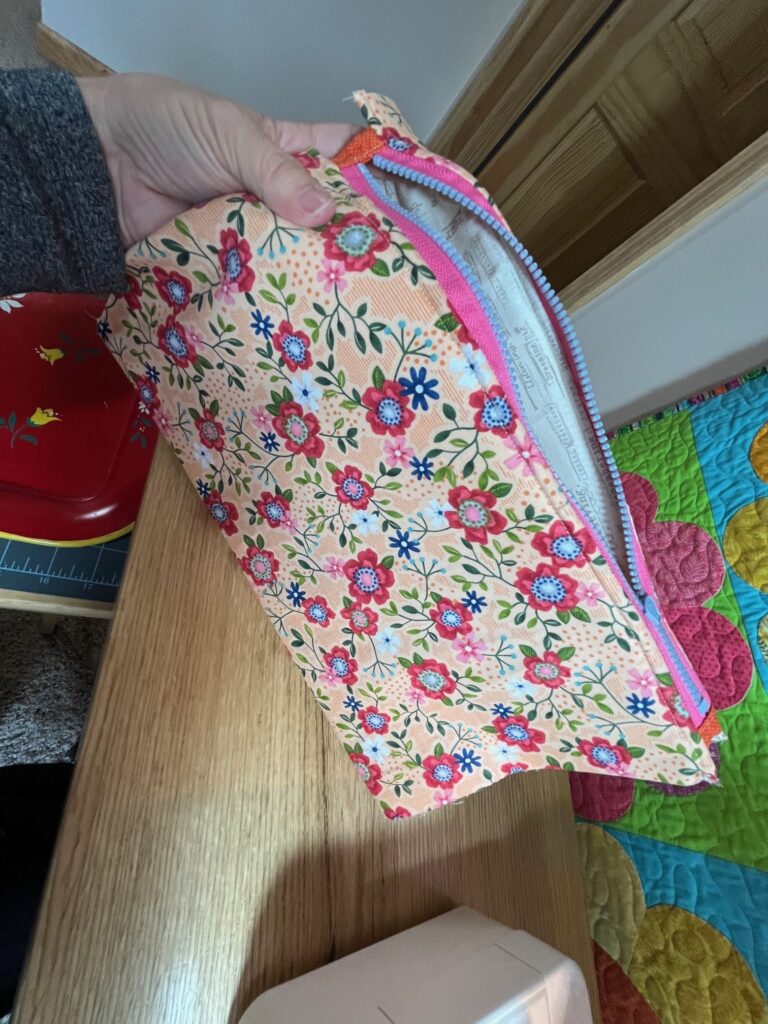
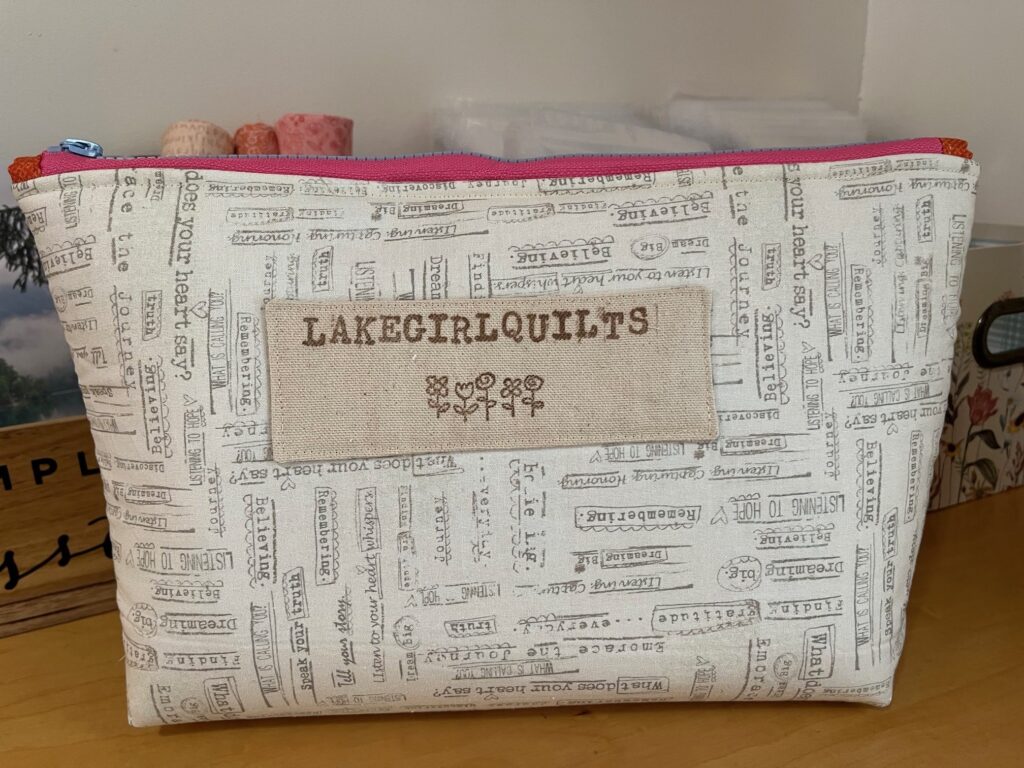
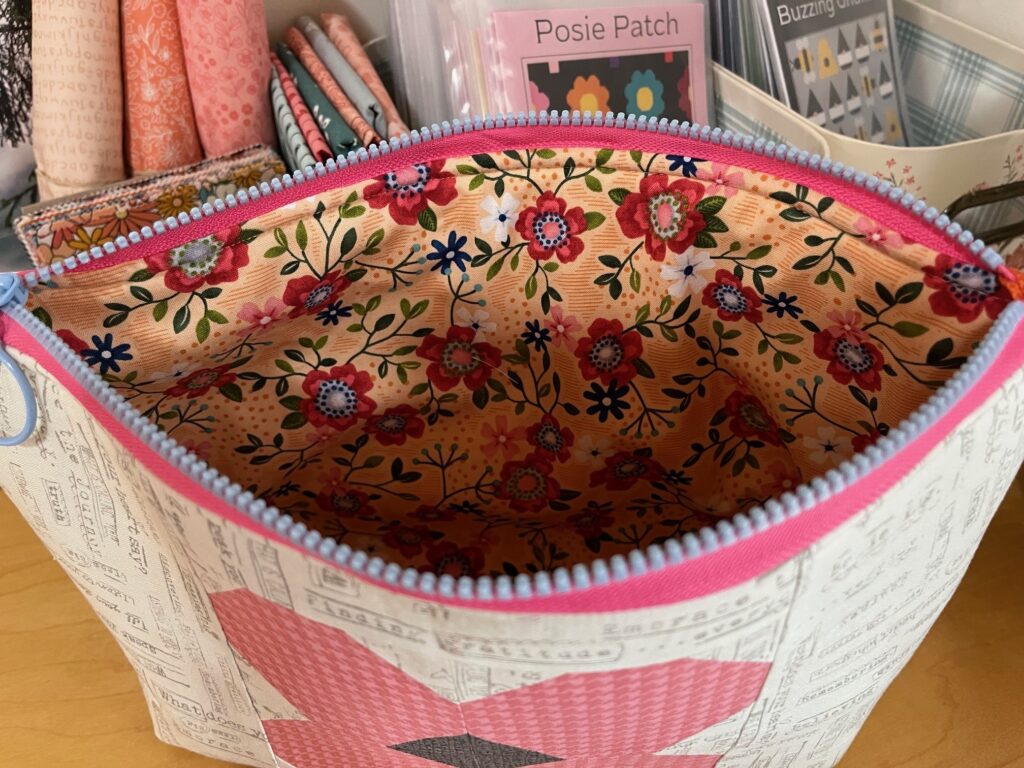
Finished Zippered Pouch!
Front view, back view, and inside view!
Helpful Tips
Always open the zipper halfway before sewing the sides — otherwise you can’t turn the pouch easily!
Use scraps and mix colors for a whimsical, one-of-a-kind bag!
Try adding a wrist strap if you’d like a portable clutch version.
More Tutorials You Might Like
Cutting Fabric With a Rotary Cutter
Basic Tools and Equipment for Quilting
Choosing Quilt Fabric and Colors
Final Thoughts
You did it — your zippered pouch is finished and looks amazing!
This project is a great way to practice basic sewing techniques like installing a zipper, boxing corners, and using foam interfacing.
Whether you made it scrappy and fun or simple and sleek, I hope you had a great time sewing this easy zippered pouch!