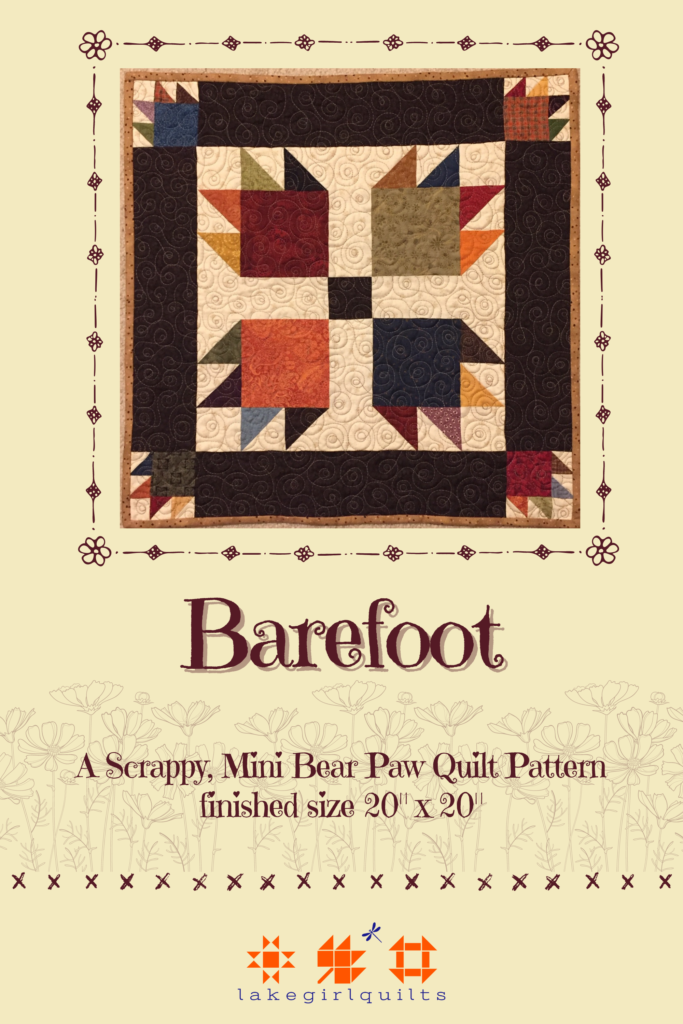
This easy, scrappy, mini quilt pattern “Barefoot” is a play on words with the Bear Paw blocks it uses! One of my favorite blocks to make is the bear paw! And my absolute favorite is to go barefoot!!


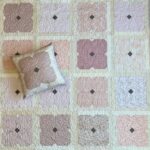
Measuring 20” x 20”, the Barefoot Quilt is the perfect size to decorate a table! Or add a sleeve to the back and hang this Barefoot up!
The Barefoot Quilt is a great project for a beginning quilter. There’s nothing too complicated about the pattern. This quilt can easily be made in a day or over the weekend!! Because the top includes 4 ½” squares or smaller, you can either purchase small amounts of fabric or just use scraps to create this quilted beauty!
The pdf pattern for the “Barefoot” quilt is available on Etsy.
Bear Paw Block
This fun block has a lot of character, and is beautiful arranged different ways in a quilt. There are different variations to the bear claw block too, and I think they’re all fun!!


I’m not sure if my fascination with this block goes way back to when I was about 3 years old and my “imaginary friend” was baby bear from the Goldilocks story, lol! I used to have dreams when I was little, too, that bears could walk on two legs (which they can!) and talk (don’t think this is true!!). Oh my… I grew up surrounded by woods in the country and bears were always just a fascination of mine I guess.
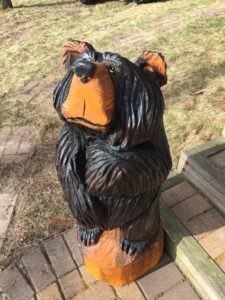
There’s even a bear that stands guard on the front steps of our lake home!!
Inspiration…
The inspiration for the title of this quilt also speaks to my inherited distaste of wearing shoes! Going barefoot is my preference…always!! It’s a thing in my family. I remember my aunts kicking off their shoes and going barefoot at all the wedding dances or family reunions. Such great memories!!!
When I get together with my cousins, we enjoy kicking off our shoes and going barefoot too! Carrying on our family tradition!!

Those lucky times when I get to go on vacation somewhere warm, I like to take a picture of my toes in the sand. This way, during those long, cold Wisconsin winters I can look at that picture and be transported back to sunny warmth!
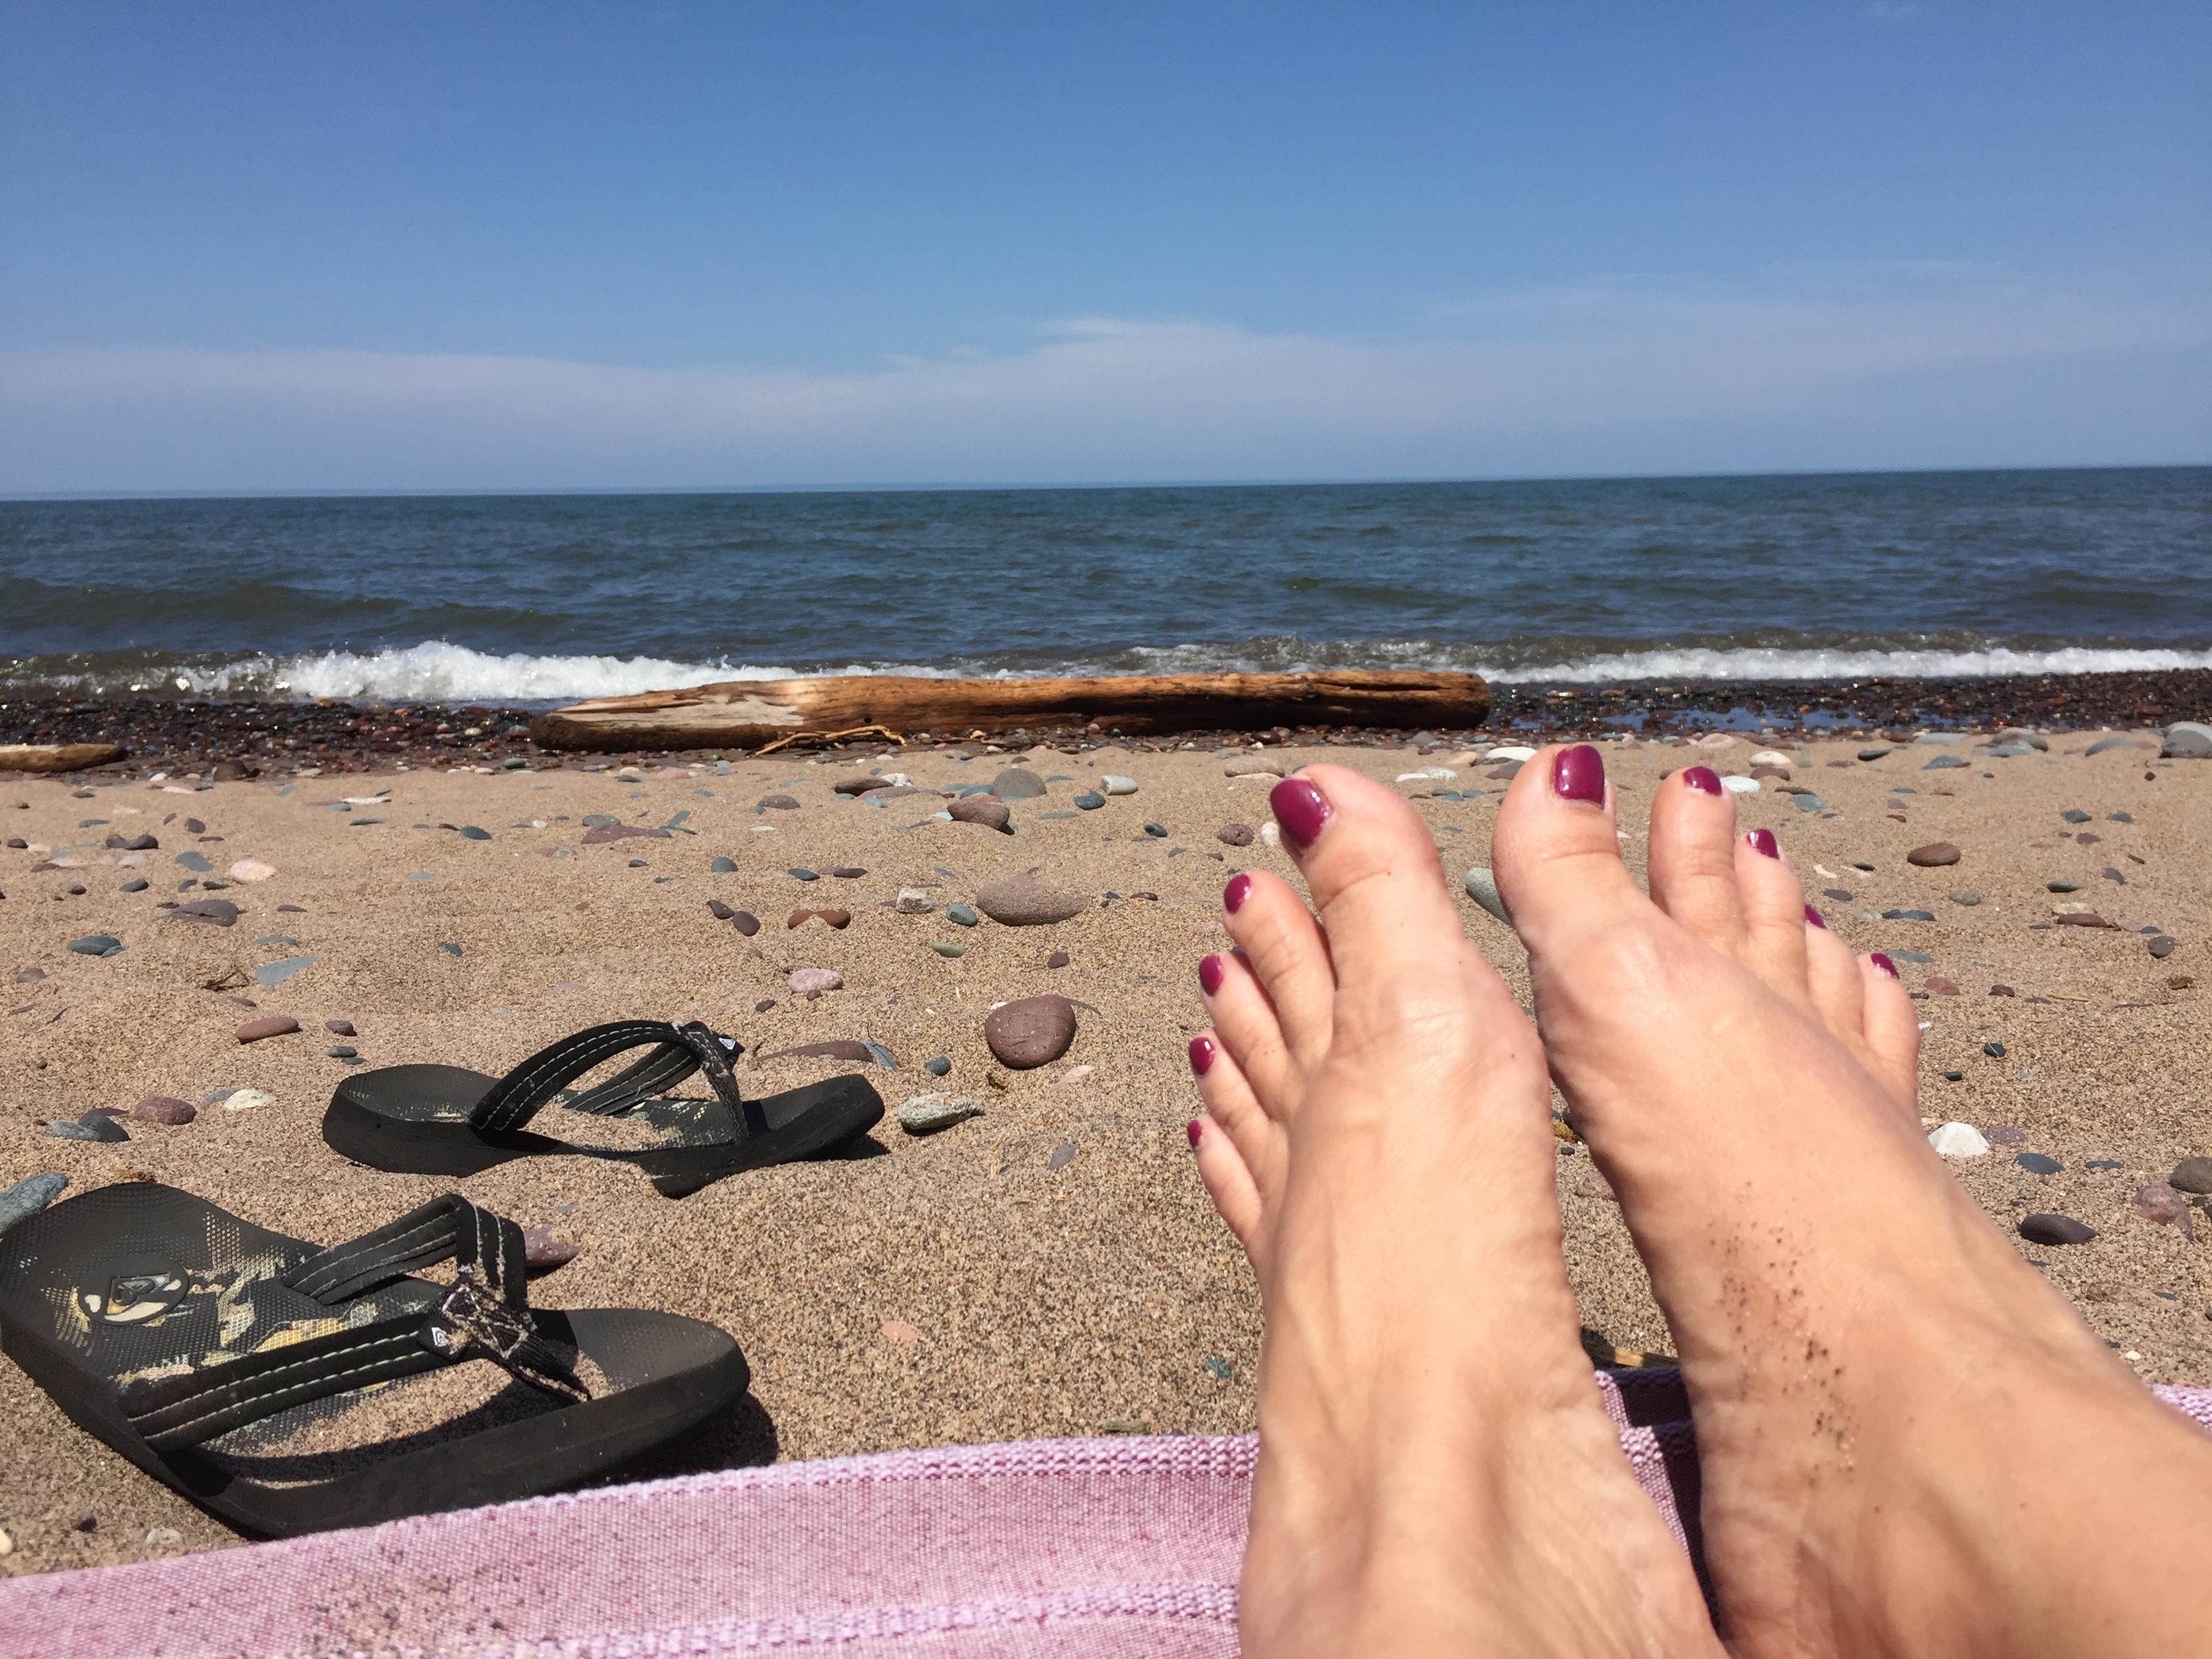
A few years ago I sent just such a picture to my husband who wasn’t able to join me in Florida. Because he was at the lake doing fall clean-up, I guess he didn’t appreciate the picture or my current tropical location. Below is the pic I got in return, lol!!


General Sewing Directions
The directions for the Barefoot Quilt are for rotary cutting, machine piecing, machine quilting, and the binding is hand-stitched to the quilt back.
Accurate cutting and sewing enhances your final product. Pin your pieces together before sewing them to ensure proper seam alignment.
Use a ¼” seam allowance. I recommend using a special presser foot with a ¼” guide if you have one for your machine. This will help you get uniform seams, and matching corners!
Press open the seams according to the pattern directions to eliminate bulk and help seams to lay flat.
The pattern calls for machine quilting, but this quilt is so small you could easily hand quilt it!
The finished quilt measures 20”x 20”.
Fabric Choices
I used a variety of fall colored prints for my Barefoot Quilt. But there are no rules! Use any color you love or a variety of your favorite colors!!
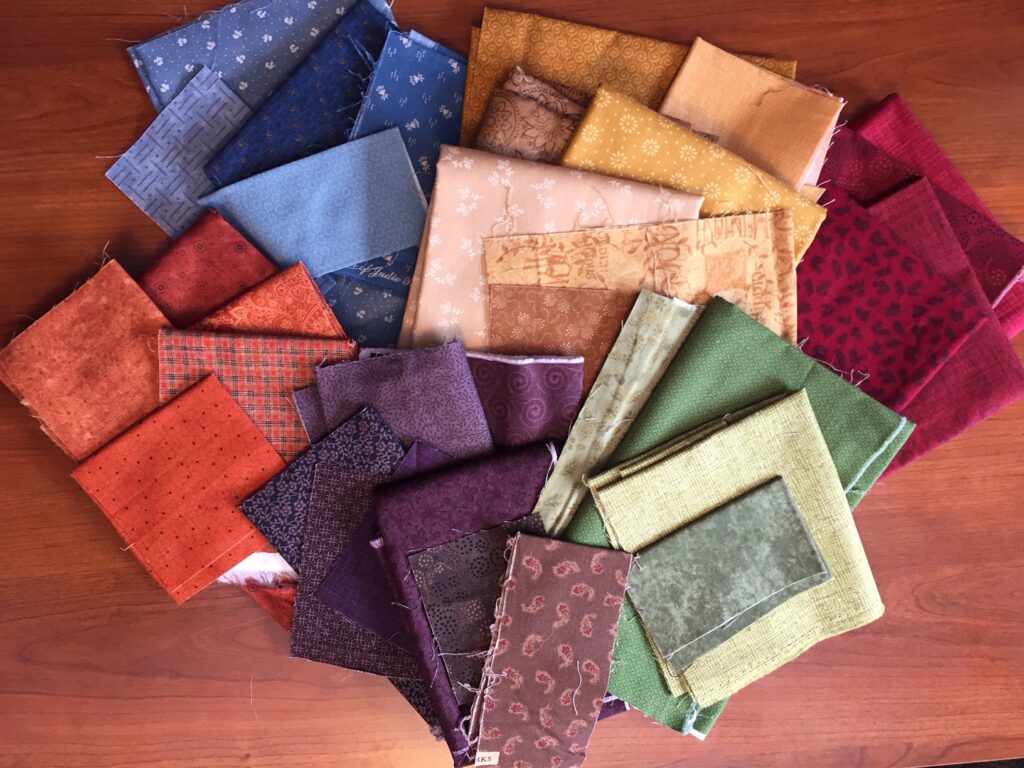
This scrappy, mini Barefoot Quilt is so “pawfully” cute, it’ll steal your heart! It doesn’t take much fabric at all to make.
Colored Fabric for Bear Claws: The total fabric needed is about 2/3 yard. However, to achieve the scrappy look of this quilt I suggest using at least 10-12 different prints. Either raid your stash, or purchase a few new fat quarters.
Cream Fabric for Paw Background and Sashing: The total fabric needed is 1/4 yard. I used one cream pattern, but for an even scrappier look you could vary the cream prints.
Backing Fabric: 2/3 yard of fabric
Binding Fabric: 1/4 yard of fabric
Batting: You’ll need a piece of 24″ x 24″ thin cotton batting (like Warm & Natural) to make this quilt
Cutting Directions
Big Bear Paws Colored Fabric: Cut 4 – 4 ½” squares, and 16 – 2 ½” squares
Little Bear Paws Colored Fabric: Cut 4 – 2 ½” squares, and 16 – 1 ½” squares
Cream Fabric: For big paws cut 20 – 2 ½” squares, for small paws cut 20 – 1 ½” squares, for sashing cut 4 – 2 ½” x 6 ½” rectangles
Quilt Back: Cut 1 – 24″ x 24″ square for the back
Binding: Cut 3 – 2 ½” x 44” strips, trim the ends of each strip at opposing 45-degree angles
Batting: Cut 1 – 24″ x 24″ square
Sewing the Bear Paw Blocks
Set 4 of the 2 ½” cream squares aside, you’ll use them to complete the block later.
Begin by sewing all the toes! The toes are actually 16 – “half square triangle” blocks.
Completing the toes are accomplished by sewing each of the 16 – 2 ½” colored squares to a 2 ½” cream square. This will be creating 16 – “half square triangle” blocks.
To do this, lightly draw a diagonal line on the wrong side of 12 of the 2 ½” squares with a fine pencil.

Place the right side of a colored 2 ½” square and the right side of a cream square together. With the diagonal line facing up, sew along the line.
Trim ¼” from seam. Press open toward the colored side. This half square triangle block should again measure to be a 2 ½” square. Trim if needed.
You can chain piece these half square triangle blocks if you’d like.

Repeat this process for each of the 16 big toes, and for the 16 little toes.
Now that you have all of the toes sewn together, arrange them on your table or design wall to put each colored block and toe in a place you like. You can follow the block color layout as shown in the pattern, or veer from it and design your own color combinations for each of the 4 large and 4 small bear paws.

To complete the block, carefully follow the diagram and layout below to point all the toes in the correct direction. Sew two toes together and press toward colored toe. Sew these two attached toes to one side of a 4 ½” colored block, press toward 4 ½” block.
Then, sew the other two toes together and press toward colored toe. Sew these second set of toes to a 2 ½” cream block to make a row of two half square triangles and one cream block. Sew this row onto the top of the paw, as shown on the layout, press toward 4 ½” block.

Repeat steps for all 8 paw blocks. The finished big paw block measures 6 ½” and the small paw block measures 3 ½”.


Just how cute are these little bear toes?!?!


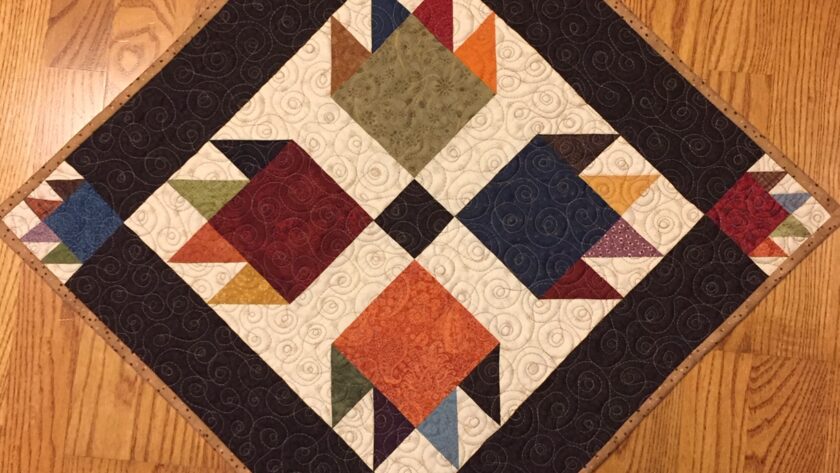
Assemble the Quilt Top

Once you have the four big paw and the four little paw blocks sewn together, you’re ready to assemble the quilt. The completed quilt top (the “flimsy”) is shown here:

Pay special attention to pressing your seams. Nicely pressed quilt blocks and tops are a work of art, and a skill to develop!
Finishing the Quilt
Now that you have your quilt top sewn together, it’s time to finish it!
I refer to layering the quilt top, batting, and back as “sandwiching”. You need to sandwich the top and back with the batting in the middle. For a larger quilt, this process takes a bit more time and steps. But for this mini quilt, it’s a breeze to sandwich the layers together!

“Quilting” the Quilt
I used a simple meandering cinnamon bun pattern to machine quilt my layers together. Isn’t it dreamy…
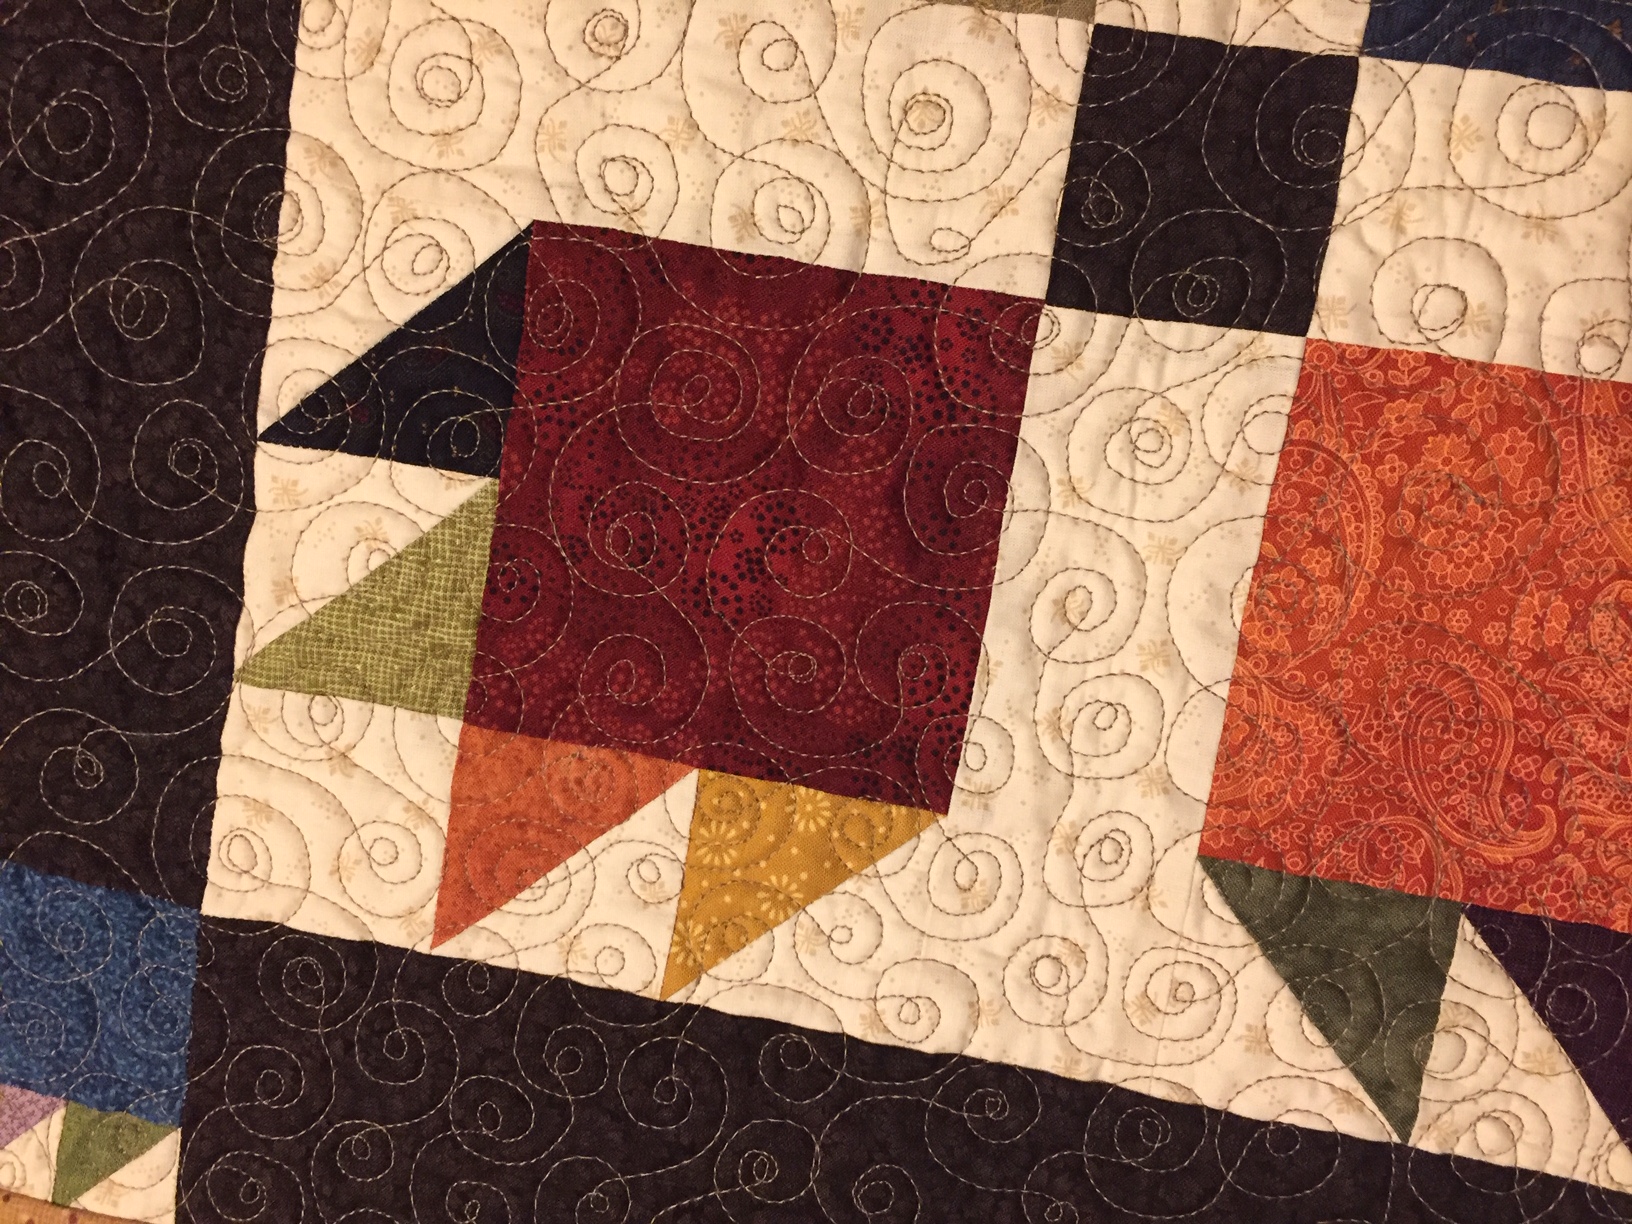
Use whatever free-motion stitch you’d like, or use a straight stitch to quilt in the ditches or along the seams.
You’ll need a darning foot to free-motion quilt, and you’ll need to either be able to lower the feed dogs on the machine or place a special cover over them. If you’re using a straight stitch to machine quilt you’ll need a walking foot.
As an alternative, this quilt is so small you can easily hand-quilt these layers together too.
Binding the Quilt
When you’ve finished quilting the layers together, it’s time to bind the edges of your quilt!

This is my favorite part of the process of quiltmaking, as it means the project is almost finished! Visit this previous post to read more detailed directions on binding a quilt.
If you’d like, you can add a label to the back of your Barefoot Quilt.
The finished quilt measures 20”x 20”.
Again, the complete set of directions for the “Barefoot” quilt are available on the lakegirlquilts Etsy shop. Click here to purchase the complete set of pattern directions for the scrappy, mini Barefoot Quilt.

Thank you, and happy quilting!!
~Bonnie