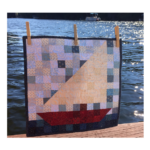
The To The Nines! quilt is great project for a beginning quilter! There’s nothing too complicated about the pattern!!
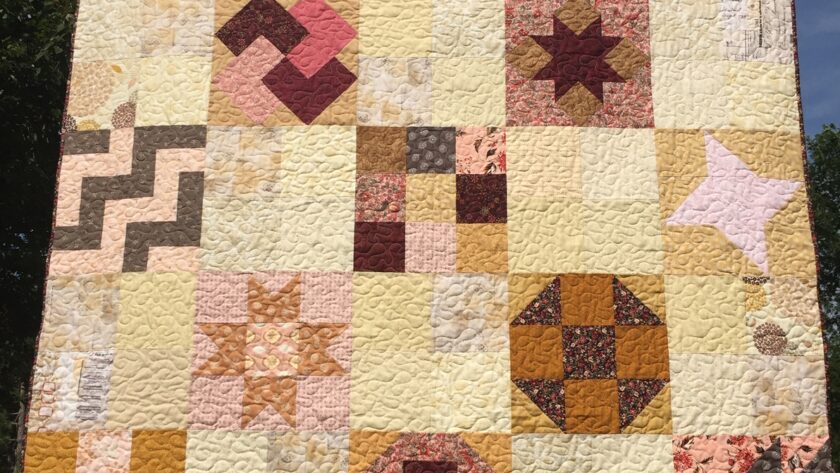
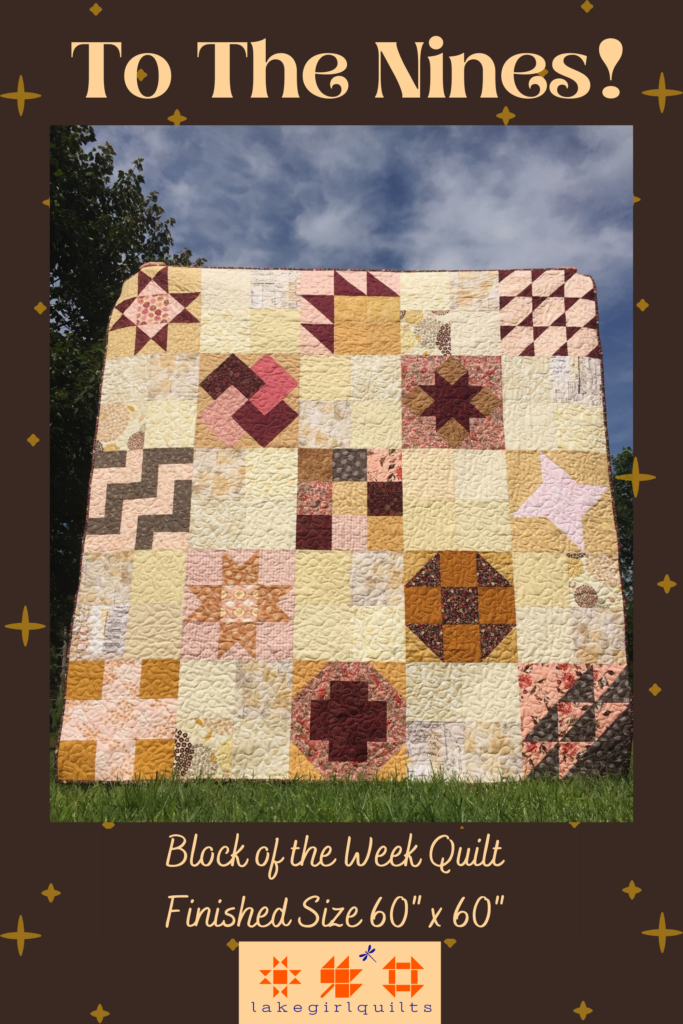
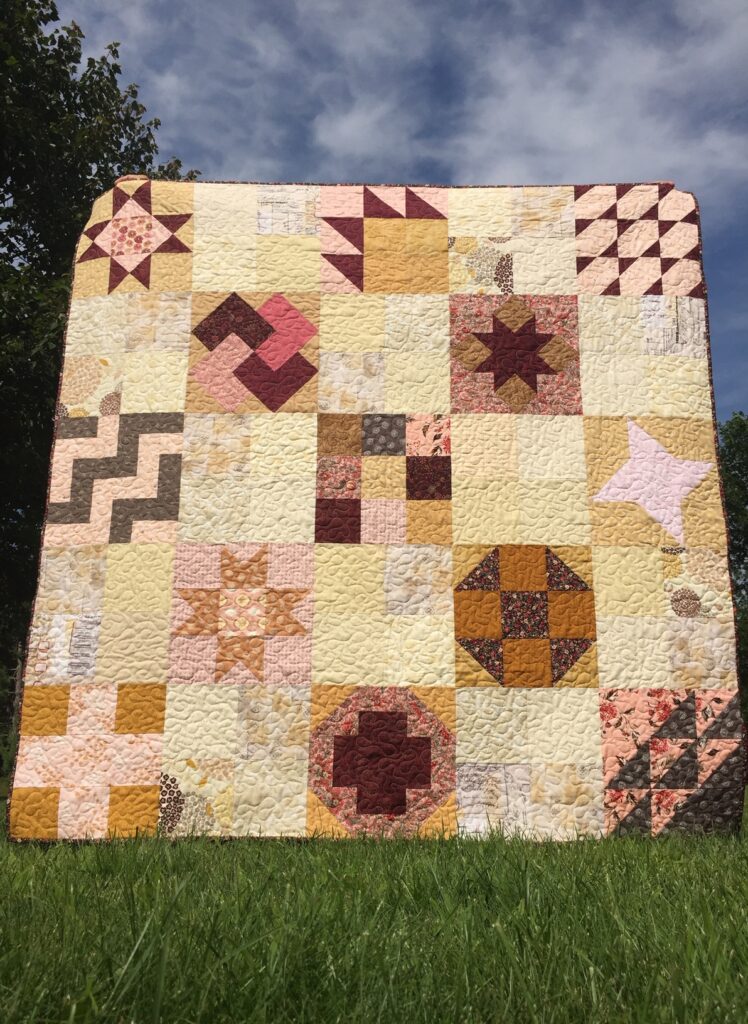
I’m so excited to have this pattern ready for you!!! Created with thirteen different nine-patch blocks from my Block of the Week Series, and connected with simple four-patch blocks, this quilt is so fun and easy to make!!
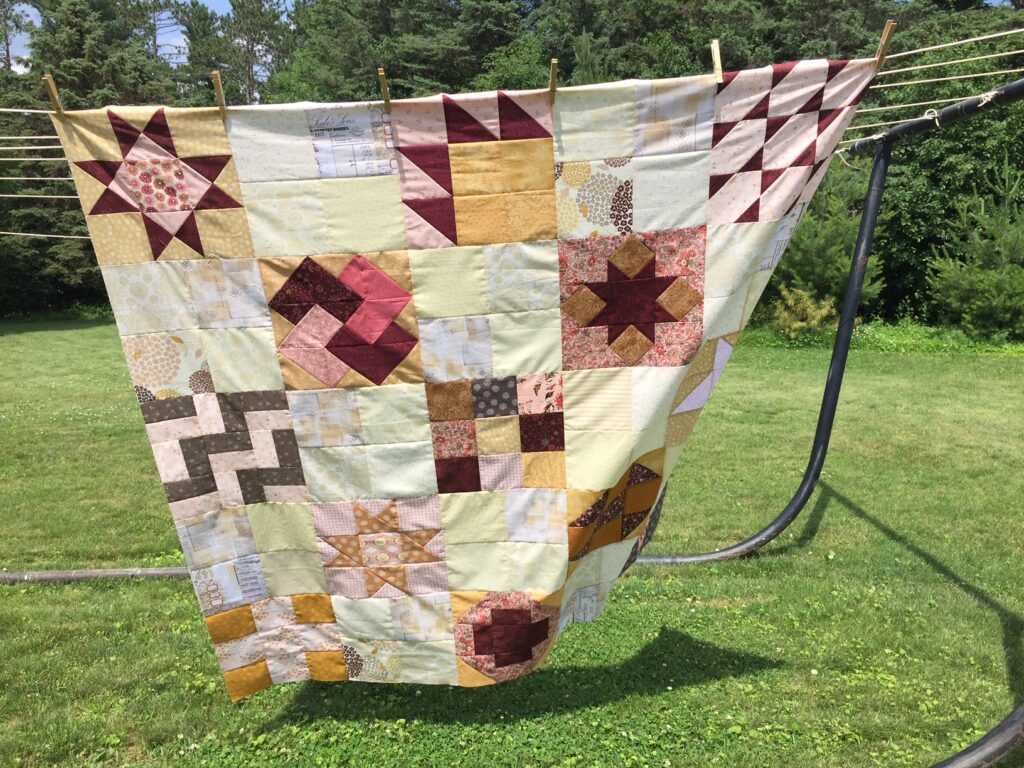
Measuring 60” x 60” this nine-patch quilt is the perfect size to cuddle up under!! And the blocks are so pretty, this quilt is “To The Nines”!
Post contains affiliate links and we earn commissions if you shop through the links on this page. For more information please read the disclaimer on the Privacy Policy page.
This quilt has been featured in an article published by ALLFREESEWING, “21+ Gorgeous Quilt Patterns (for free)”. You’ll find two of my quilts in this article, along with other beautiful free quilt patterns!!! I just love finding beautiful, free quilt patterns, don’t you???
Complete directions for making this quilt and links to each of the Block of the Week posts are included a bit further down below.
If you’d like an ad-free PDF of this quilt pattern, which includes all 13 Blocks of the Week directions, it can be purchased on the lakegirlquilts Etsy shop. Click here to purchase!
General Sewing Directions
The directions for this To The Nines! quilt are for rotary cutting, machine piecing, and machine quilting — the binding is hand stitched to the quilt back.
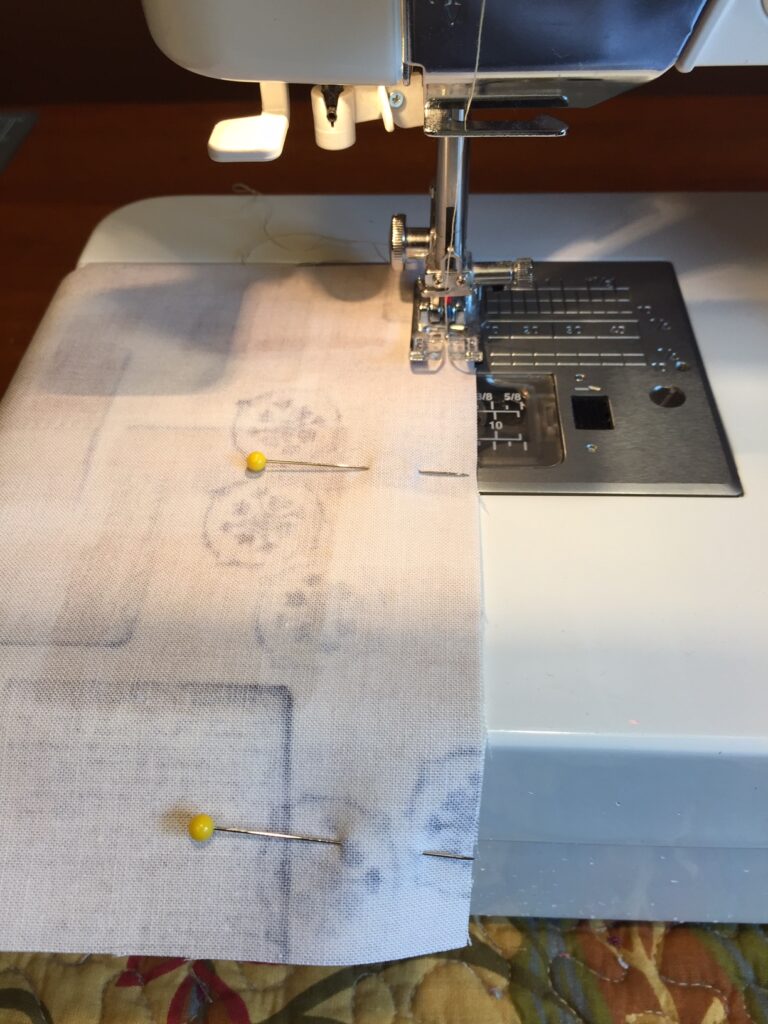
Accurate cutting and sewing enhances your final product. Pin your pieces together before sewing them to ensure proper seam alignment.
Use a ¼” seam allowance. I recommend using a special presser foot with a ¼” guide if you have one for your machine. This will help you get uniform seams, and matching corners!
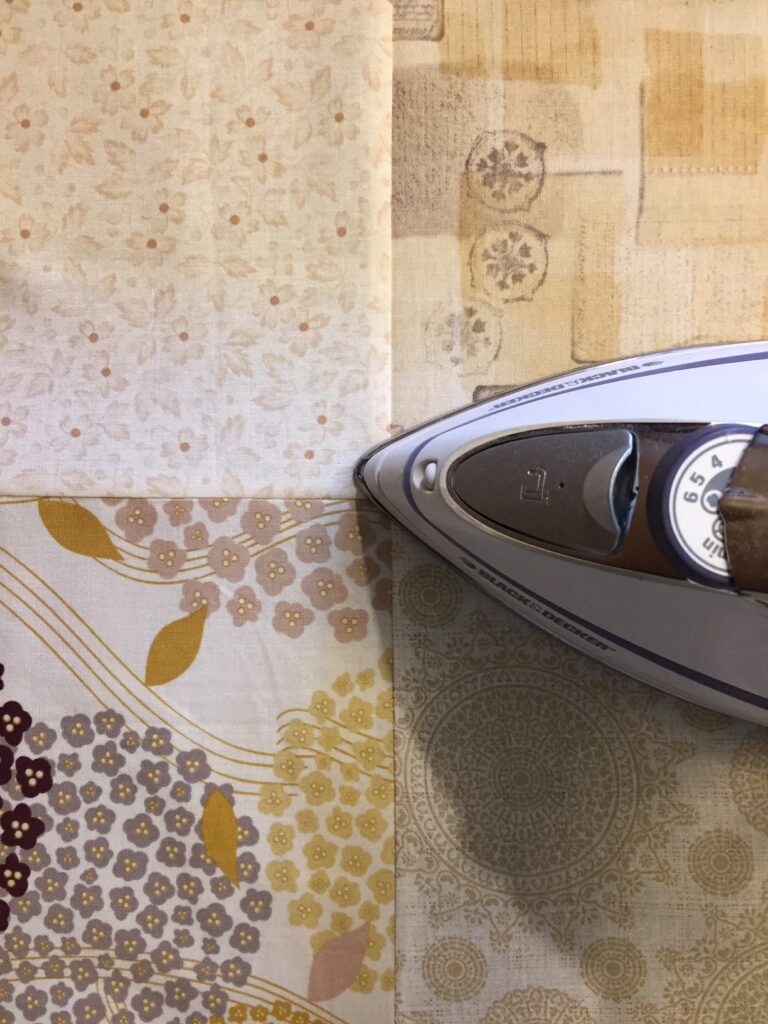
Follow the directions described in the Plus Sign Quilt Block ~ Week #1 as you press open the seams. Each individual row is pressed in the opposite direction of the previous row to eliminate bulk and help seams to lay flat. Rows sewn together are then all pressed in one direction for a uniform look.
The finished quilt measures 60 x 60”.
Fabric Requirements
This is a scrappy quilt so you’ll want to use a variety of light-, medium-, and dark-colored fabrics. For each fabric you’ll use a minimum of 4 ½”- 6” widths of fabric. Purchase a variety of fat quarters in the color palette you choose, or use fabric from your stash!
I chose to use a pink, gold, taupe pallet for my blocks of the week. And a buttery cream palette for the four-patch blocks.
Blocks of the Week:
You’ll need a total of about 10-13 fat quarters of fabric to get a variety of prints, for a total of about 1 3/4 yards used.
Four-patch Blocks:
You’ll need a total of about 8-10 fat quarters of low volume fabric, for a total of about 1 1/2 yards used.
Quilt Back:
Fabric requirement is 4 yards of a 42” wide cotton fabric that coordinates with the colors of the quilt top. You’ll need a 68” x 68” square of fabric for the quilt back. This allows for at least 4 inches of fabric to extend all around the edges of the quilt top.
Trim the salvage edges on the quilt back fabric, and cut the 4 yards into two 2-yard pieces. Place the two 2-yard pieces right sides together, and sew along the long sides to make one large back. Trim the quilt back to measure 68” x 68”. Press the seam open to reduce bulk when quilting.
Binding:
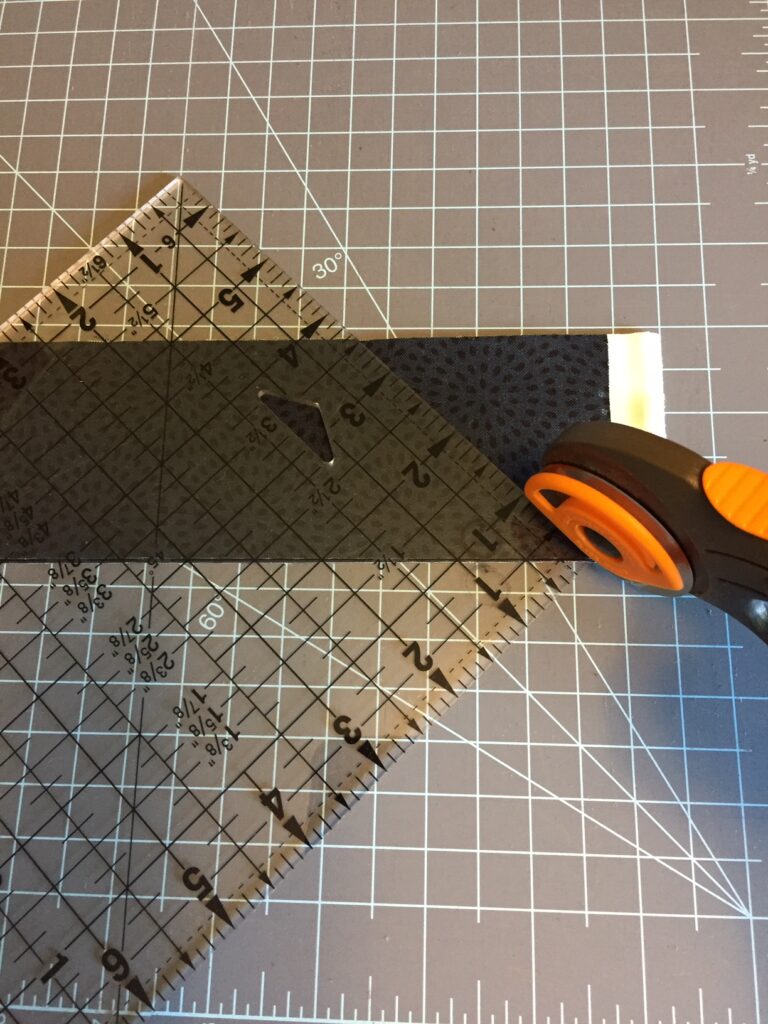
You’ll need ½ yard of contrasting fabric for the binding. Cut seven 2 ½” x 44” strips, trim the ends of each strip at opposing 45-degree angles as shown.
Batting:
You’ll need a twin size 72” x 90” thin cotton batting (like Warm & Natural) to make this quilt. Trim the batting to measure 68” x 68”, the same as the quilt back. This allows the batting to also extend 4” beyond the edges of the quilt top. You’ll trim the batting and backing once the binding is attached to the quilted layers.
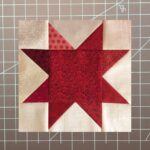
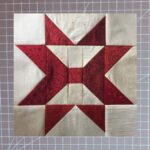
Nine-patch Blocks of the Week
The nine-patch blocks in To The Nines! were part of a 2021 Spring Block of the Week project created by lakegirlquilts! The directions and illustrations for all of the thirteen Blocks of the Week are described in previous posts. Click on each of these links to make each of the nine-patch blocks:
Four-Patch Blocks
You’ll make 12 four-patch blocks to connect the Blocks of the Week and create the rows of this quilt. Each block will measure 12 ½” unfinished.
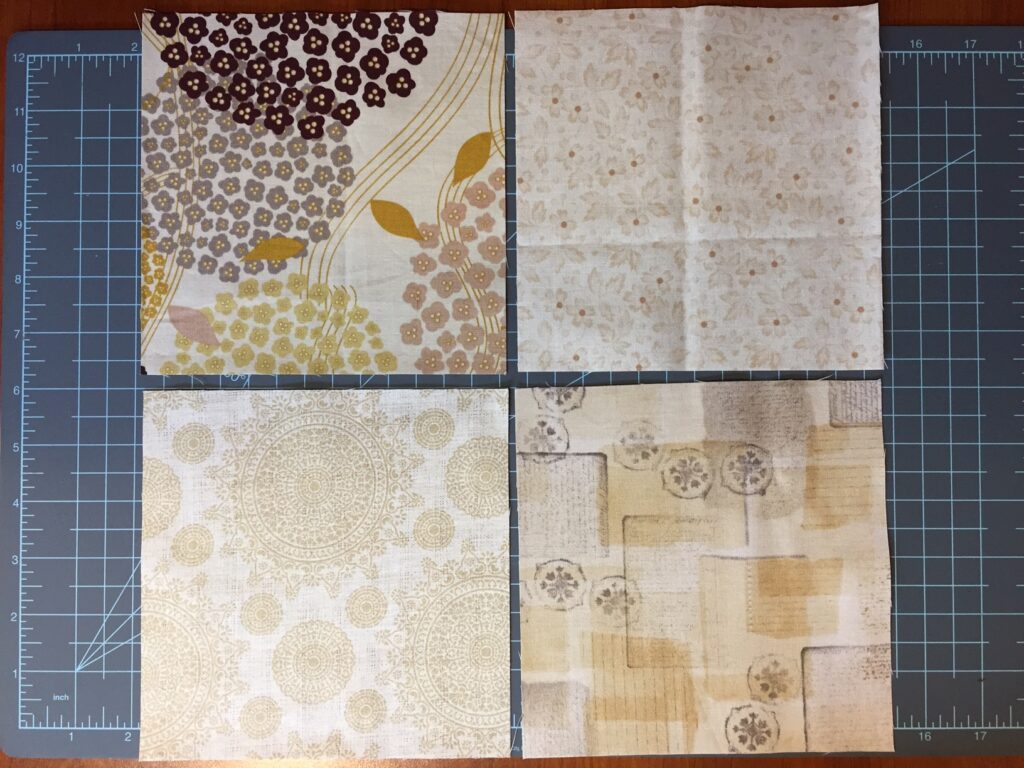
Select a variety of cream colored and/or low volume fabrics to make the four-patch blocks.
Cut a total of 48 – 6 ½” squares from these fabrics.

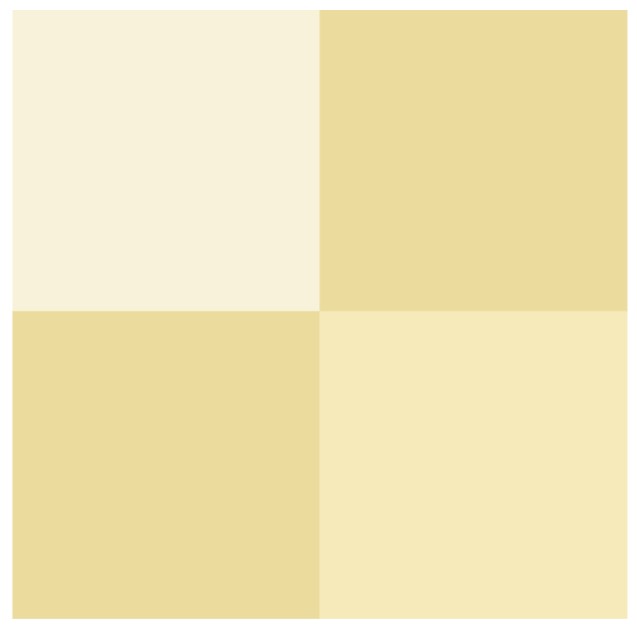
Lay out the squares into the 12 four-patch blocks.
Sew square 1 to square 2. Press seam toward square 1.
Then sew square 3 to square 4. Press seam toward square 4.
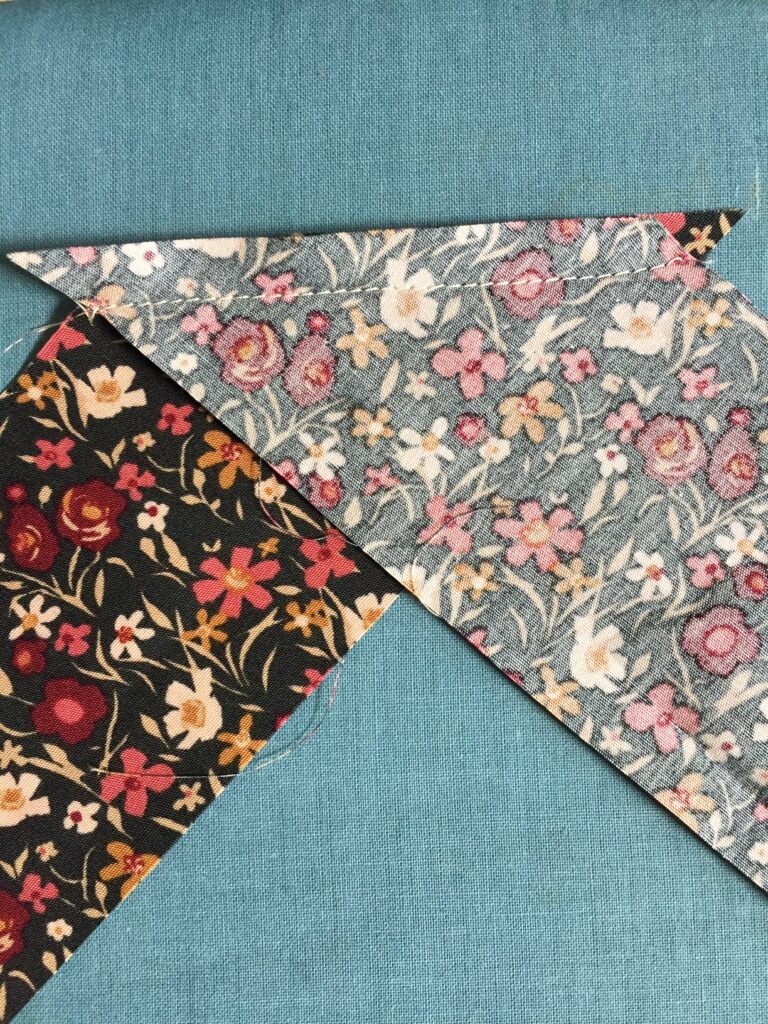
Right sides together nest these two sets of squares and sew them together to make the four-patch block. Press the seam open.
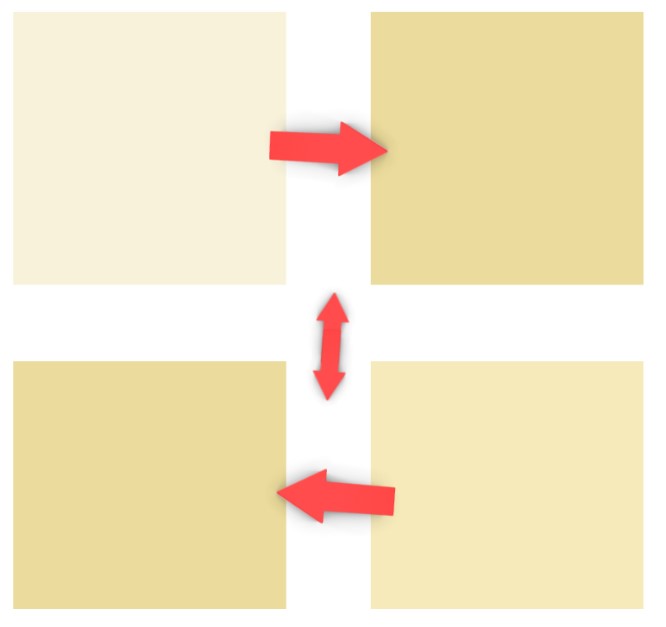
sew the squares to each other 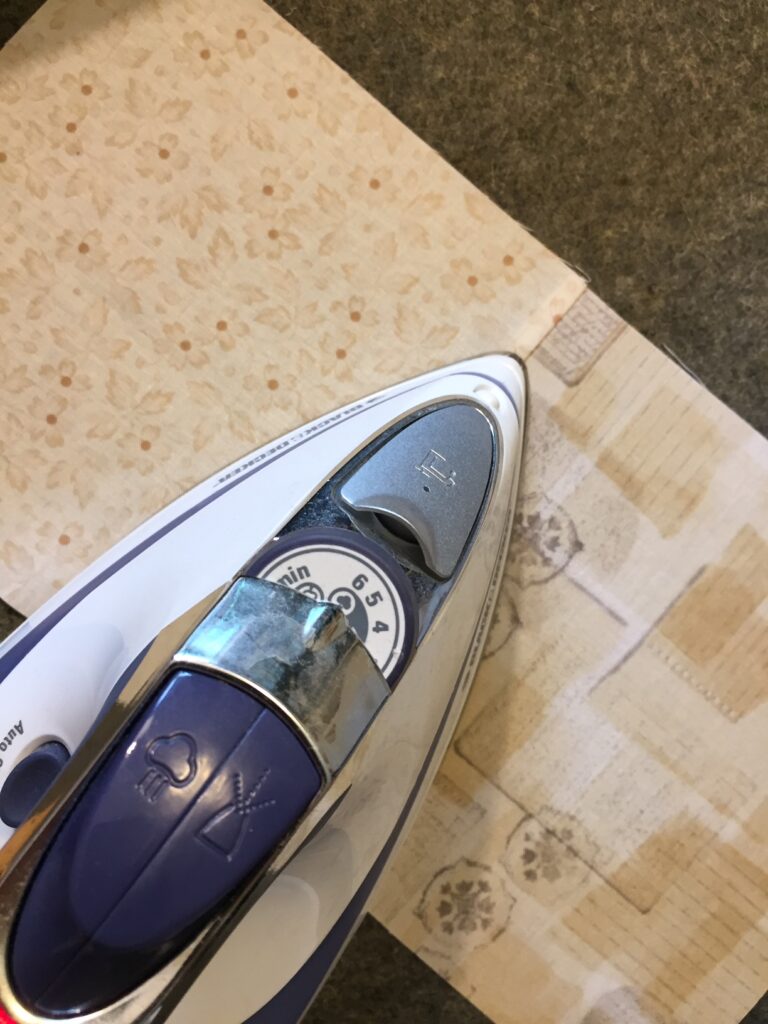
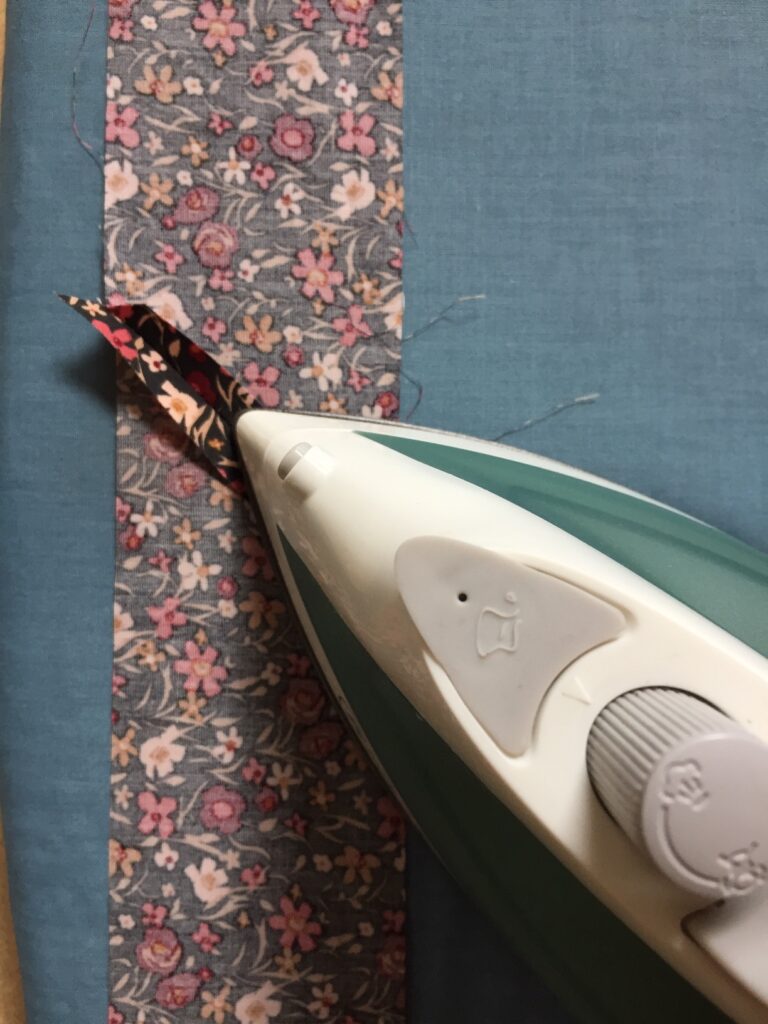
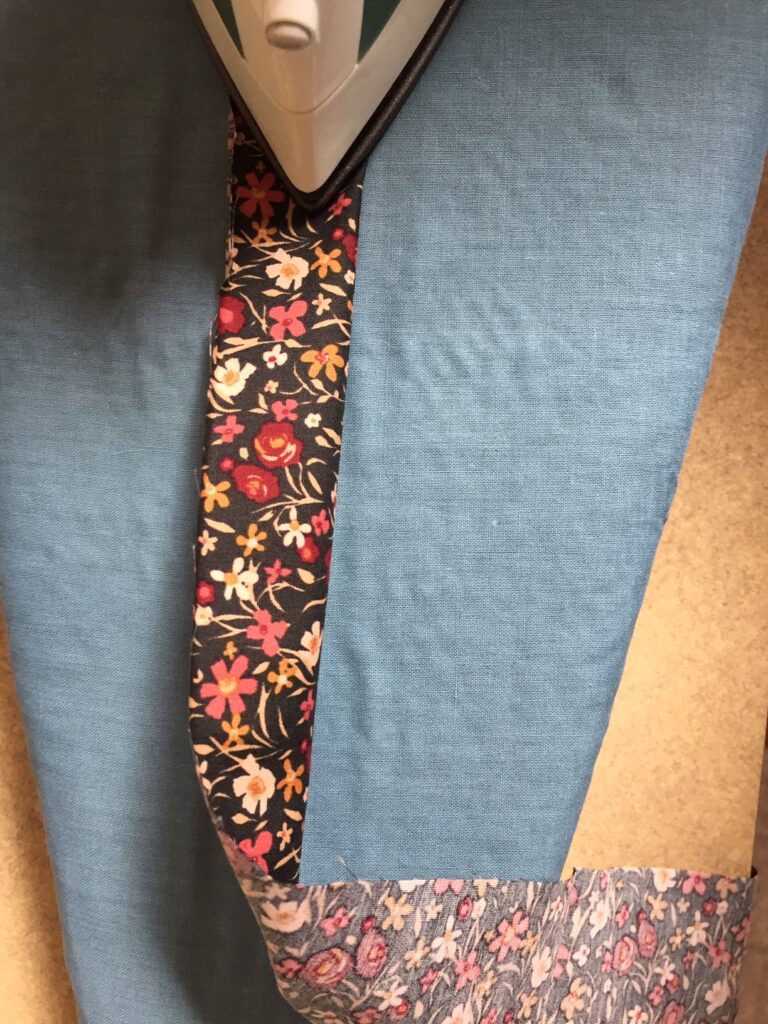
press the seams to the correct side 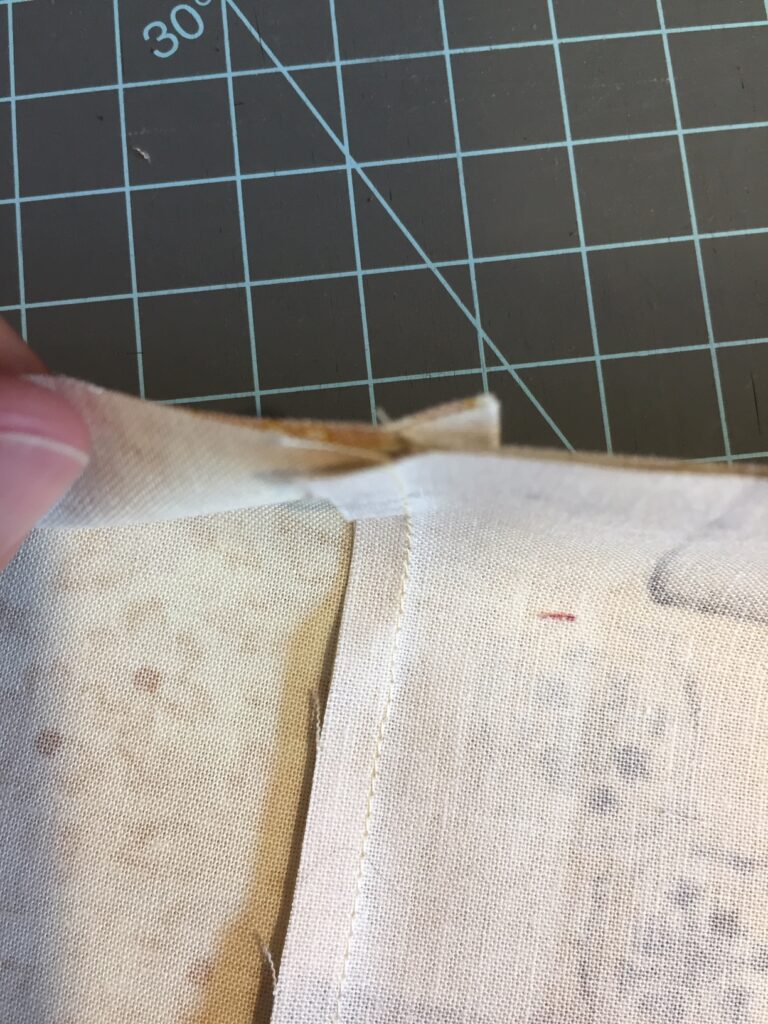
nested seams for sewing the rows together
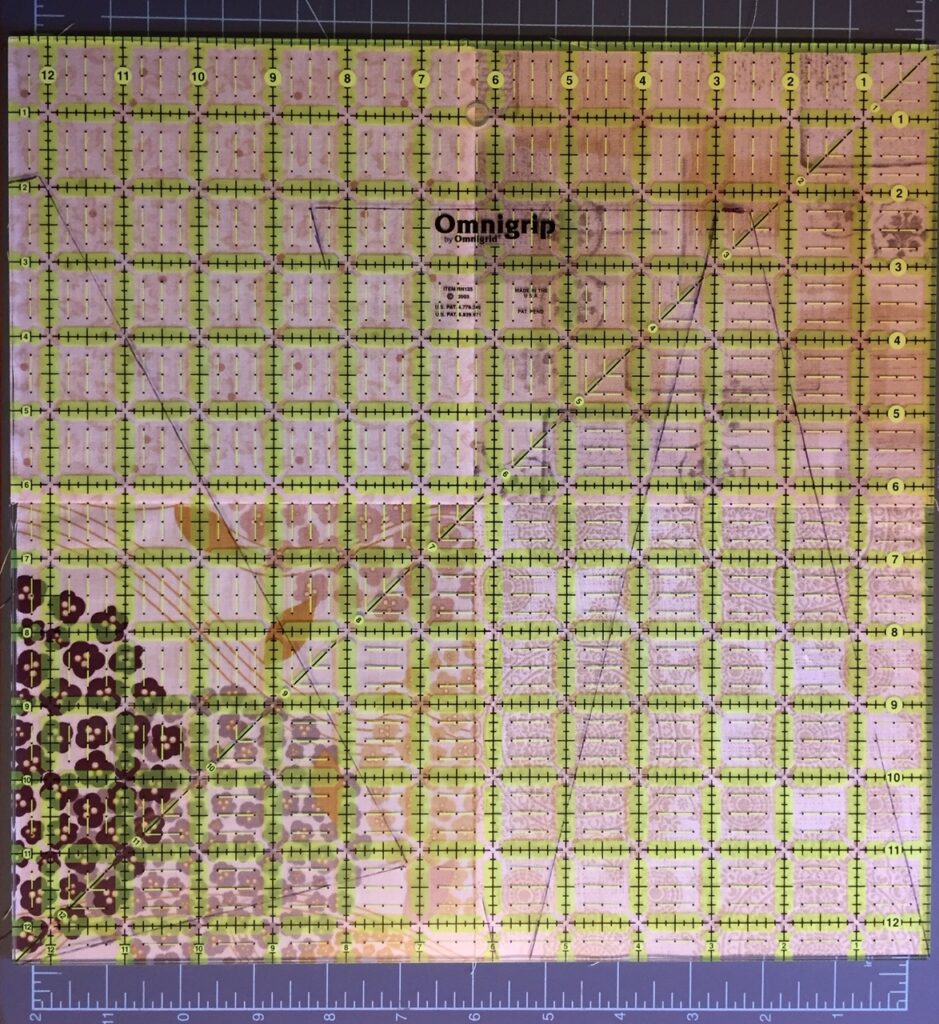
The final quilt block should end up measure 12 ½” x 12 ½”. Once you’ve pressed it, lay it out on your cutting mat and square the block to make sure it’s 12 ½” square.
I have a 12 ½” square Omnigrip plastic “ruler” that works great for squaring up large quilt blocks!
Repeat for all 12 four-patch blocks.
The Quilt Top
Follow this diagram to start planning how to lay out the blocks of your quilt top.
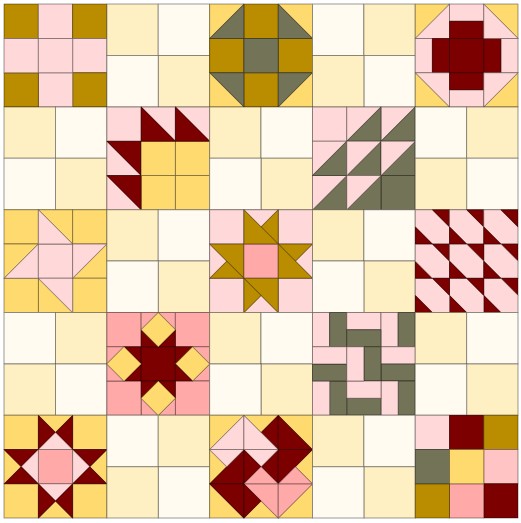
The diagram shows the Blocks of the Week in order, but the Blocks of the Week don’t need to go in any specific order! Arrange them so the colors you used are distributed throughout the quilt and the four-patch blocks separate the Blocks of the Week.
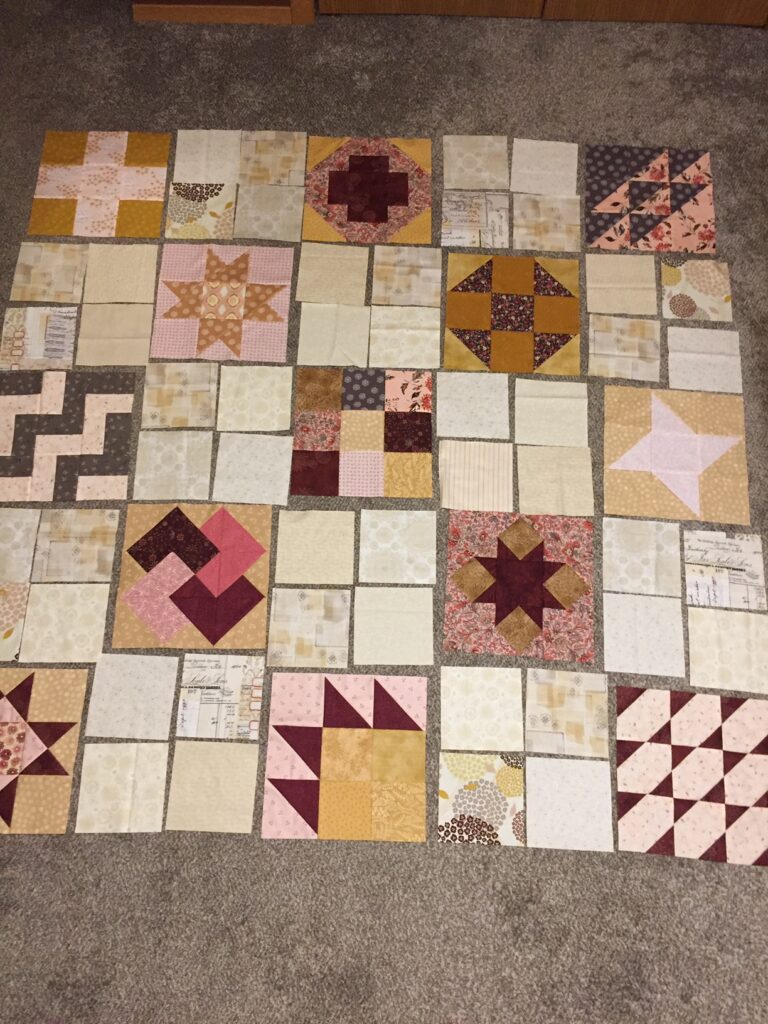
Here’s how the final arrangement of my blocks turned out!
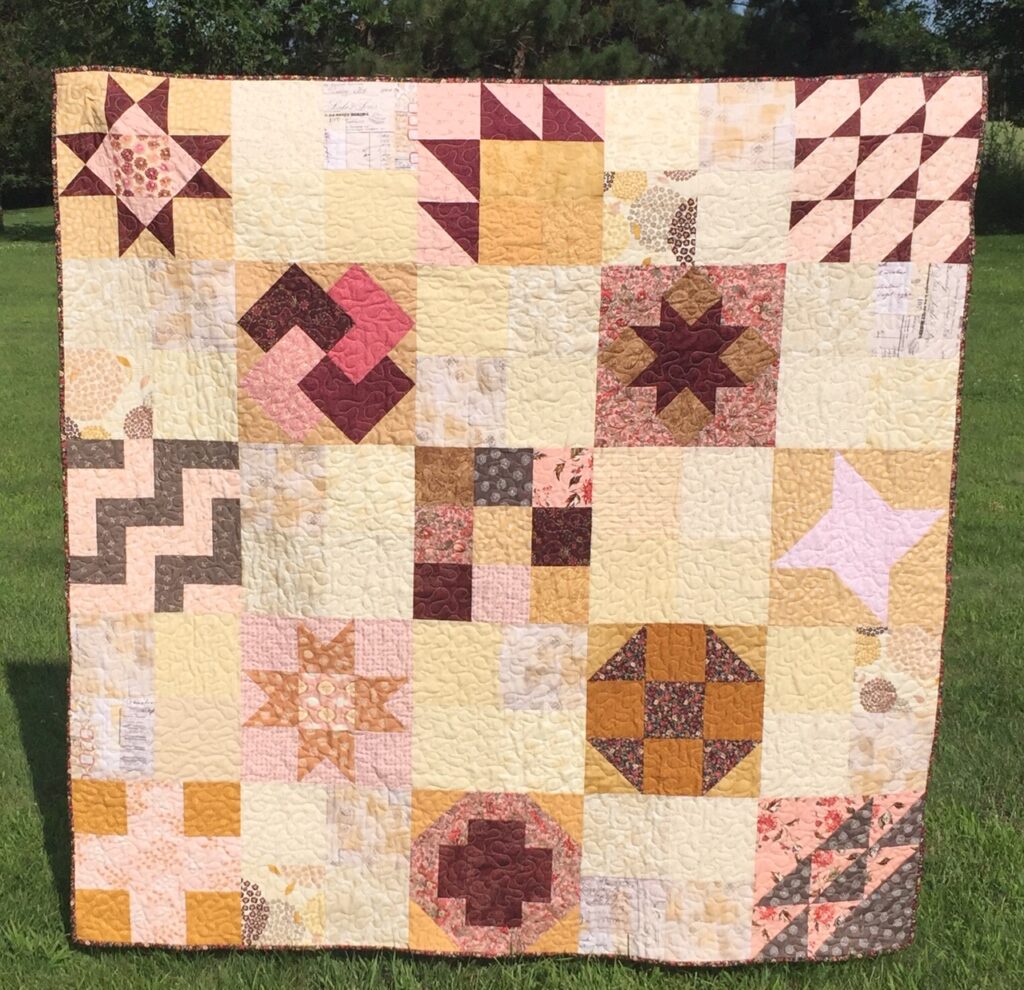
Lay out the Blocks of the Week and the four-patch blocks to create five rows with five blocks in each row.
Sew the blocks of each row together to create five rows.
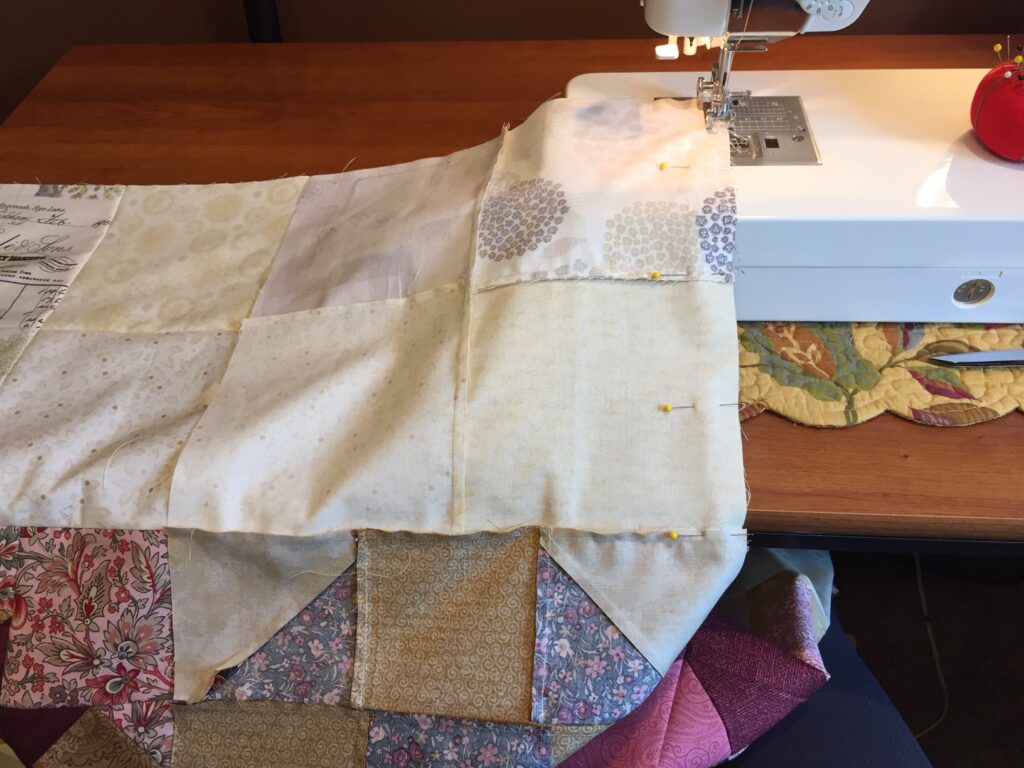
Press the seams of rows 1, 3, and 5 to the right. Press the seams of rows 2 and 4 to the left. This will allow the seams to nest together when you sew the rows to each other.
Sew the rows to each other. Pin at each nested seam and between the seams to hold the rows in place as you sew them together. Remove the pins as you come up to them. Press the seams open.
Finishing the Quilt
Now that you have your quilt top sewn together, it’s time to finish it! Some people call the completed quilt top a flimsy, and I really like this term. It’s a flimsy because you haven’t yet added the 3 B’s to your quilt – batting, backing, and binding!
Layering the Top, Batting, and Back
I refer to layering the quilt as “sandwiching”. You need to sandwich the top and back with the batting in the middle.
On a large floor area or with two tables pushed together, use masking or painter’s tape to tape down the backing fabric. As you tape the back to the surface, you’ll want to make sure the fabric is smooth, without wrinkles. Make sure the back it taped taut, but not stretched. Also, make sure the right side of the fabric is facing down!
Lay the batting on top of the taped-down quilt back, and move your hands across it to smooth it all over. This will get rid of any wrinkles in the batting, and help to adhere it to the backing fabric.
Once you have the batting placed on top of the quilt back, center the top of the quilt (the flimsy!) over the two bottom layers. Right side facing up, of course! The two bottom layers of the quilt (the back and the batting) should extend about 2-3” all around the outside edges of the quilt top.
Move your hands across the quilt top to smooth it all over, and help remove any wrinkles. This will also help adhere the quilt top to the batting a little bit. Once you have the top of the quilt all smoothed out, either use basting spray or use 1 ½” stainless pins to baste your quilt layers together. You’ll want to start basting on one side of the quilt, and work your way across, or work from top to bottom. If pinning, you should place a pin about every 4 inches or so.
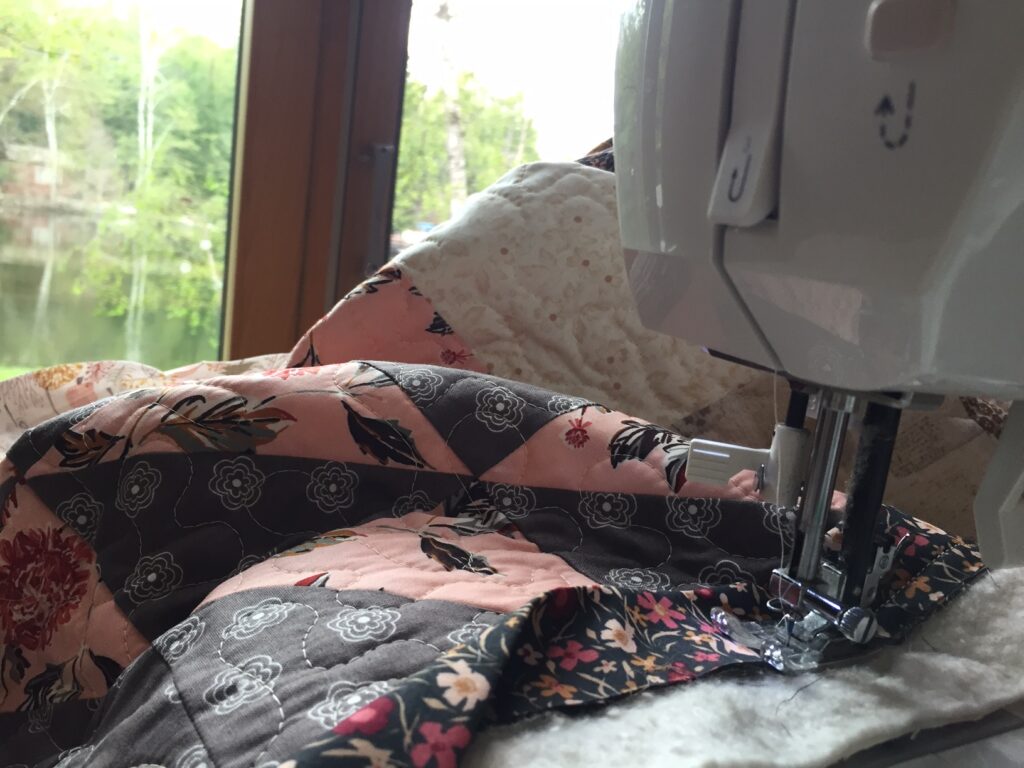
“Quilting” the Quilt
I chose a meandering machine quilting design to permanently join all three layers of the To The Nines! quilt together.
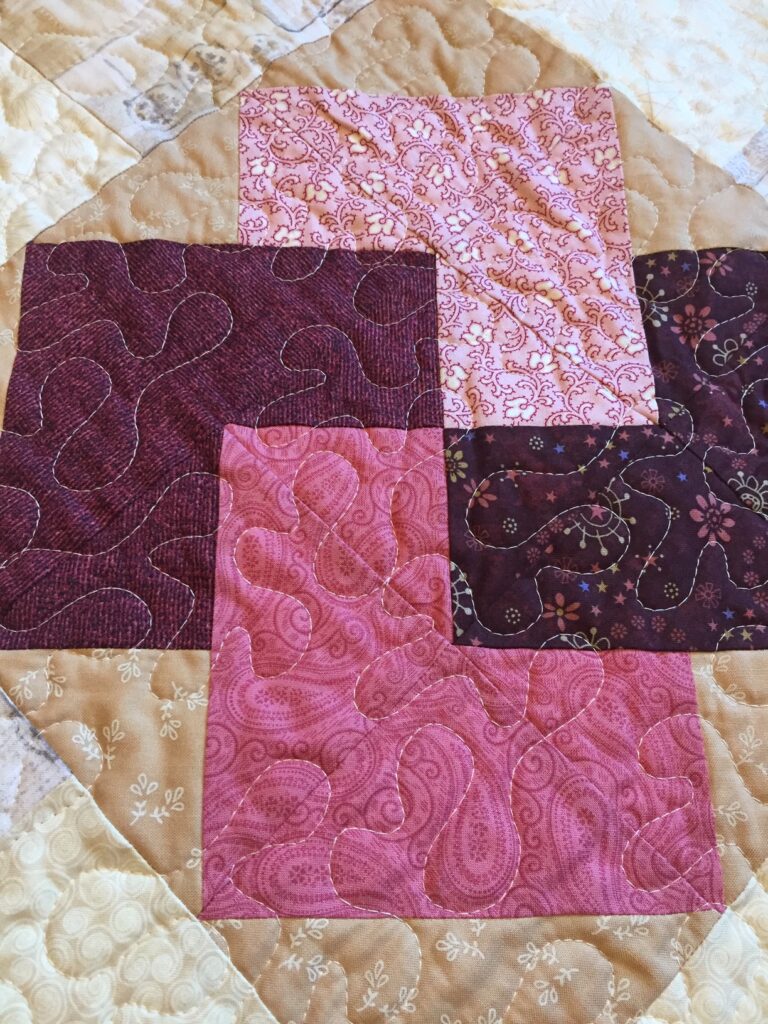
Using a darning foot and dropping the feed dogs on your sewing machine allows you to free motion stitch the quilt layers together. If you’re new to machine quilting you might want to search for online videos that can demonstrate the process for you.
Binding the Quilt
When you’ve finished quilting the layers together, it’s time to bind the edges of your quilt! This could be a lesson in itself!! I’ll do my best to describe the binding process below, but if you’re confused by my directions there are lots of videos on the Internet that will demonstrate the process for you.
Prepare Binding Strip
Take your 2 ½” binding strips that you previously cut and prepare to sew them together. To do this, fold the strip in half. Using your ruler, find the 45-degree line and lay is along the bottom of the folded strip. Now, you can cut a 45-degree angle through both layers. When you open up the strip each end will have the angle facing in the opposite direction.
Align two strips together perpendicularly along the 45 degree ends. Who ever thought you’d use those 4th grade geometry skills again, lol! Pin the ends and sew them together.
Press the Binding
Press the seams open. You’ll need a finished strip that is about 56” to 60” in total length.
Then, fold the binding strip in half (wrong sides together), and press.
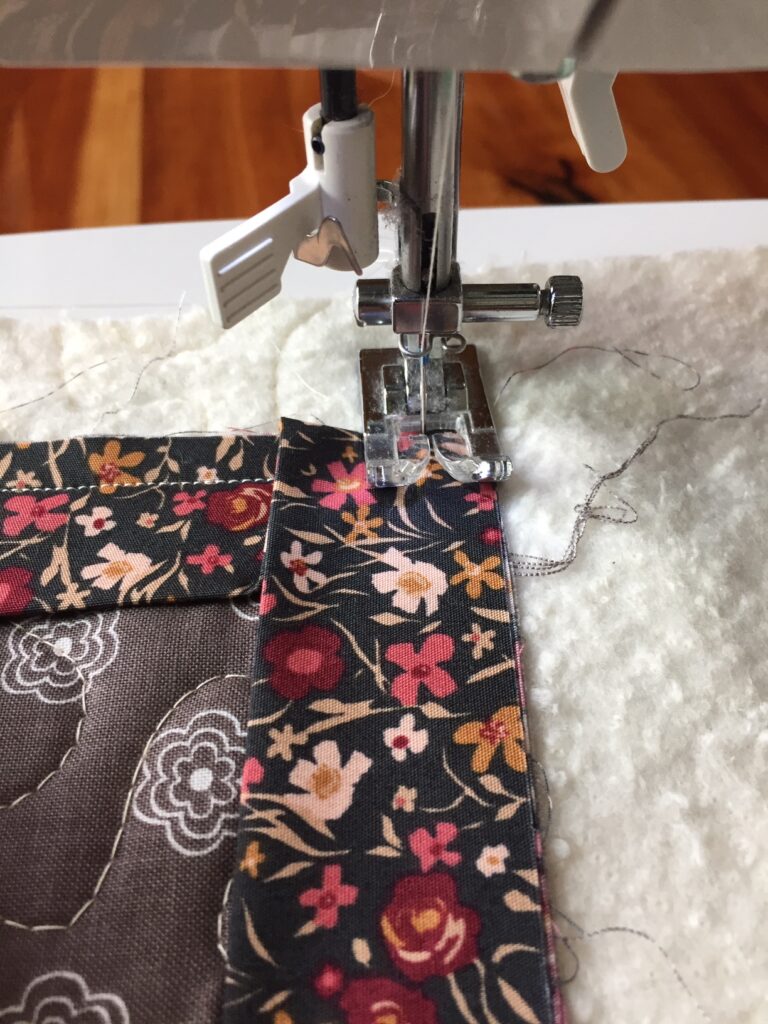
Sew the Binding Strip to the Quilt
Begin to sew the raw edge of the binding to the quilt by pinning it along one side. Be careful to sew the raw edge of the binding strip to the quilt, not the folded edge!
I usually start sewing the binding strip in the middle of the quilt side that I’m starting with. Start sewing about 5” in from the end of the binding strip, leaving a hanging “tail” on the binding. You’ll sew this to the end of the binding strip when you finish sewing all along the sides of the quilt.
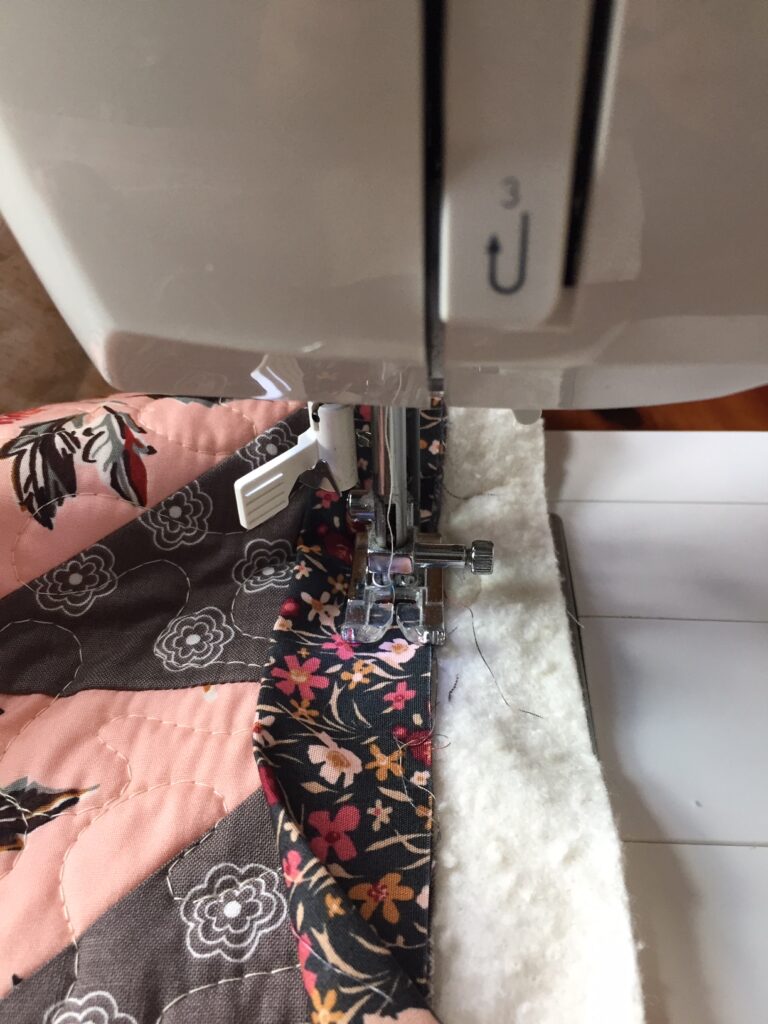
Stop sewing on the first side ¼” from the corner, use a pin to mark this location and sew right up to it. Backstitch a bit, and cut your thread but DON’T cut the binding strip.
Making the Mitered Corner
Now, remove the quilt and binding strip from your machine and fold the binding strip straight up so it’s perpendicular from the side you were just sewing on.
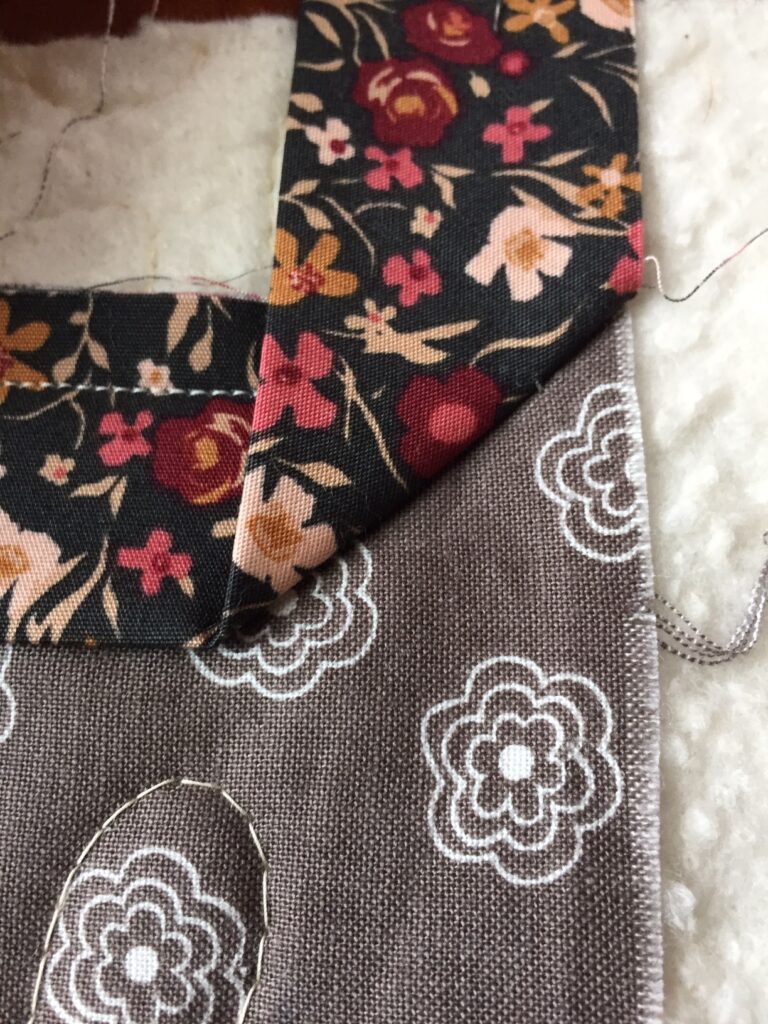
Fold the binding strip back down on itself and match it to the edge of the quilt you just sewed it to, and the next edge of the quilt you’re about to sew it to. Pin this fold in place, and pin the binding strip to this edge of the quilt and continue to sew it, again stopping ¼” from the next corner and repeating the folding process described above.
Continue in this manner until you are on the last side of the quilt, the side you started on.
Connecting the Ends of the Binding
Stop stitching about 4” from where you started. Backstitch and cut the thread (but not the binding strip, not yet!), remove the quilt and binding strip from the machine.
You now have two “tails” of the binding strip, one from where you started stitching it to the quilt and one from where you just stopped. You’ll need to join these tails together so that you have a continuous binding strip to finish sewing down to the quilt.
This can be tricky! I’m sorry I don’t have a pic of this step =(
I promise to take a pic of this step for the next quilt I make and I will update this post to add that picture in! Pinky swear!!!
I don’t worry now about cutting 45-degree angles on each end of the binding strip to sew it together to make a continuous strip. If you can master this technique, my hat is off to you!! What I do is measure how much more binding strip I’ll need to finish sewing it to the edge of the quilt. I then cut a straight line along each end of the binding strip, adding ¼” to each end so I can sew the ends together with a ¼” seam (right sides together). Continue to sew the now continuous binding strip to the quilt.
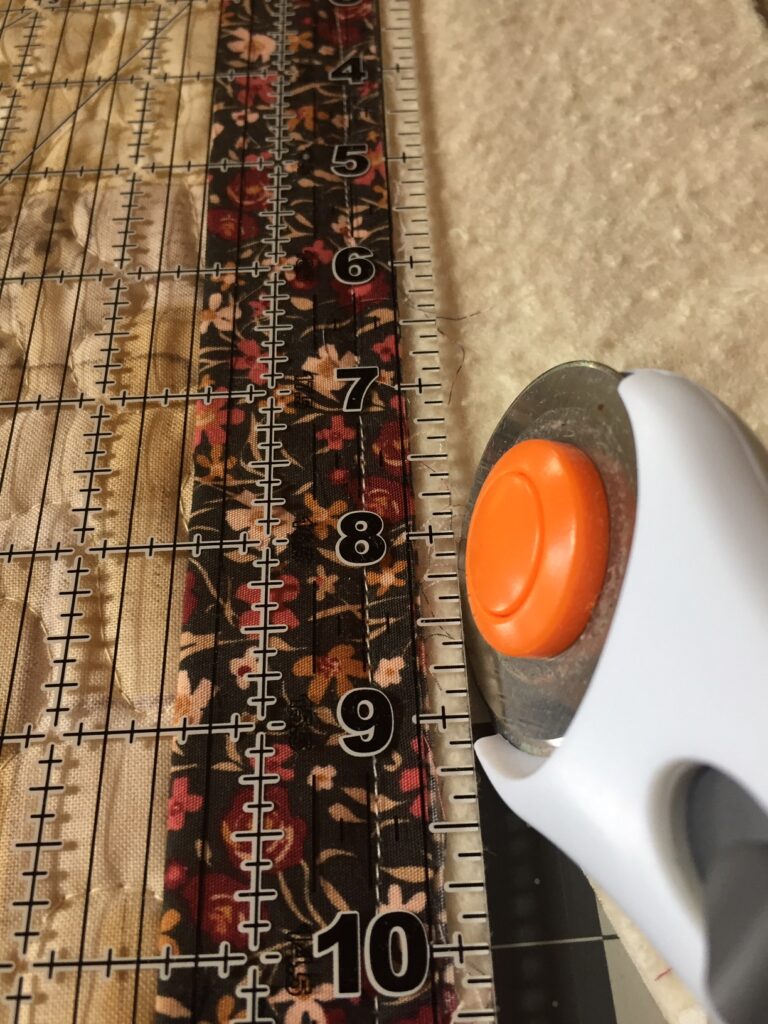
Trim the Batting and Back
Trim the batting and quilt back to ¼” from the edge of the quilt top. I use a ruler and a rotary cutter to accomplish this task. Work carefully, so you don’t cut into your quilted project.
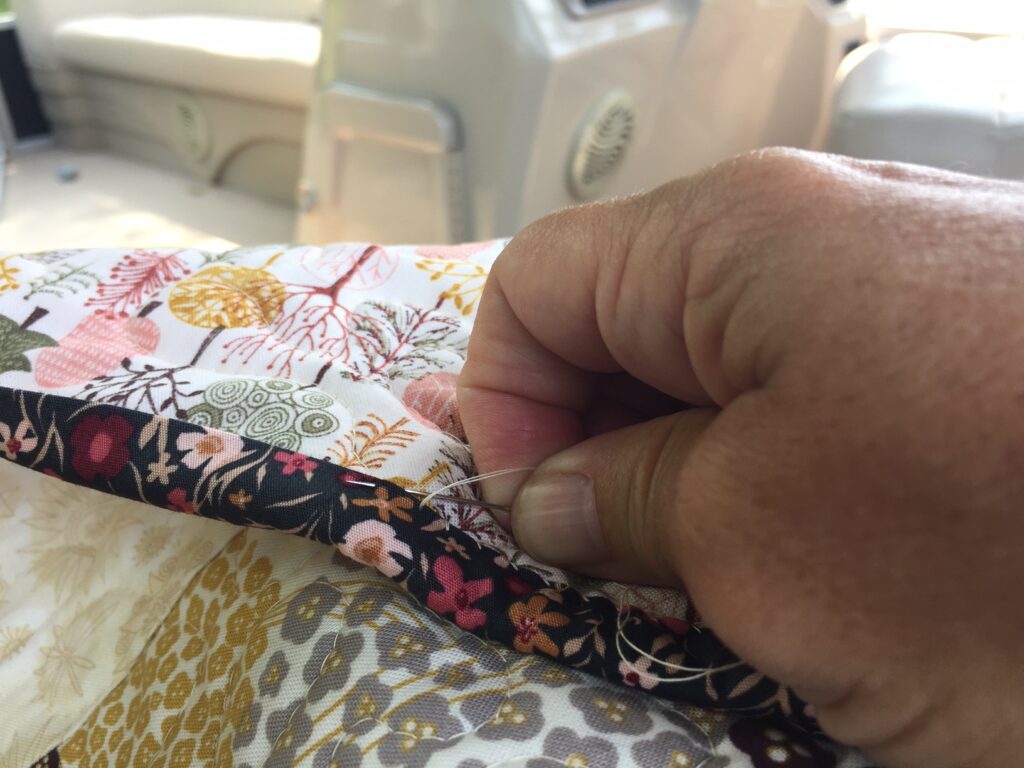
Hand-Stitch the Folded Binding Edge to the Quilt Back
Here is my FAVORITE part of the process…almost done! Hand-sew the folded edge of the binding strip to the back of the quilt. When you get to the corner, carefully turn the corner right-side out to make a nice, mitered corner. I tack a few stitches up the corner to hold it in place, and then continue stitching along all sides and corners until…VOILA! Your binding is complete!
As a finishing touch, you can add a label to the back of the quilt. A quilt label is like the signature on your masterpiece!!
I hope you have fun making your To The Nines! quilt!!!
~Bonnie
Again, if you’d like to purchase the full directions in a PDF version you can click here!
I keep clicking on the links for the individual block patterns, but the next page doesn’t come up. It’s like there’s no actual link to the next pages.
Thank you so much for letting me know! I’m sorry the links weren’t working. Either I never linked them to begin with or something broke. Either way, I’ve re-linked all the blocks for weeks 1-13, and I just checked that they are all working now. Please let me know if you have any further problems with them. Thanks again for letting me know!!! Have a great day =)