The Striped Sawtooth quilt block is an easy block for a beginning quilter! This is the eleventh block in the Scrappy Stars Quilt Pattern series.
In about an hour you can make this simple 8 ½” x 8 ½” block!!!
Post contains affiliate links and we earn commissions if you shop through the links on this page. For more information please read the disclaimer on the Privacy Policy page.
Cutting Fabric for the Striped Sawtooth Quilt Block
Refer to the Scrappy Stars Quilt Pattern for total fabric requirements.
Center: Red fabric cut 4 – 1 ½” x 4 ½” strips.

Outer Corners: Cut 4 – 2 ½” x 2 ½” white squares
Flying Geese: Cut 1 – 5 ¼” x 5 ¼” white square and 4 – 2 ⅞” x 2 ⅞” red squares.
Sew the Striped Sawtooth Quilt Block
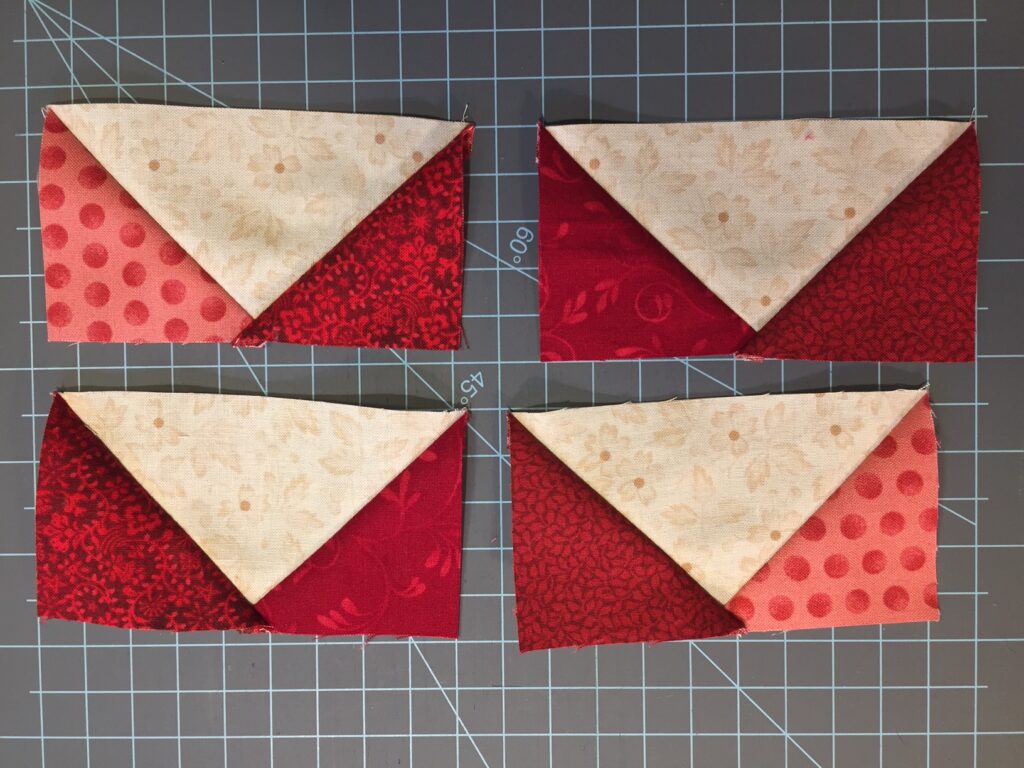
Refer to the Easy No Waste Flying Geese Block post on how to sew the four flying geese needed for this block.
Sew the 4 ½” x 4 ¼” Center Block
Layout the strips in the order you’d like them to be placed.

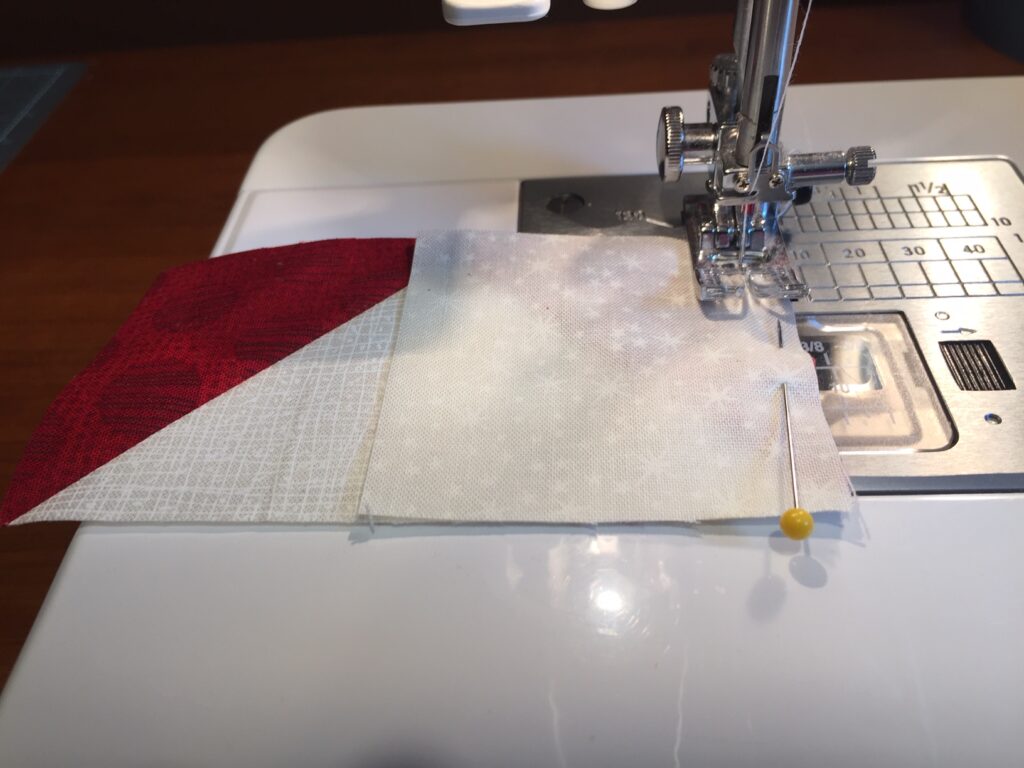
Place the top two strips right sides together and sew them to each other. Do this to the two bottom two strips also. Now you have two rows!
Place the two rows right sides together. Line up the center seams, pin in place, and sew the two rows together. Press seams open.
Trim to 4 ½” x 4 ½” square, if needed.
Finish the Block
Arrange the flying geese blocks around the center of the 4 ½” x 4 ½” center square. Place the 2 ½” x 2 ½” white squares in each corner.
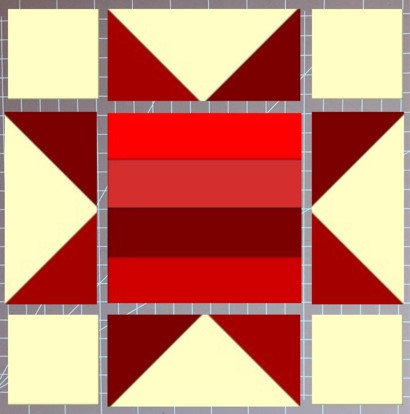
Sew both white corners onto the top flying geese block and both white corners on the bottom flying geese block. Press the seams outward toward the corners.
Sew each of the flying geese blocks to the sides of the 4 ½” x 4 ½” center square. Press the seams inward toward the center.

Now there are three rows to sew together!
Sew the top row onto the top of the center row. Then sew the bottom row onto the bottom of the center row.
Press seams open.
Trim the block, if necessary, to measure 8 ½” x 8 ½” square. I like to use the 12 ½” square Omnigrip Plastic Ruler to accomplish this task!
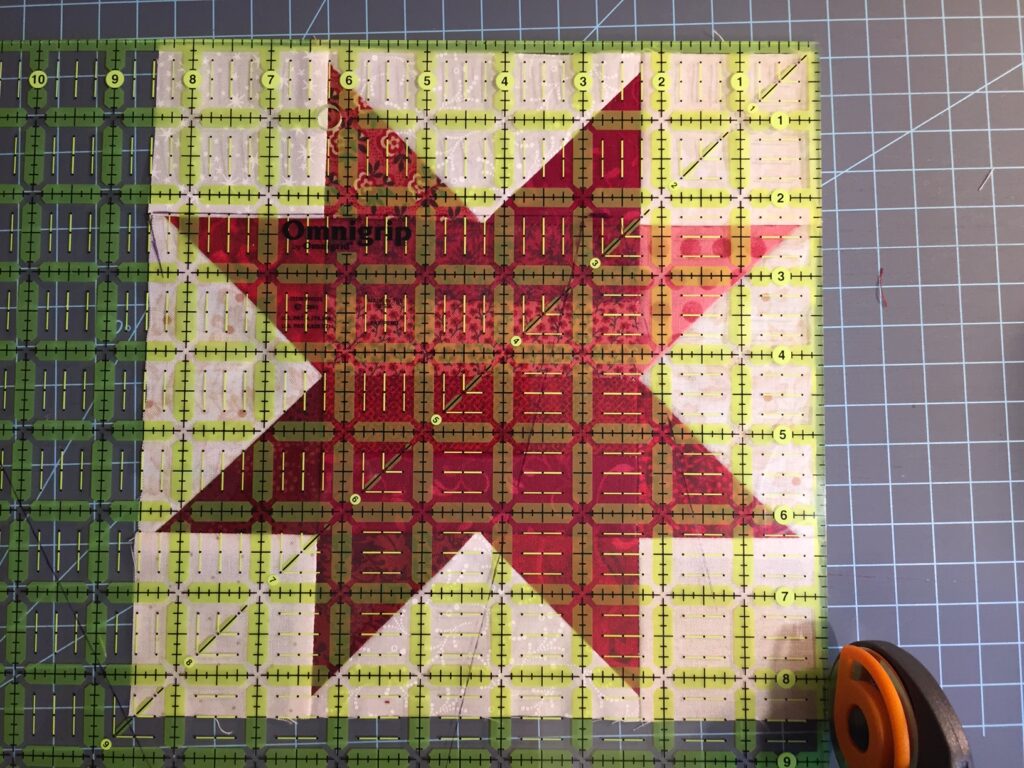
This strippy block is so easy to make!
Watch for the next block in this series to continue making the Scrappy Stars Quilt Pattern.
Happy quilting!!!
~Bonnie