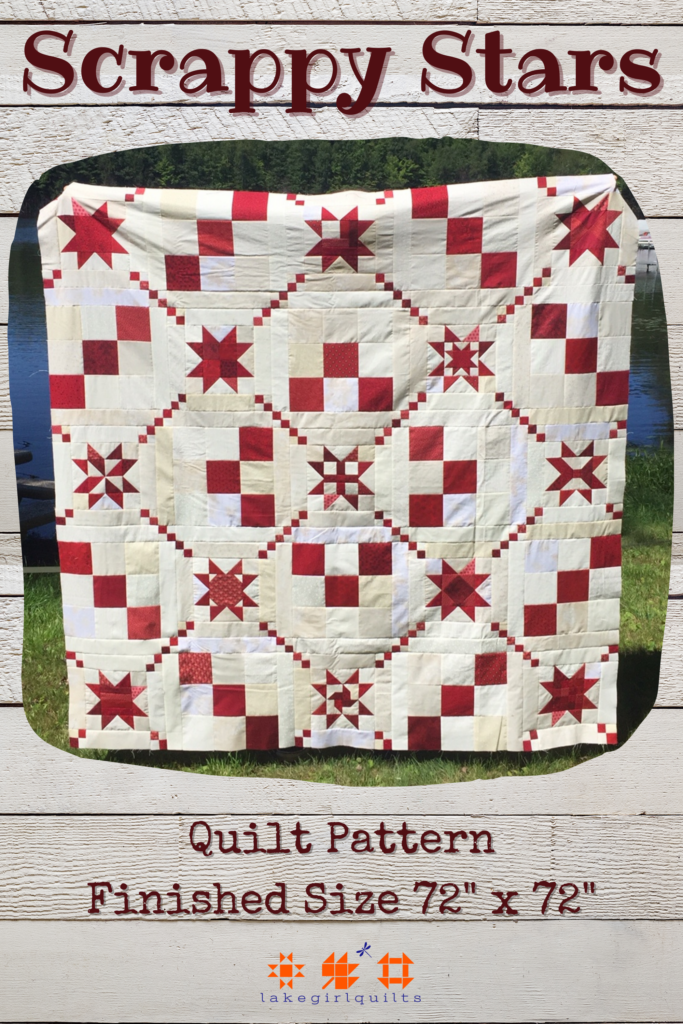
Scrappy Stars is an easy quilt pattern for beginners! I’m so excited to share my Scrappy Stars sawtooth star quilt pattern with you!! As a block of the week project this pattern can be made in just a few short weeks!
Each week over the next two months I’ll continue to post the directions for how to make each sawtooth star block in the Scrappy Stars quilt pattern.
But you don’t have to wait for each block to be released to begin this project! Keep reading on how you can get started on your Scrappy Stars quilt today!
Here is a fun video of the Scrappy Stars Quilt Reveal!
Post contains affiliate links and we earn commissions if you shop through the links on this page. For more information please read the disclaimer on the Privacy Policy page.
If you’d like to purchase an ad-free PDF copy of the Scrappy Stars quilt pattern click on this link!
- About the Scrappy Stars Quilt
- Fabric Requirements
- Making the Easy Quilt Pattern for Beginners Scrappy Stars Quilt
- Finishing the Quilt
About the Scrappy Stars Quilt
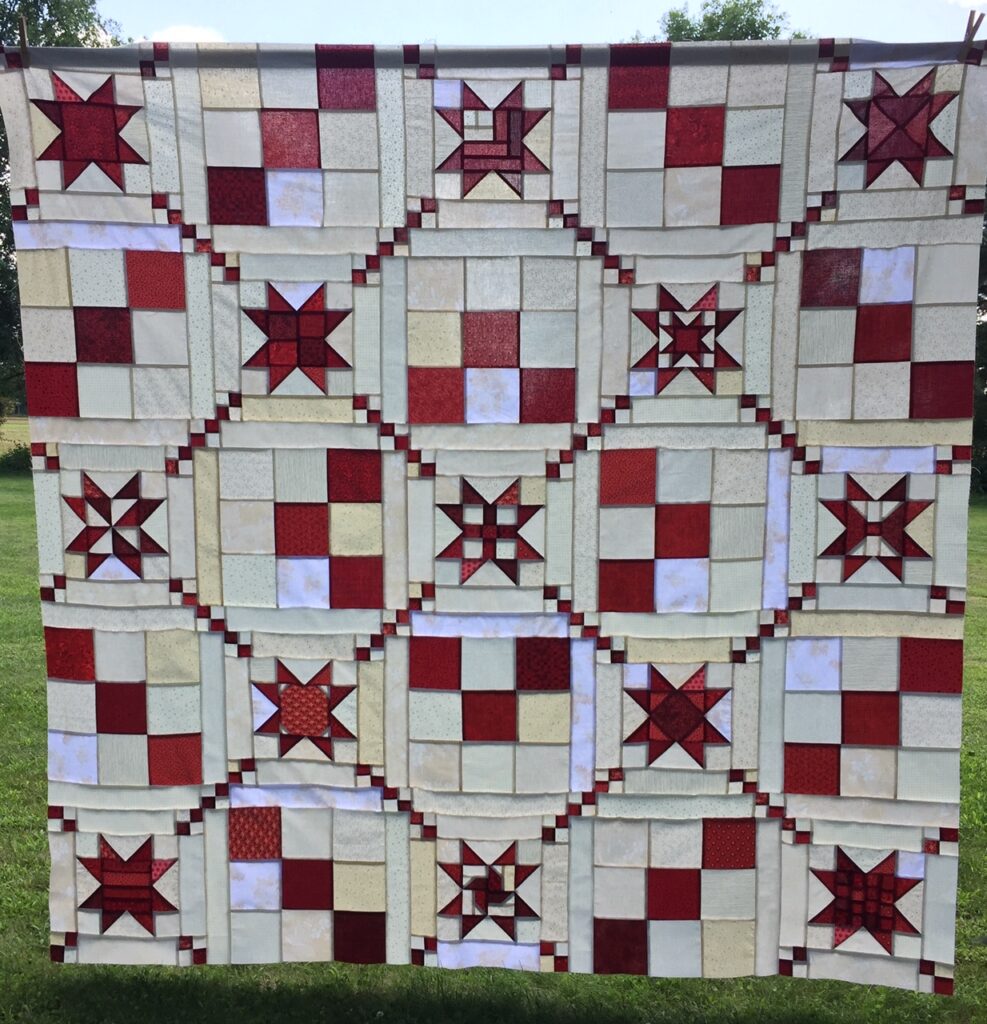
The Scrappy Stars finished quilt measures 68” x 68”.
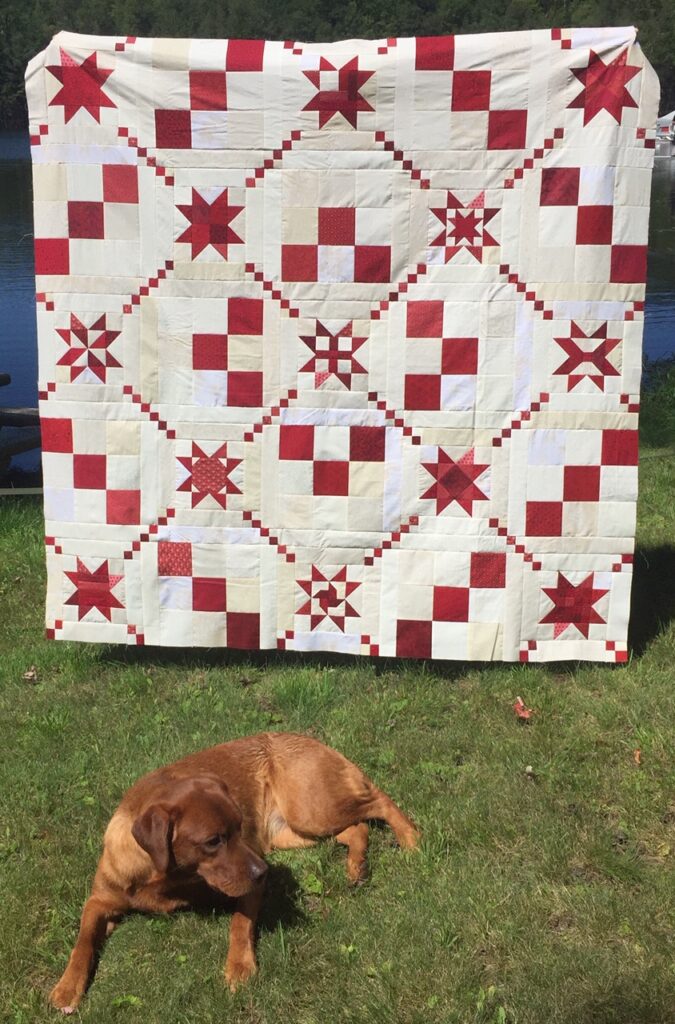
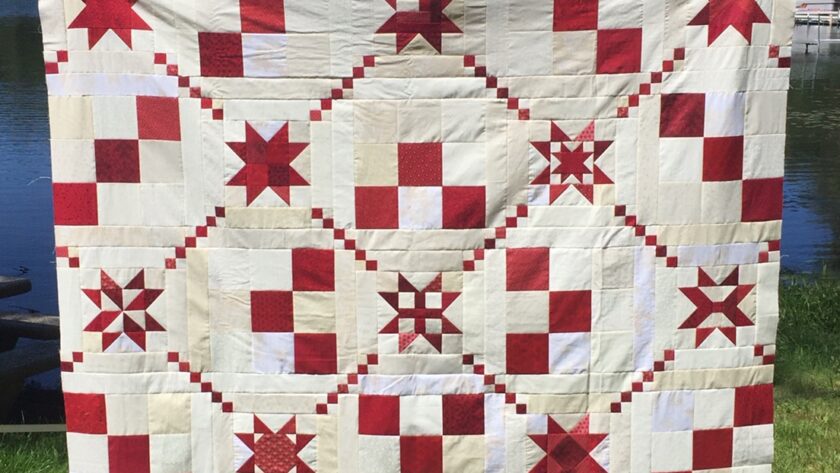
Scrappy Stars is a red and white sawtooth star sampler quilt with 13 different sawtooth star blocks. Each scrappy star is so much fun to make!! This is an easy quilt pattern for beginners.
This quilt would be a beautiful Christmas quilt!!! The red and white pallet of this quilt also makes it a great quilt to add to any farmhouse décor!
I love the look of scrappy quilts! The Scrappy Stars pattern uses a variety of red and white print fabric to give the quilt that scrappy feel! The sampling of different centered sawtooth star blocks adds to the scrappiness of this quilt!
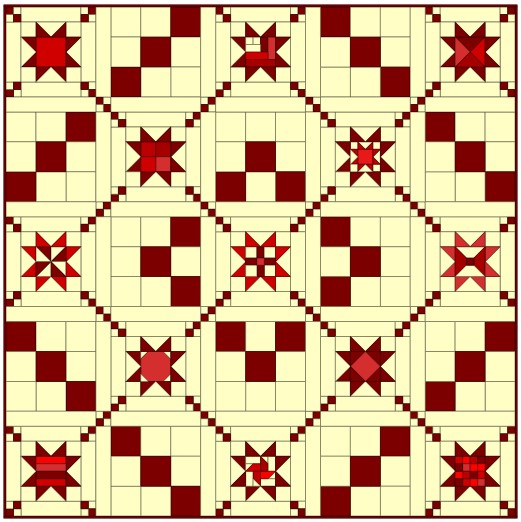
The pattern has simple nine patch blocks that form a large chain pattern around the center.
An adapted Burgoyne Surrounded design uses small four patch blocks to form the smaller chain surrounding the quilt center.
This easy quilt pattern for beginners breaks the project into manageable steps that even a novice quilter can accomplish. You’ll learn shortcuts and easy ways to be an efficient quilter.
The Flying Geese, Four Patch, Square in a Square, and Quarter Square Triangle quilt blocks will be a snap to make when you learn these simple and efficient quilting techniques!! Some even help you make multiple quilt blocks at a time!


Fabric Requirements
Use 100% cotton quality fabric for making this quilt. High quality quilt fabric may cost a bit more, but it will stand the test of time and be well worth the investment!!!
I believe quilts are heirlooms. You don’t want to use fabric that is going to shrink or fade over time shortening the life of the quilt! I highly recommend patronizing your local quilt shop to purchase high quality quilt fabric!!
The Scrappy Star quilt is made with red and white fabric. But you can really make this quilt in any color you’d like!
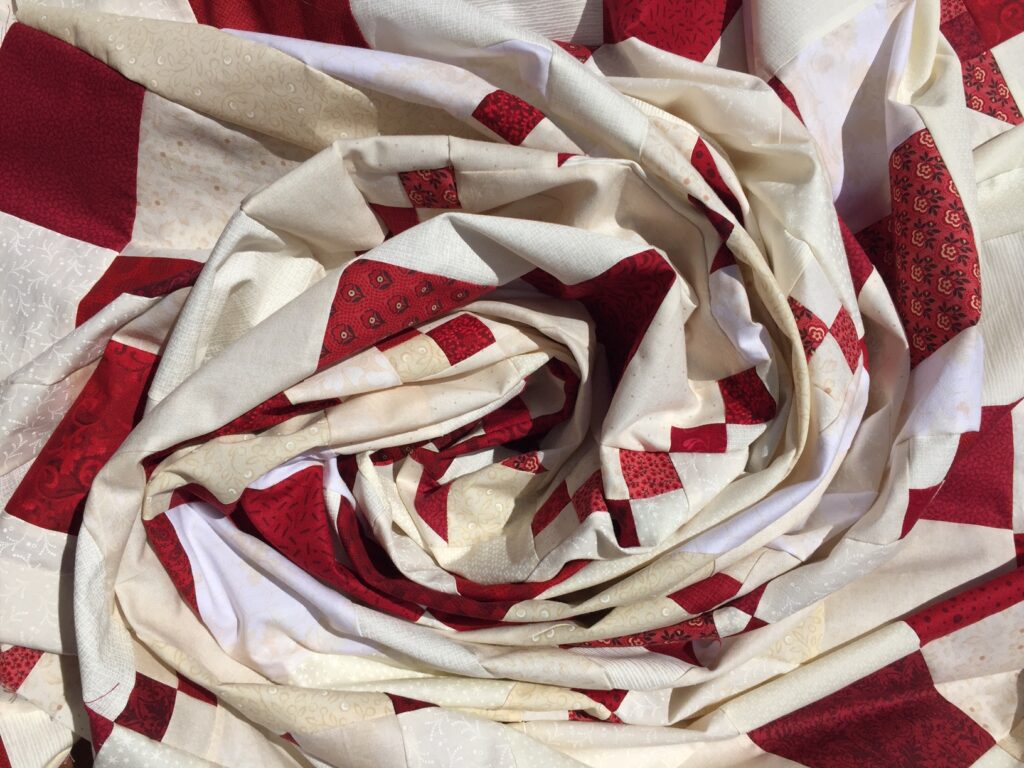
If red and white isn’t your jam, and you need help choosing the colors you can check out my post on Choosing Quilt Colors and Fabric. Substitute your colors for the reds and whites described throughout the pattern and upcoming block posts.
Fabric Totals
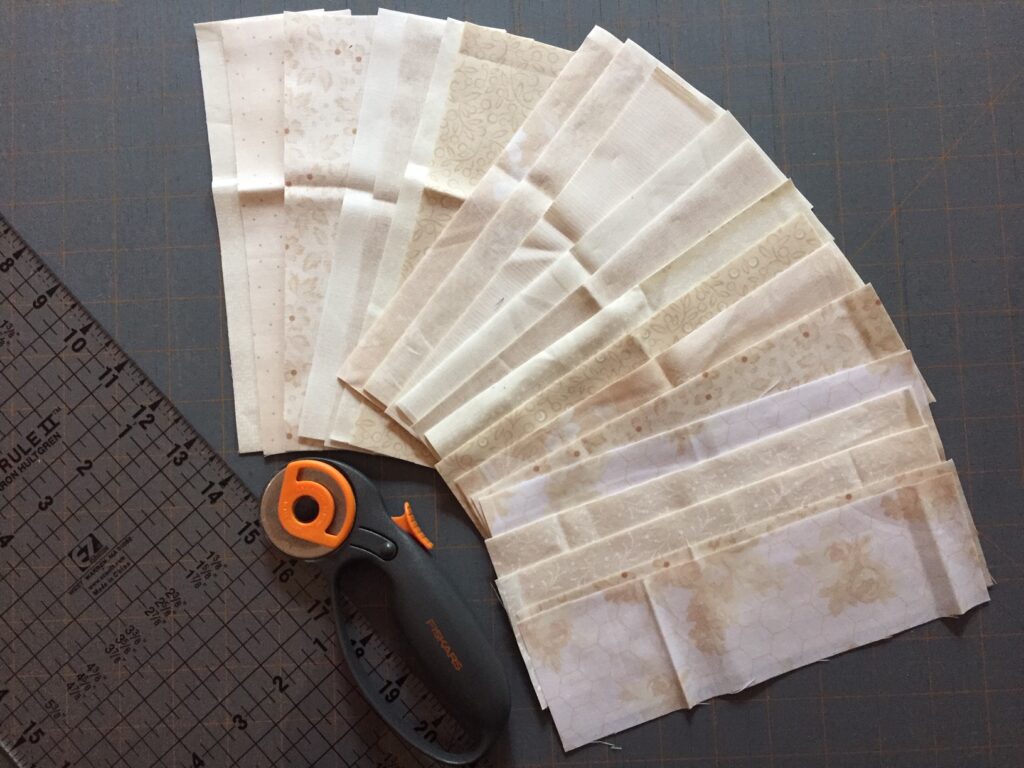
I suggest a variety of fat quarter or half yard red and white fabrics to make this quilt. You can also pull fabrics from your stash as some blocks have squares as small as 1 ½” x 1 ½”! This is a great quilt to use up a bit of red and white from your stash!!
The red tones in my quilt vary from almost pink to dark red. When you put these reds together they complement each other nicely!
The white tones in my quilt are actually an off-white to cream tone. To me the cream tone makes the quilt look a bit antiqued, which I love!
Here is a quick video of the fabric I’ve chosen for this Scrappy Star quilt!
These diagrams show the quilt in reds with whites to buttery cream tones. My color of whites falls in the middle. You can choose the white tone that you’d like in your quilt!!

Red Fabric
You’ll need a total of about 1 ¾ yards of red fabric to make all the blocks and binding for this quilt.
White Fabric
You’ll need a total of about 3 ¾ yards of white fabric to make all the blocks and sashing for this quilt.
Red Binding Fabric
You’ll need ¾ of a yard of 44” fabric to make the binding for this quilt.
Backing Fabric
You’ll need 4 ¼ yards of 44” fabric for the backing of this quilt.
Batting
You’ll need a piece of batting measuring 80” x 80” for this quilt. Use a full-size batting and trim to this size. I suggest a thin, cotton batting like Warm & Natural.
Thread
I suggest using a good quality thread to sew your quilt. I like to use thread like Gutermann thread or Coats Cotton Covered Quilting & Piecing thread. You’ll need a couple spools of thread to piece this quilt together.
If you are going to machine quilt your Scrappy Stars you’ll need another 3-4 spools of thread! I keep a stash of thread on hand when I make a quilt! When you’re in the groove of piecing and quilting you don’t want to have to be stop and run to the quilt shop to buy more thread!!
General Sewing Directions for this Easy Quilt Pattern for Beginners
The directions for this easy quilt pattern for beginners Scrappy Stars quilt are for rotary cutting, machine piecing, and machine quilting. Hand stitch the binding to the quilt back.
Accurate cutting and sewing enhances your final product. Pin your pieces together before sewing them to ensure proper seam alignment.
Use a ¼” seam allowance. I recommend using a special presser foot with a ¼” guide if you have one for your machine. This will help you get uniform seams, and matching points and corners!
Press seams rather than iron them back and forth. Pressing directions are included below and within each upcoming sawtooth star block post.
The finished quilt measures 68” x 68”.

Making the Easy Quilt Pattern for Beginners Scrappy Stars Quilt
For the next several weeks I’ll be posting directions on how to make each of the 13 sawtooth star blocks and the 12 nine patch blocks that make up the easy quilt pattern for beginners Scrappy Stars quilt.
Start Making the Scrappy Stars Quilt Today!
You can start making the Scrappy Stars quilt today by following these two steps!
Step 1: Before you begin to sew the sawtooth star blocks spend some time upfront creating the all of the flying geese blocks and cutting all of the squares for the corners of the sawtooth star blocks. This will take a total of only about 5-6 hours.
You could just make the flying geese blocks and cut the corner each time you make a new sawtooth star block. But I think the time spent upfront will be worth it when you begin sewing each sawtooth block! These sawtooth star blocks will come together so easy and quick if you can just grab the completed flying geese and corner squares when you need them!!!
Step 2: Over the next several weeks spend time cutting the sashing strips and making all of the four patch blocks and nine patch blocks which are required.
Again, this will take a total of only about 5-6 hours. But spread out over several weeks it will be time well spent! Having all of the sashing strips cut and the four patch blocks sewn will save you time when you are ready to complete the quilt top!!!
What makes this an easy quilt pattern for beginners is the break down of steps needed to complete this quilt. You can do it in as few or many weeks as you’d like!
Flying Geese Blocks
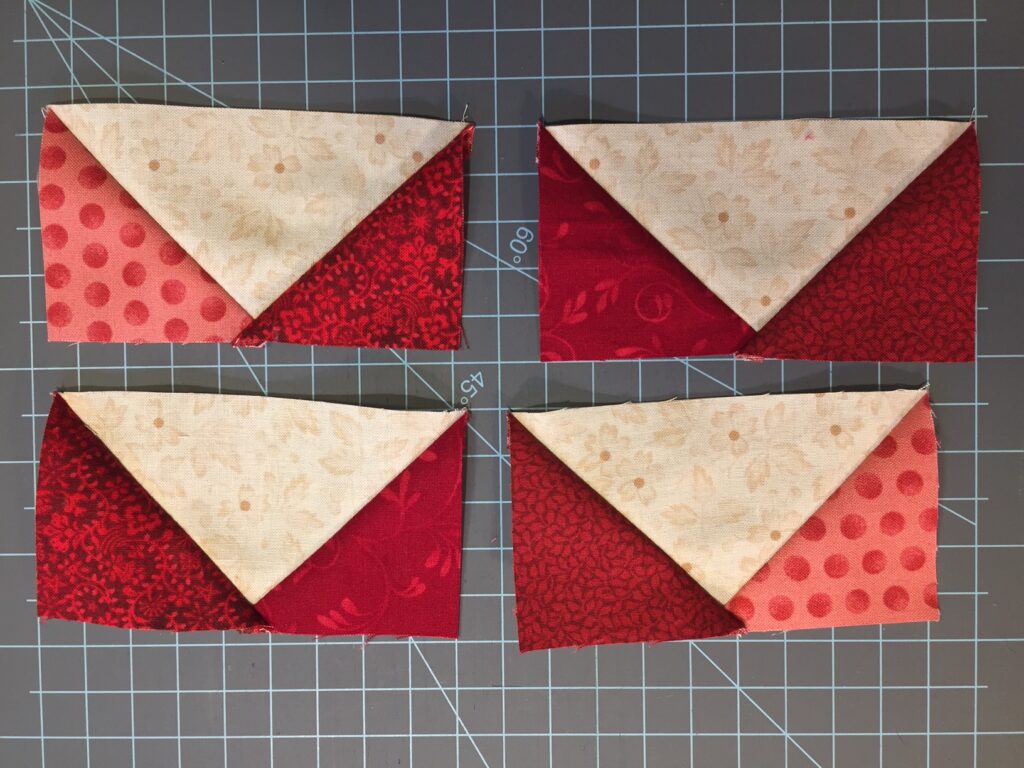
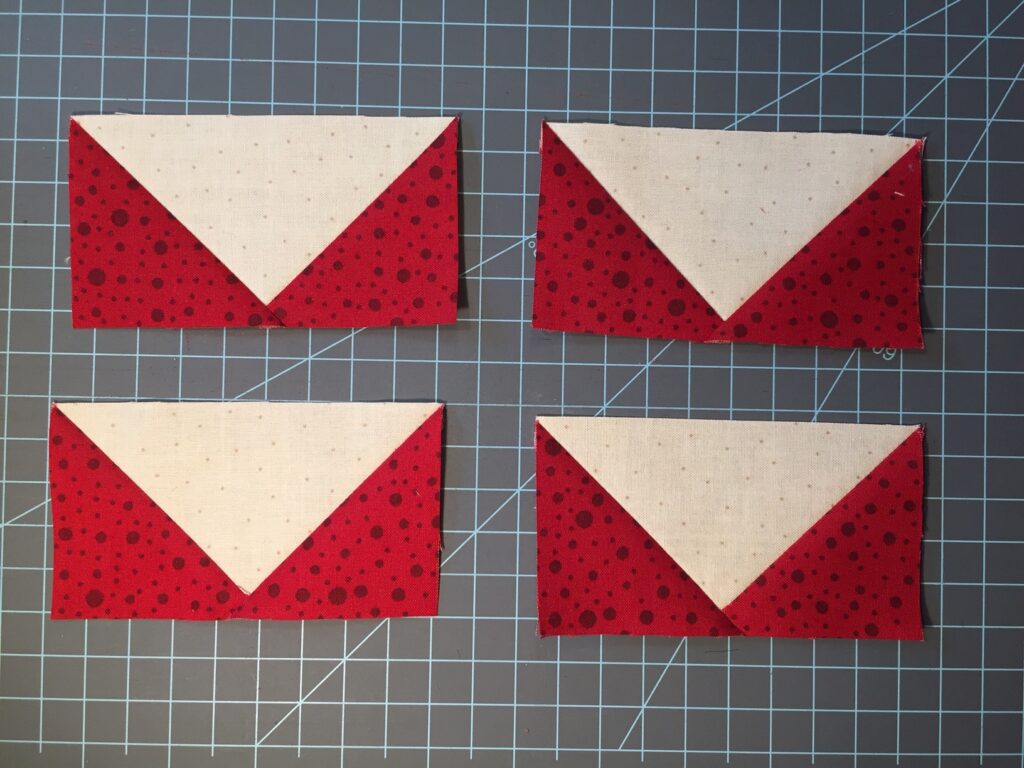
Sew 52 red and white flying geese blocks which measure 2 ½” x 4 ½” unfinished. There are 13 sets of 4 to make up the 52 flying geese. For each set you will need to cut 1 – 5¼” white square and 4 – 2⅞” red squares.
The Easy No Waste Flying Geese technique allows you to make 4 flying geese at a time! Follow the directions in the Easy No Waste Flying Geese post to make all of these blocks.
The flying geese in my quilt have four different red squares in each set of four for an uber scrappy look! You can mimic this scrappy look, or use four red squares of the same fabric to create the set of four. You pick you want!
Here is a video of how to make the no waste flying geese quilt blocks!
Corner Squares
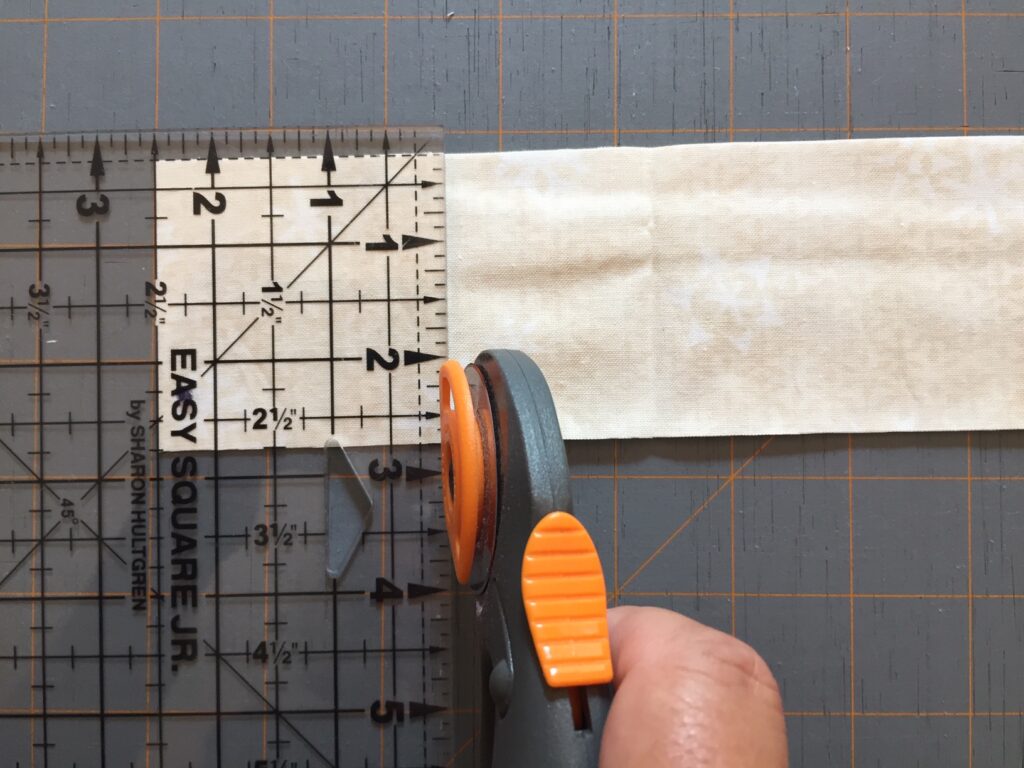
Cut 52 – 2 ½” x 2 ½” white squares. These squares will be used for the corners of each sawtooth star block.
Four Patch Quilt Blocks for the Easy Quilt Pattern for Beginners
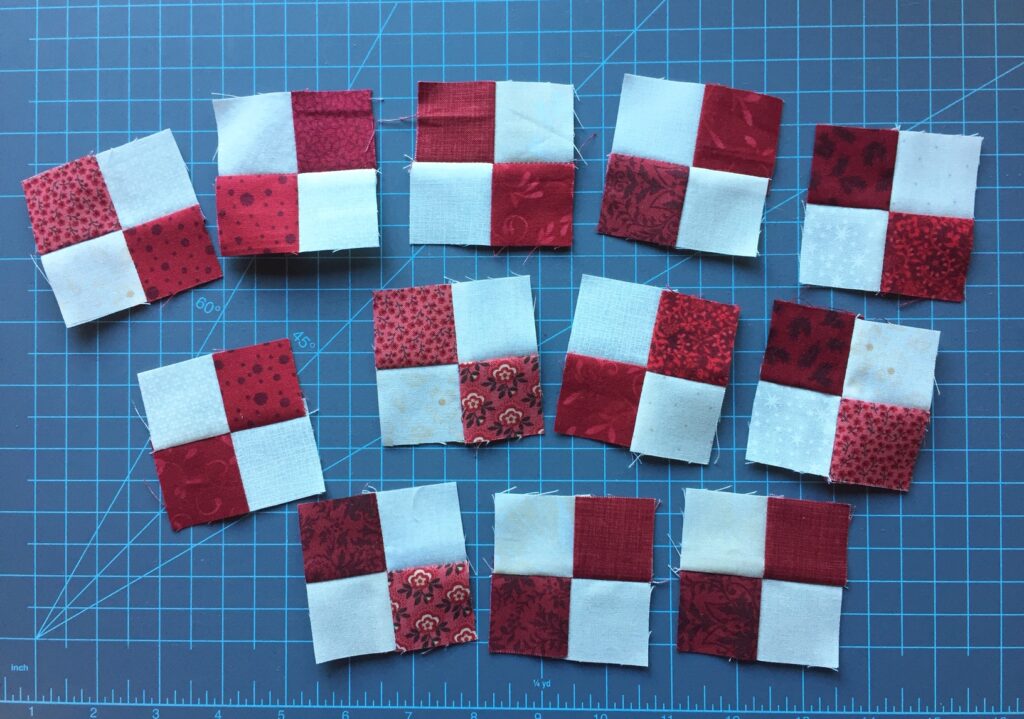
Sew 68 red and white four patch blocks which measure 2 ½” x 2 ½” unfinished. You will sew together a 1 ½” x Width of Fabric (WOF) red strip and a 1 ½” x WOF white strip to easily and quickly make all of these four patch blocks!
Use the method described in the Easy Four Patch Quilt Block post to make all of the four patch blocks needed for the Scrappy Stars quilt.
Sashing Strips
You can cut all the sashing strips ahead of time too so you’ll be ready sew your quilt top together once you have all of the sawtooth stars created!
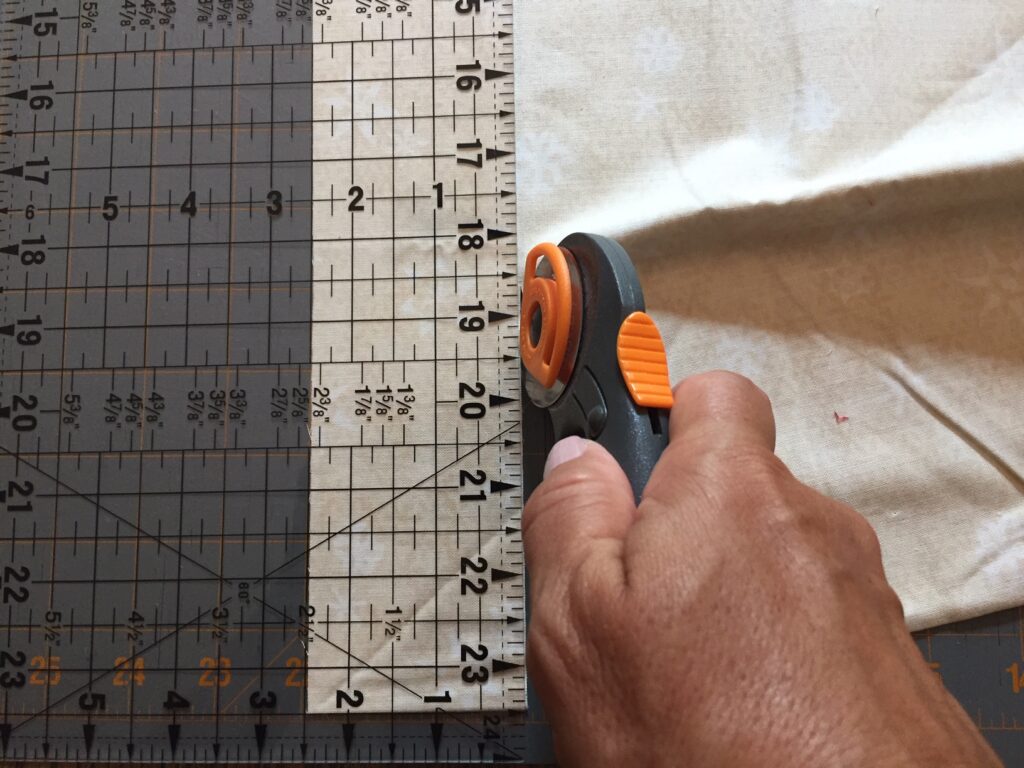
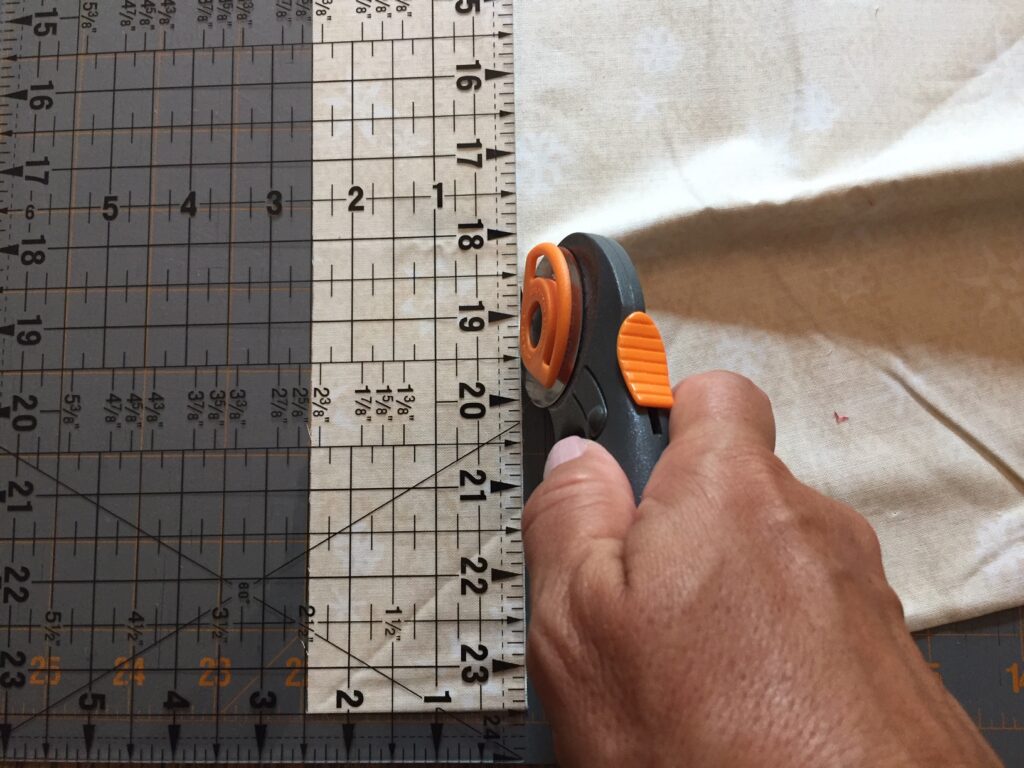
Cut 52 – 2 ½” x 8 ½” white strips. These strips will be used to sew the sashing onto each sawtooth star quilt block.
Cut 40 – 2 ½” x 12 ½” white strips. These strips will be used to sew the sawtooth blocks (with sashing sew on) together.
Nine Patch Blocks for this Easy Quilt Pattern for Beginners
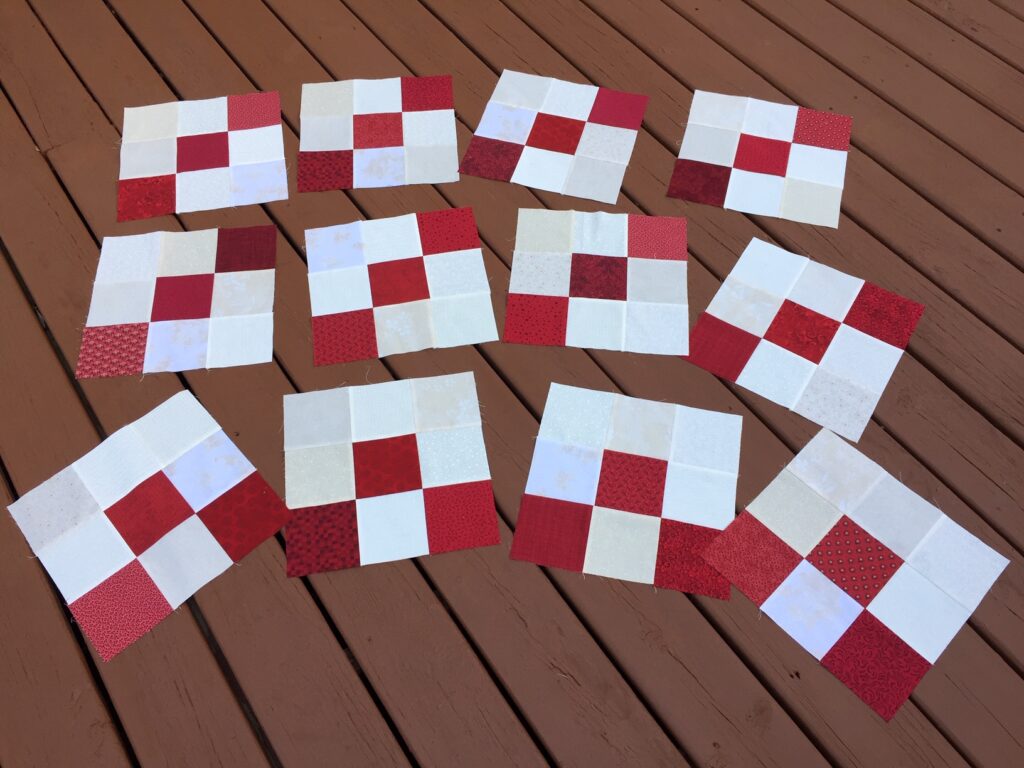
You’ll make a total of 12 nine patch blocks in this easy quilt pattern for beginners. Cut a total of 36 – 4 ½” x 4 ½” red squares and 72 – 4 ½” x 4 ½” white squares.
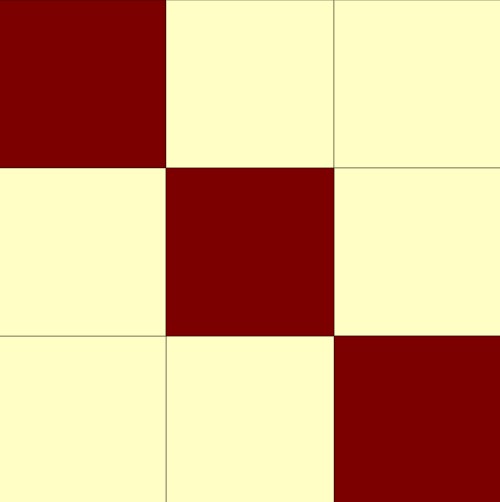
Lay out squares to form 8 nine patch blocks with red squares running along one diagonal of the block.
Lay out squares to form 4 nine patch blocks with red squares in the bottom two corners and in the middle location.
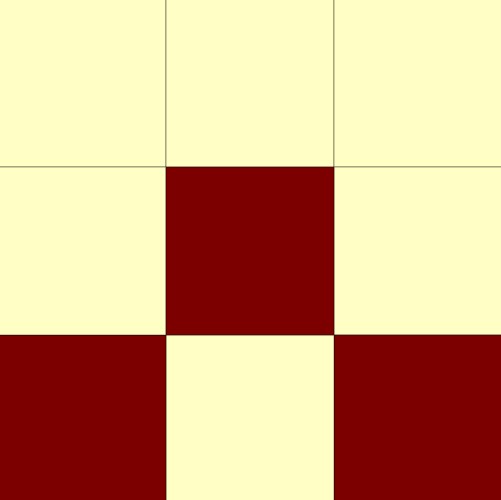
For each block sew the top, middle, and bottom rows. Press the top and bottom row seams to the right and press the middle row seams to the left. Sew the top and middle rows together, then sew the bottom row onto the middle row to form the nine patch block. Press seams open. Block measures 12 ½” x 12 ½”, trim if necessary to achieve this size.
Sawtooth Star Blocks
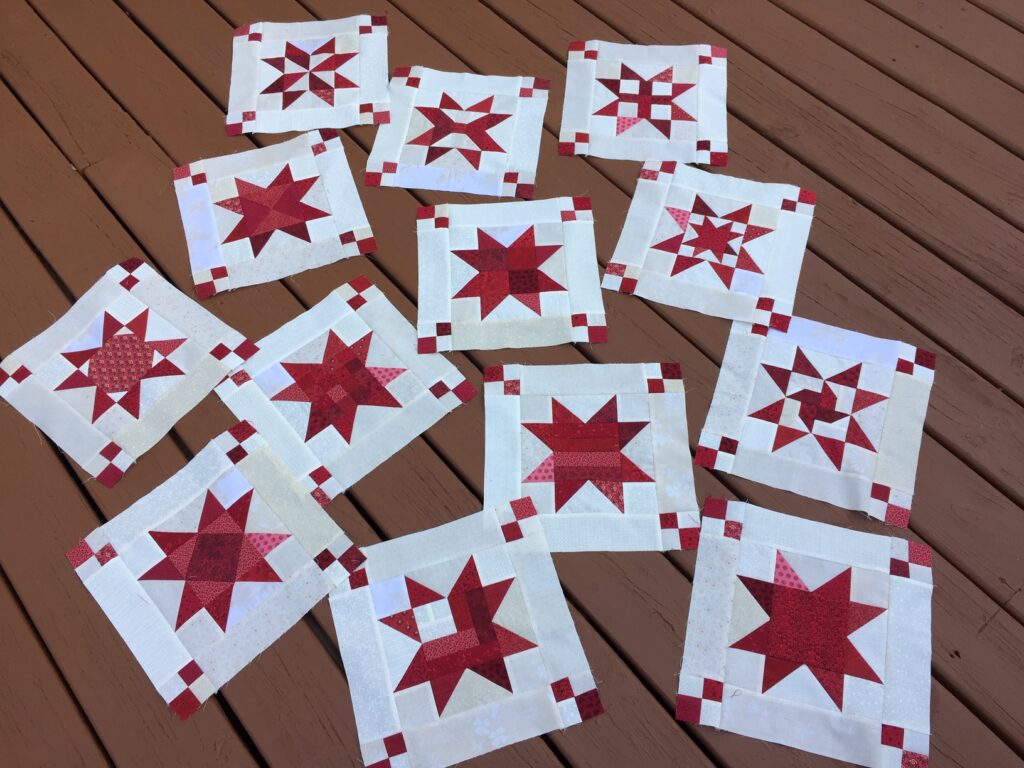
There are 13 different sawtooth star blocks in this easy quilt pattern for beginners quilt pattern.
As I post each of these blocks over the next several weeks I’ll update this post and add the link to the block posts!
Complete the Scrappy Stars Quilt Top
Once you have each of the sawtooth star blocks and the nine patch blocks sewn together you’re ready to complete the quilt top or the “flimsy”. Sometimes the quilt top is called the flimsy because it hasn’t been sandwiched with the batting and quilt back yet, so it’s still “flimsy”! I love this term!!
Sew Sashing on Each Sawtooth Star Block
Follow the directions earlier in this post for cutting all of the necessary sashing strips.
For each star block:
Sew a 2 ½” x 8 ½” white strip on the right and left sides of the star block.
Sew a four patch unit on each side of 2 – 2 ½” x 8 ½” white strips. Make sure the four patch blocks are facing in the direction as shown here:

Sew these strips to the top and bottom of the star block. Repeat for each of the 13 star blocks.
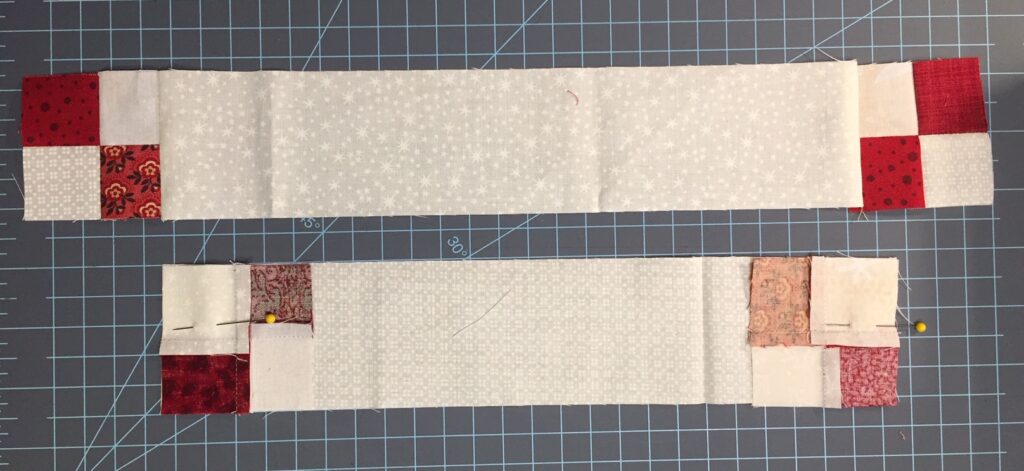
Example of a TOP sashing strip
For the 4 rows of sashing:
Lay out a row of 5 – 2 ½” x 12 ½” white strips with 4 – four patch blocks between the strips.
Make sure the four patch blocks are facing in opposite directions as shown on the diagram below.

Sew together. Repeat to make 4 of these sashing rows. Press seams to the right.
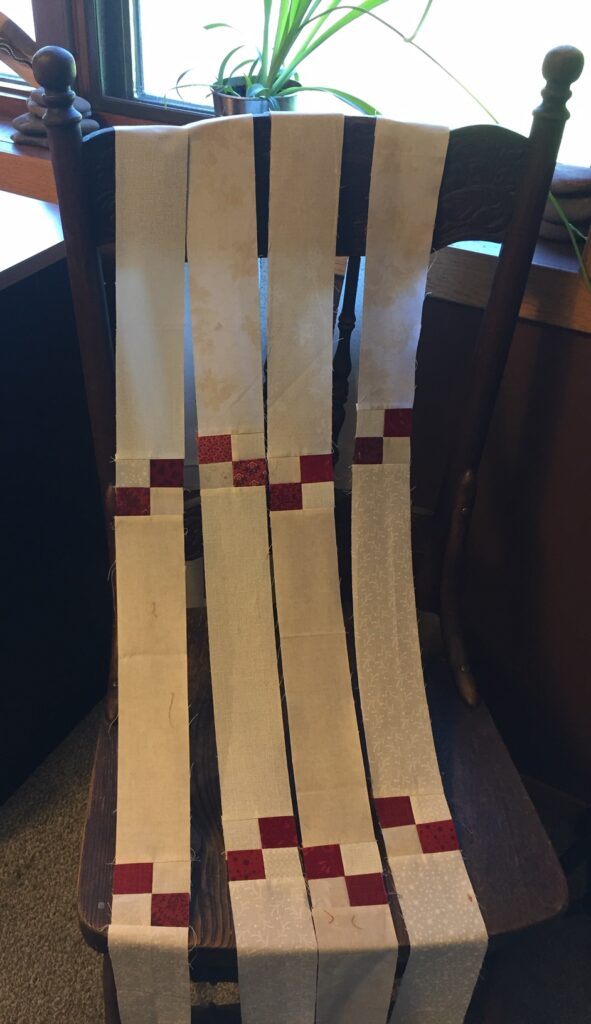
You’ll use the remaining 20 – 2 ½” x 12 ½” white strips to sew between the blocks when sewing the block rows.
Sew Each of the Rows
Begin to sew each of the five rows of this Scrappy Star quilt by laying out the quilt blocks in the order you’d like them to be arranged in your quilt! If you’re lucky and have a design wall you can use it to place the blocks. But if you’re like me and only have a design floor (aka my living room floor!) that works too!

The quilt diagram shows one way to arrange the sawtooth star blocks in this quilt. But you can rearrange the sawtooth blocks in any order you’d like! Have fun playing with rearranging your sawtooth blocks until you get the look you love!!!
Sew a 2 ½” x 12 ½” strip of white fabric between the blocks of each row to connect these blocks together. This will give you five completed rows. Keep the rows arranged in the order you’d like them to be sewn together!
Sew the Rows Together
Before you sew the rows together you’ll need to complete a 2 ½” x 68” sashing strip that will be sewn between each row to connect them.
To make the 2 ½” x 68” sashing strip sew together 5 – 2 ½” x 12 ½” white strips connected with a red and white four patch block between them. Make all of these long sashing strips before you connect the rows.
Sew the 2 ½” x 68” sashing strip to the bottom of the top row. Then sew the top of the second row to this same sashing strip. You’ve just connected the first two rows of your quilt!
Continue in this manner to connect the remaining sashing strips and rows!
Voila! You’ve just completed your flimsy!!!
Prepare the Quilt Back
Fabric requirement is 4 ½ yards of a 44” wide cotton fabric that coordinates with the colors of the quilt top. You’ll need a 80” x 80” square of fabric for the quilt back. This allows for at least 4 inches of fabric to extend all around the edges of the quilt top.
Trim the salvage edges on the quilt back fabric, and cut the 4 ½ yards into 2 – 2 ¼ yard pieces. Place the two pieces right sides together, and sew along the long sides to make one large back. Trim 1” off of the length of the quilt back to measure 80” x 80”. Press the seam open to reduce bulk when quilting.
Batting
Use thin cotton batting (like Warm & Natural) to make this quilt. You’ll need a batting piece at least 80” x 80”. Trim the batting to measure 80” x 80”, the same size as the quilt back. This allows the batting to also extend 4” beyond the edges of the quilt top.
Finishing the Quilt
Now that you have your flimsy and quilt back sewn together it’s time to finish the quilt!
Layering the Top, Batting, and Back
I refer to layering the quilt as “sandwiching”. You need to sandwich the top and back with the batting in the middle.
On a large floor area or with two tables pushed together, use masking or painter’s tape to tape down the backing fabric. As you tape the back to the surface, you’ll want to make sure the fabric is smooth, without wrinkles. Make sure the back it taped taut, but not stretched. Also, make sure the right side of the fabric is facing down!
Lay the batting on top of the taped-down quilt back, and move your hands across it to smooth it all over. This will get rid of any wrinkles in the batting, and help to adhere it to the backing fabric.
Once you have the batting placed on top of the quilt back, center the top of the quilt (the flimsy!) over the two bottom layers. Right side facing up, of course! The two bottom layers of the quilt (the back and the batting) should extend about 2-3” all around the outside edges of the quilt top.
Move your hands across the quilt top to smooth it all over, and help remove any wrinkles. This will also help adhere the quilt top to the batting a little bit. Once you have the top of the quilt all smoothed out, either use basting spray or use 1 ½” stainless pins to baste your quilt layers together. You’ll want to start basting on one side of the quilt, and work your way across, or work from top to bottom. If pinning, you should place a pin about every 4 inches or so.
“Quilting” the Quilt
Choose a quilting design for your quilt. There are a lot of designs found online or on Pinterest. Just search for free motion quilting designs.
Using a darning foot and dropping the feed dogs on your sewing machine allows you to free motion stitch the quilt layers together. If you’re new to machine quilting you might want to search for online videos that can demonstrate the process for you.
I’ve recently purchased a mid-arm quilting machine that I use to quilt my bigger projects now.
You can also choose to have the quilting completed on a long arm machine. Your local quilt shop could refer you to someone who you can hire to quilt your project for you if you choose to go this route.
Binding the Quilt
When you’ve finished quilting the layers together, it’s time to bind the edges of your quilt! This could be a lesson in itself!! I’ll do my best to describe the binding process below, but if you’re confused by my directions there are lots of videos on the Internet that will demonstrate the process for you.
Prepare Binding Strip
Cut 8 – 2 ½” x 44” strips of red fabric to make the binding.
You’ll need ⅝ yard of fabric for the binding. Cut 8 – 2 ½” x 44” strips, trim the ends of each strip at opposing 45-degree angles as shown.
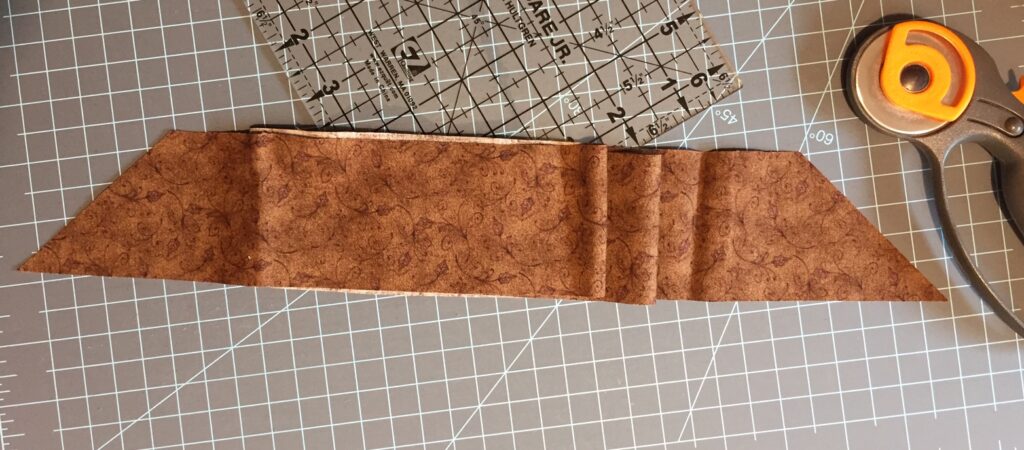
Take your 2 ½” binding strips and sew them together. To do this align two strips together perpendicularly along the 45 degree ends. Pin the ends and sew them together.
You’ll need a finished strip that is about 300” (8.3 yards) in total length.
Press the Binding
Press the seams open.
Then, fold the binding strip in half (wrong sides together), and press.
Sew the Binding Strip to the Quilt
Begin to sew the raw edge of the binding to the quilt by pinning it along one side. Be careful to sew the raw edge of the binding strip to the quilt, not the folded edge!
I usually start sewing the binding strip in the middle of the quilt side that I’m starting with. Start sewing about 6” in from the end of the binding strip, leaving a hanging “tail” on the binding. You’ll sew this to the end of the binding strip when you finish sewing all along the sides of the quilt.
Stop sewing on the first side ¼” from the corner, use a pin to mark this location and sew right up to it. Backstitch a bit, and cut your thread but DON’T cut the binding strip.
Making the Mitered Corner
Now, remove the quilt and binding strip from your machine and fold the binding strip straight up so it’s perpendicular from the side you were just sewing on.
Fold the binding strip back down on itself and match it to the edge of the quilt you just sewed it to, and the next edge of the quilt you’re about to sew it to. Pin this fold in place, and pin the binding strip to this edge of the quilt and continue to sew it, again stopping ¼” from the next corner and repeating the folding process described above.
Continue in this manner until you are on the last side of the quilt, the side you started on.
Connecting the Ends of the Binding
Stop stitching about 6” from where you started. Backstitch and cut the thread (but not the binding strip, not yet!), remove the quilt and binding strip from the machine.
You now have two “tails” of the binding strip, one from where you started stitching it to the quilt and one from where you just stopped. You’ll need to join these tails together so that you have a continuous binding strip to finish sewing down to the quilt. This can be tricky!
I don’t worry now about cutting 45-degree angles on each end of the binding strip to sew it together to make a continuous strip. If you can master this technique, my hat is off to you!! What I do is measure how much more binding strip I’ll need to finish sewing it to the edge of the quilt. I then cut a straight line along each end of the binding strip, adding ¼” to each end so I can sew the ends together with a ¼” seam (right sides together). Continue to sew the now continuous binding strip to the quilt.
Trim the Batting and Quilt Back
Trim the batting and quilt back to ¼” from the edge of the quilt top. I use a ruler and a rotary cutter to accomplish this task. Work very carefully, so you don’t cut into your quilted project.
Hand-Stitch the Folded Binding Edge to the Quilt Back
Here is my FAVORITE part of the process…almost done! Hand-sew the folded edge of the binding strip to the back of the quilt. When you get to the corner, carefully turn the corner right-side out to make a nice, mitered corner. I tack a few stitches up the corner to hold it in place, and then continue stitching along all sides and corners until…VOILA! Your binding is complete!
As a finishing touch, you can add a label to the back of the Scrappy Stars quilt. A quilt label is like the signature on your masterpiece!!
I hope you have fun making this easy quilt pattern for beginners!!!
Happy Quilting!!!
~Bonnie






[…] Star quilt block is an easy block for a beginning quilter! This is the fourth block in the Scrappy Stars Quilt Pattern […]
[…] quilt block is an easy block for a beginning quilter! This is the thirteenth block in the Scrappy Stars Quilt Pattern […]