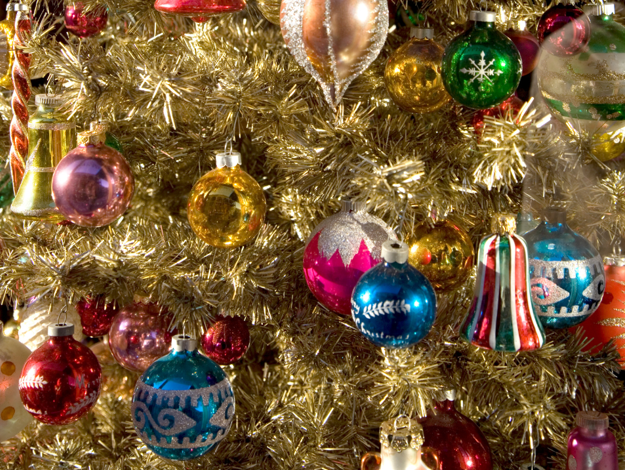
I’m so excited to share my Shiny + Bright Quilt Pattern with you! This pattern is inspired by the vintage Shiny Brite ornaments that I love and have collected over the years!
These ornaments take me back to my childhood going out to our forest and cutting down the balsam Christmas tree. Then decorating the freshly cut balsam on Christmas Eve before wrapping presents to put under it and going to bed to wait for Santa to visit. It was such a magical time!
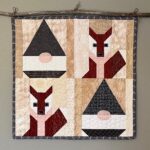
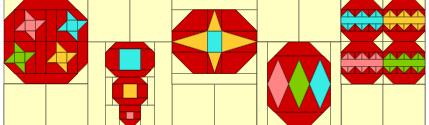
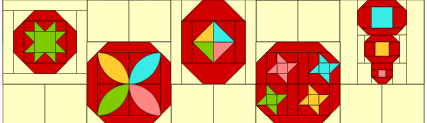
This Shiny + Bright Quilt Pattern is made up of nine different shaped ornament blocks, connected by simple two-patch units. Finished size of the Shiny + Bright Quilt Pattern measures 60″ x 72″. This size makes it the perfect size to cuddle under while sipping a hot toddy or watching Christmas movies!
Or place this quilt on a chair or ladder. I love how this quilt brings that vintage nostalgia to my holiday décor!!!
This quilt would make a great block of the month project!
Post contains affiliate links and we earn commissions if you shop through the links on this page, including Amazon Associate links. For more information please read the disclaimer on the Privacy Policy page.
If you’d like to purchase an ad-free PDF pattern for the Shiny + Bright Quilt Pattern you can visit my Etsy shop!

Fabric Requirements for Shiny + Bright Quilt Pattern
I used a variety of red, cream, aqua, gold, pink and green fabrics to create a scrappy quilt.
The yardage listed below is total amount required for each fabric.
Red Print Fabric: 2 1/2 yards
Cream Fabric: 5 yards
Aqua Blue Fabric: 1/2 yard
Yellow Gold Fabric: 1/2 yard
Pink Fabric: 1/2 yard
Green Fabric: 1/2 yard
Binding Fabric: 5/8 yard
Backing Fabric: 4 yards
Batting: Twin Size (72″ x 90″)
Cutting Directions for Quilt Top
Cream Fabric:
Cut 40 – 6 1/2″ x 6 1/2″ squares
Red Fabric for Binding:
Cut 8 – 2 1/2″ x 42″ (width of fabric) strips
General Directions for Sewing the Shiny + Bright Quilt Pattern
A 1/4″ seam allowance is used unless otherwise stated.
Sew pieces right sides together.
Finished quilt measures 60″ x 72″.
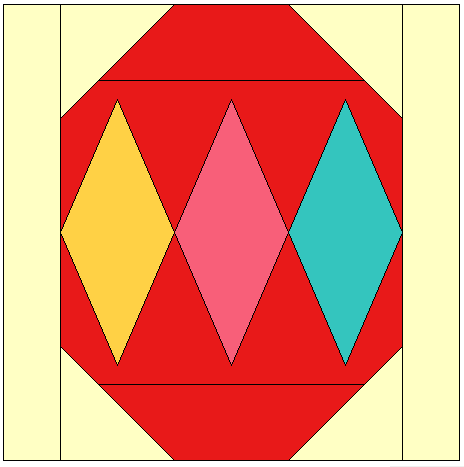
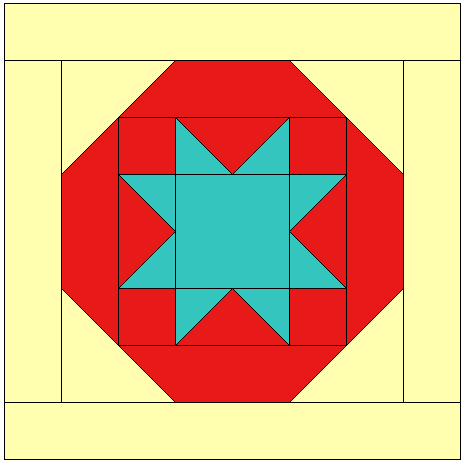
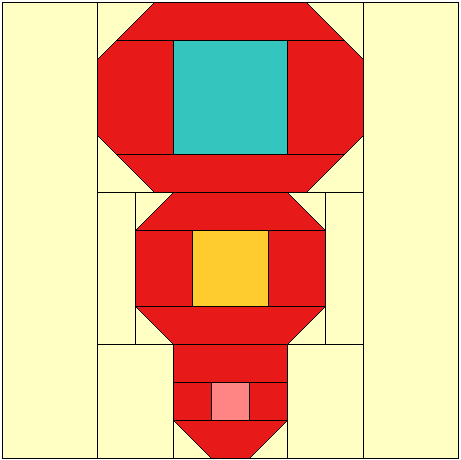
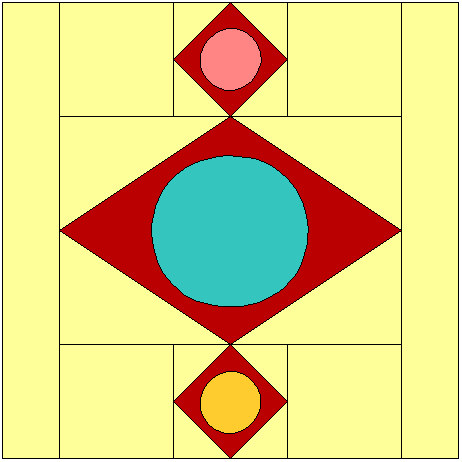
Each ornament block #1 – #9 lists cutting directions specific to that one block. Repeat cutting directions and sewing steps for making required multiples of the same block as indicated below.
Make 3 blocks of for each of ornaments #1, #3, and #4. For ornaments #2, #5, #6, #7, and #9 you will make 2 blocks of each. And make 1 block for ornament #8.
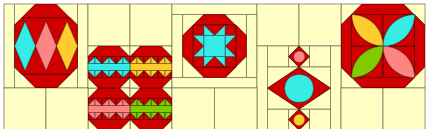
Click on the icon for each ornament to navigate to the directions for making it.


Assemble Quilt Top
Sew required number of blocks for Ornaments #1 – #9. There are 20 total ornament blocks.
Sew 6 1/2″ x 6 1/2″ cream squares into 20 – 6 1/2″ x 12 1/2″ two-patch units.
Lay out ornament blocks and two-patch units into four rows as shown here.

Sew two-patch units to bottom of first, third, and fifth ornament blocks in each row, and to the top of second and fourth ornament blocks in each row. Press seams toward two patch units.
Sew two-patch/ornament units together to form the four rows. Press the seams of Row 1 and Row 3 to the right and the seams of Row 2 and Row 4 to the left. Press in this pattern will allow seams to nest when you sew the rows together to complete the quilt top.
Nest seams, pin and sew Rows 1 – 4 together. Press seams of rows open.

Layer, baste, quilt, and bind your quilt. If you’d like some tutorials of doing this you can refer to my post for the Sweet Emily quilt pattern.
I hope you enjoy making your Shiny + Bright quilt!
Merry Christmas!!!
Bonnie